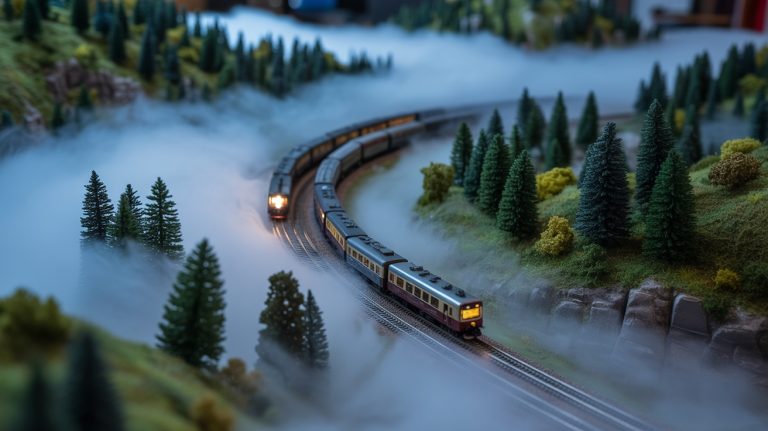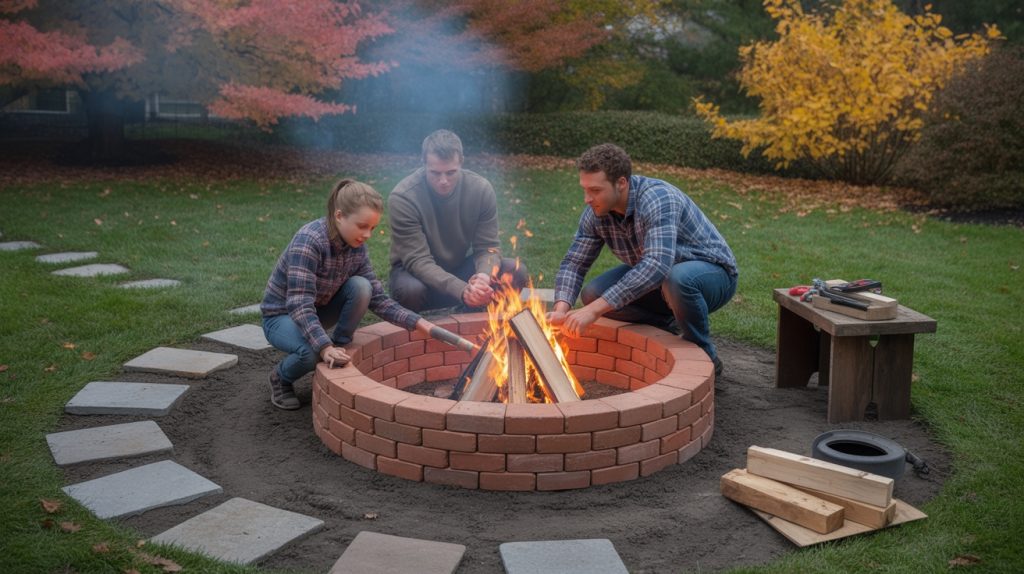
A fire and fog pit pairs a gas fire feature with a cool water mist drifting around it. It’s a fun backyard project, but the gas side has to follow your local codes and the burner kit’s manual.
In most areas, a licensed gas fitter should make the gas connections. This guide walks through the planning and the parts you can safely do yourself.
Planning Your Fire and Fog Pit Design
Start with your city or county. Ask the building or fire department whether you need a permit, what setbacks apply, and whether fire features are allowed during burn bans.
Your HOA and homeowner’s insurance may have their own rules too. Check with both before you buy anything.
Pick a level, open spot away from the house, overhanging branches, fences and anything else that can burn. Your burner kit’s manual lists the minimum clearances for that unit, and local code may require more.
Decide on your fuel early. A natural gas line usually means a permit and a licensed gas fitter, while a propane kit runs from a tank that has to sit where the manual says.
Plan the fog effect as a separate system. An ultrasonic mister needs a nearby outdoor GFCI outlet, and its water and wiring should stay well away from the burner and gas line.
Essential Materials and Tools You’ll Need
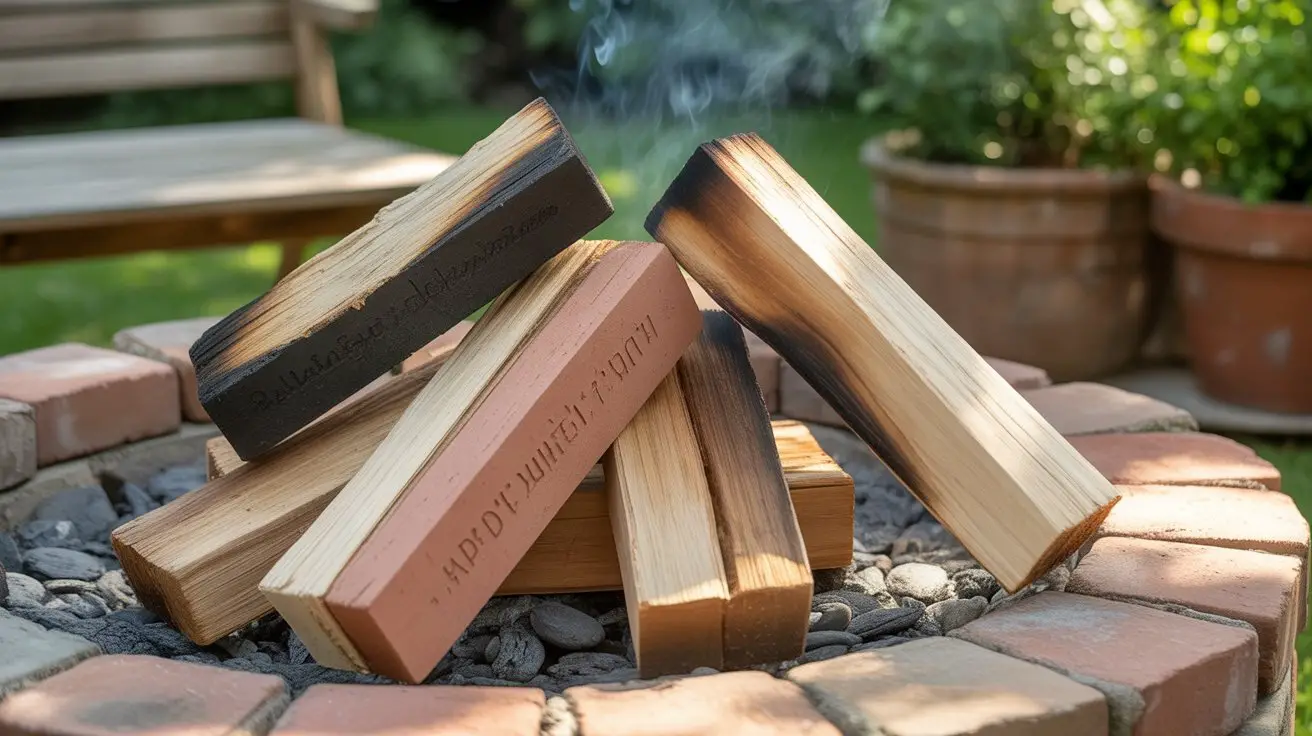
The most important purchase is a complete outdoor fire pit burner kit that is certified for outdoor use (look for a CSA or UL listing). A kit with a matched burner, valve and safety shutoff is far safer than piecing parts together.
Beyond the kit, you’ll typically need:
- Fire-rated masonry, such as fire brick or a fire pit block kit, plus the mortar or adhesive the kit specifies
- Gravel for drainage under the pit
- Fire glass or lava rock made for gas fire pits, as the burner manual allows
- An outdoor-rated ultrasonic mister, a separate water basin for it, and an outdoor GFCI outlet
- A level, tape measure, shovel, tamper, trowel, gloves and eye protection
Don’t use ordinary river rock in the fire zone, since rocks can trap water and crack or pop when heated. Use only the fire media your burner manual lists.
If the pit sits near a covered patio, check that your fog won’t set off sprinkler systems or smoke alarms.
Safety Considerations and Permits
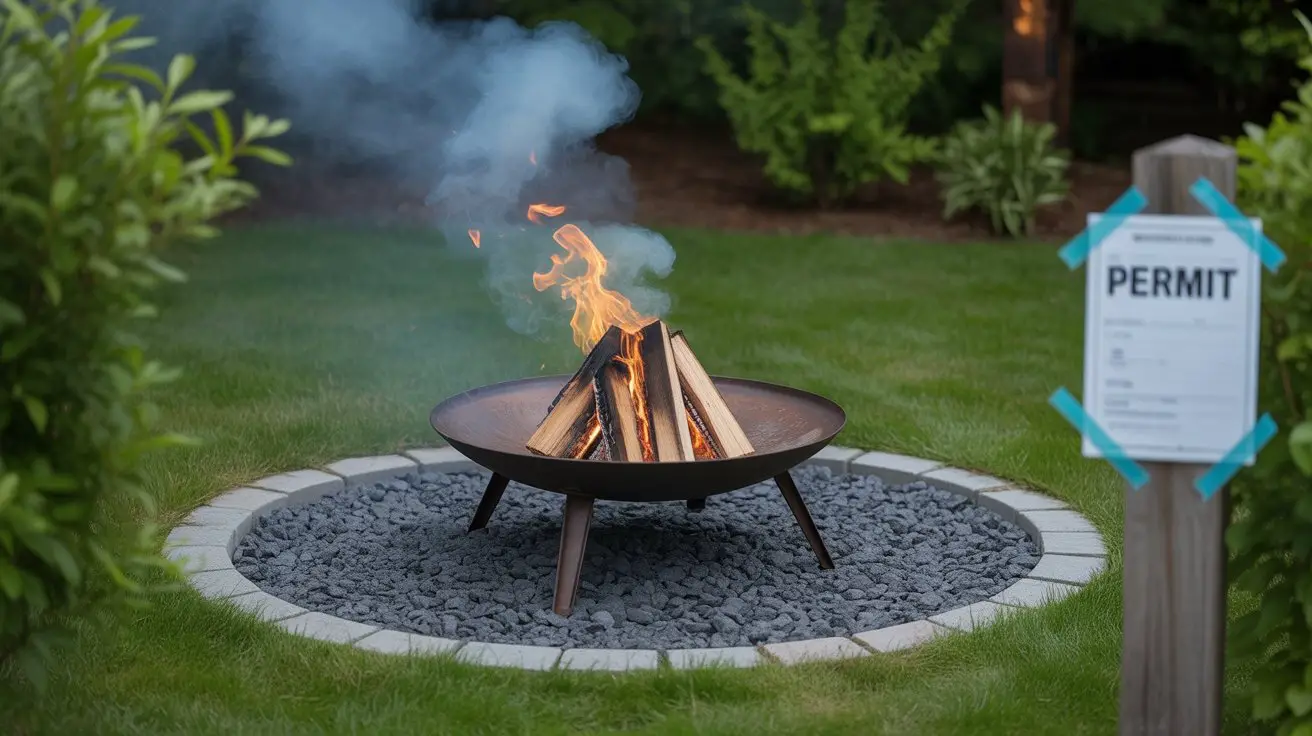
A built-in gas fire pit is a permanent gas appliance, so treat it like one. Get any permits before you dig, and keep copies for your insurer.
- Call 811 before you dig. It’s free, and it marks buried gas, power and water lines.
- Follow the clearances in your burner manual and local code. They vary by unit and by town, so don’t rely on a generic number.
- Use a licensed gas fitter for gas connections. Many areas require it, and they’ll pressure-test the line.
- Keep a fire extinguisher nearby. A multipurpose (ABC) extinguisher close to the pit is a sensible minimum.
- Keep electrical and gas separate. The mister’s cord and GFCI outlet should stay away from the burner and gas line.
Never leave the fire burning unattended. Keep kids and pets back from the pit.
Excavation and Site Preparation
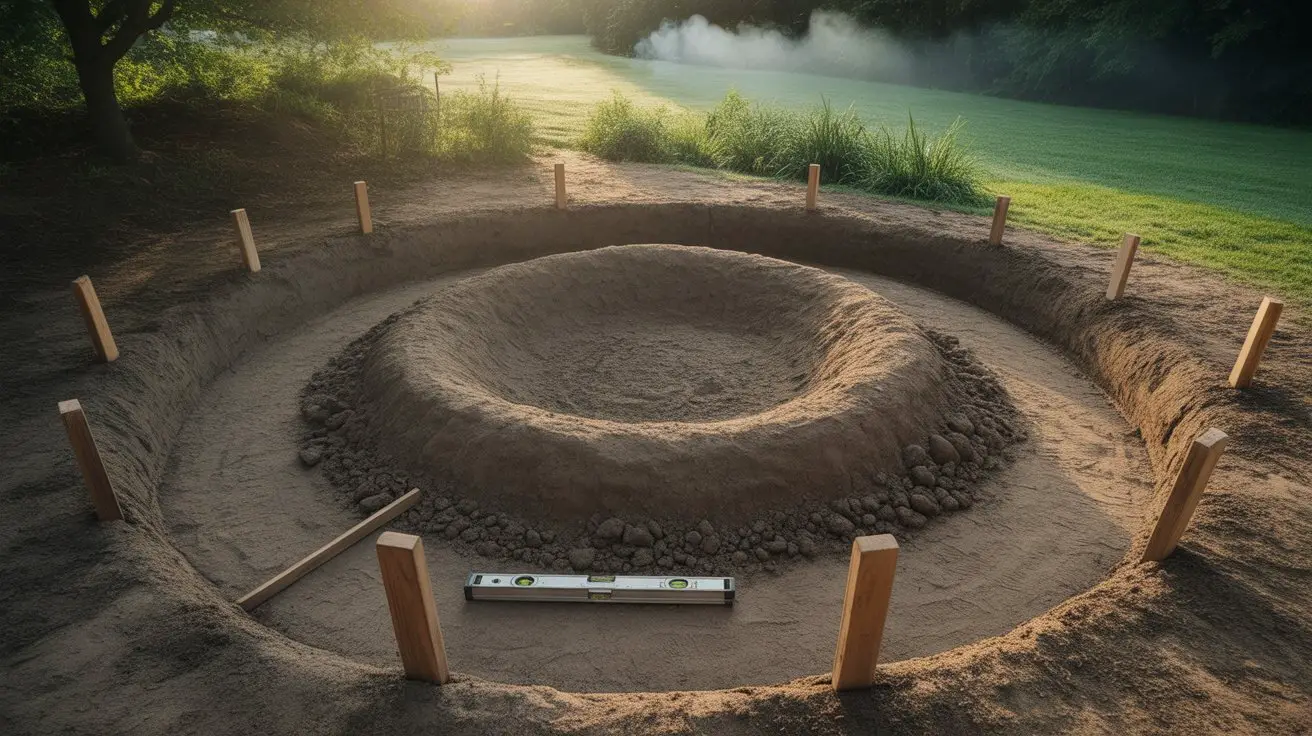
Once permits are sorted and 811 has marked the yard, outline the pit with spray paint. Double-check the spot against the clearances in your manual.
Dig out sod, roots and soft soil to the depth your kit or plan calls for. Tamp the base firmly so the pit won’t settle.
Add a layer of gravel and tamp again for drainage. Standing water can damage a gas burner, so follow the kit’s instructions for drain openings.
If a gas line will run underground to the pit, leave that trench to your gas fitter. Gas line depth and materials are set by code.
Installing the Fire Ring and Gas Components
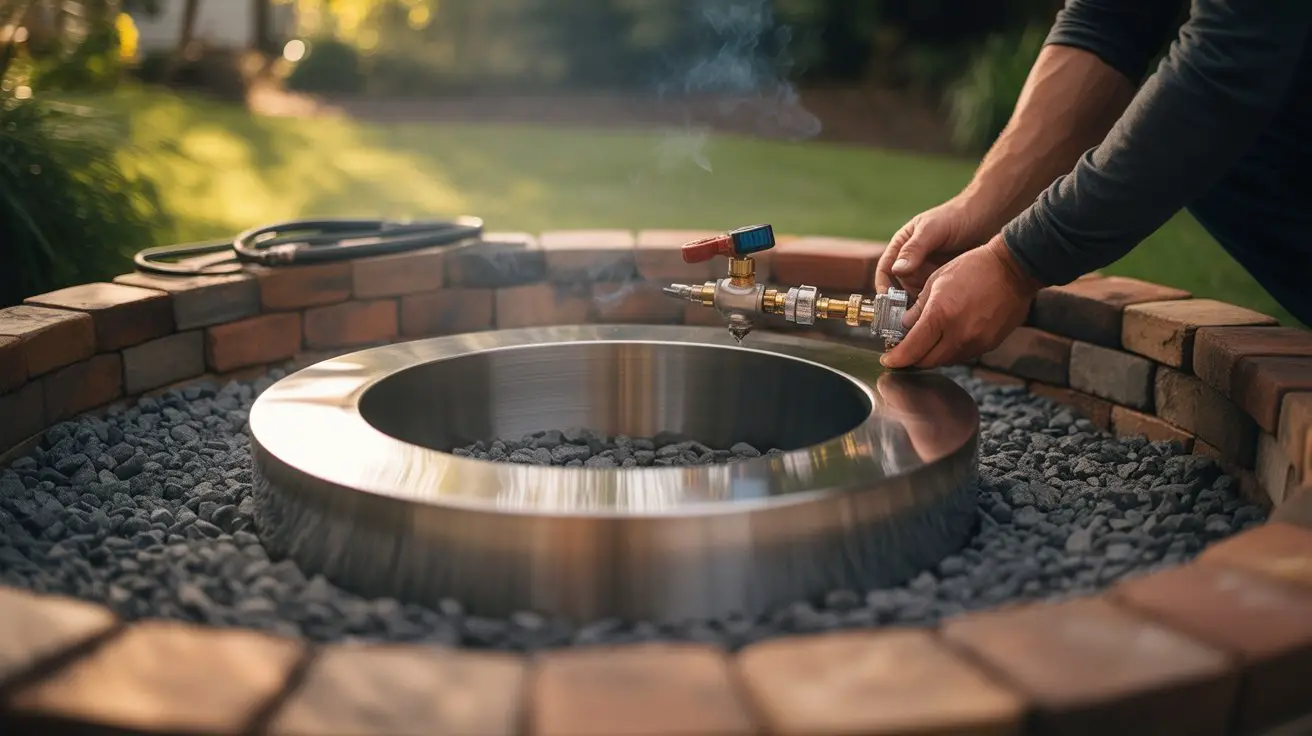
Build the fire ring or block walls following the kit instructions, keeping each course level. Leave the ventilation openings the burner manual calls for, since propane is heavier than air and can collect in a closed pit.
Set the burner pan and burner at the height the manual specifies. Then have your licensed gas fitter connect the gas supply, install the shutoff valve and leak-test everything before the first lighting.
With propane, follow the manual for where the tank goes and how the hose and regulator connect. Never store a spare tank inside the pit enclosure.
Add the fire glass or lava rock last, to the depth the manual allows. Piling on too much can make the burner run poorly.
Setting Up the Fog Generation System
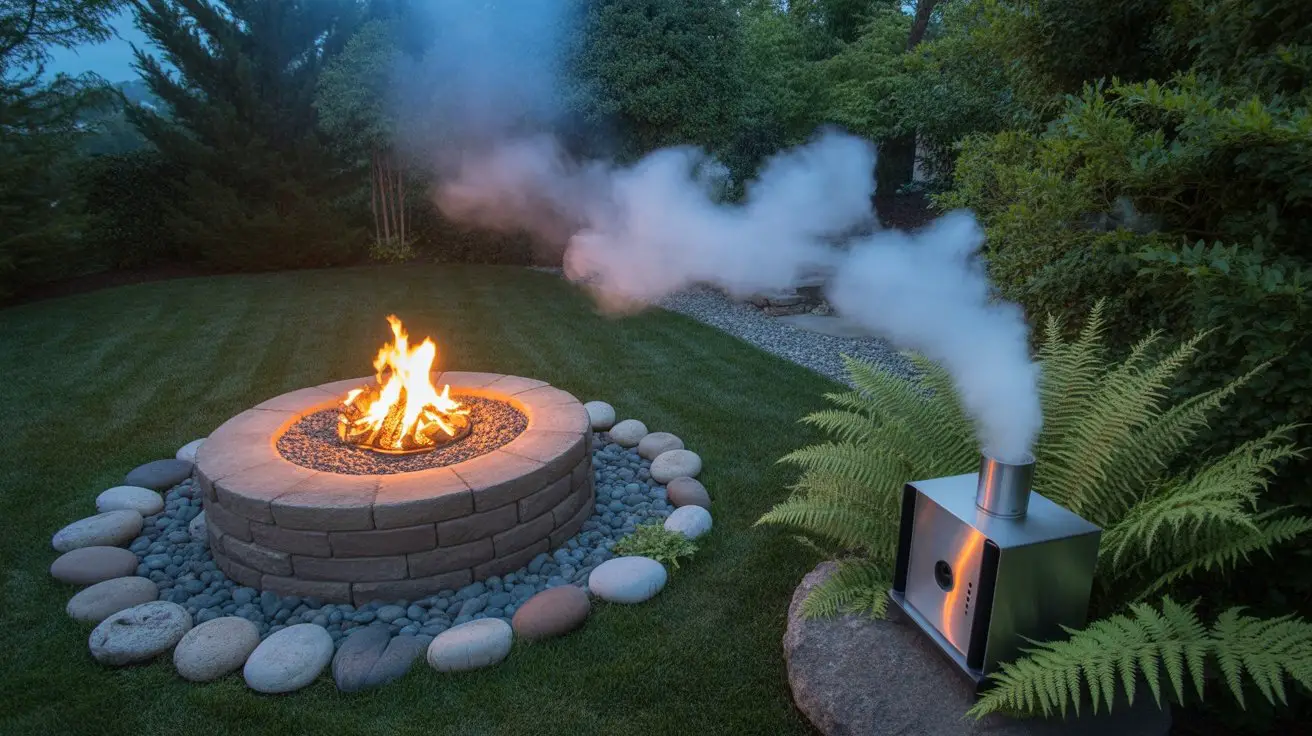
The fog effect comes from an ultrasonic mister, which turns water into a cool, fine mist. It has no flame, but it’s an electrical device sitting in water, so plug it into an outdoor GFCI outlet and keep the cord out of foot traffic.
Put the mister in its own basin or water feature beside the pit, never in the burner pan. Fill it with distilled water, since mineral or tap water can clog the disc and leave white dust.
Keep the mist from blowing straight into the flames. Test the mister on its own first, then with the fire, and adjust its spot for the wind.
For basin ideas, see how to build a fog fountain for your patio.
Adding Finishing Touches and Decorative Elements
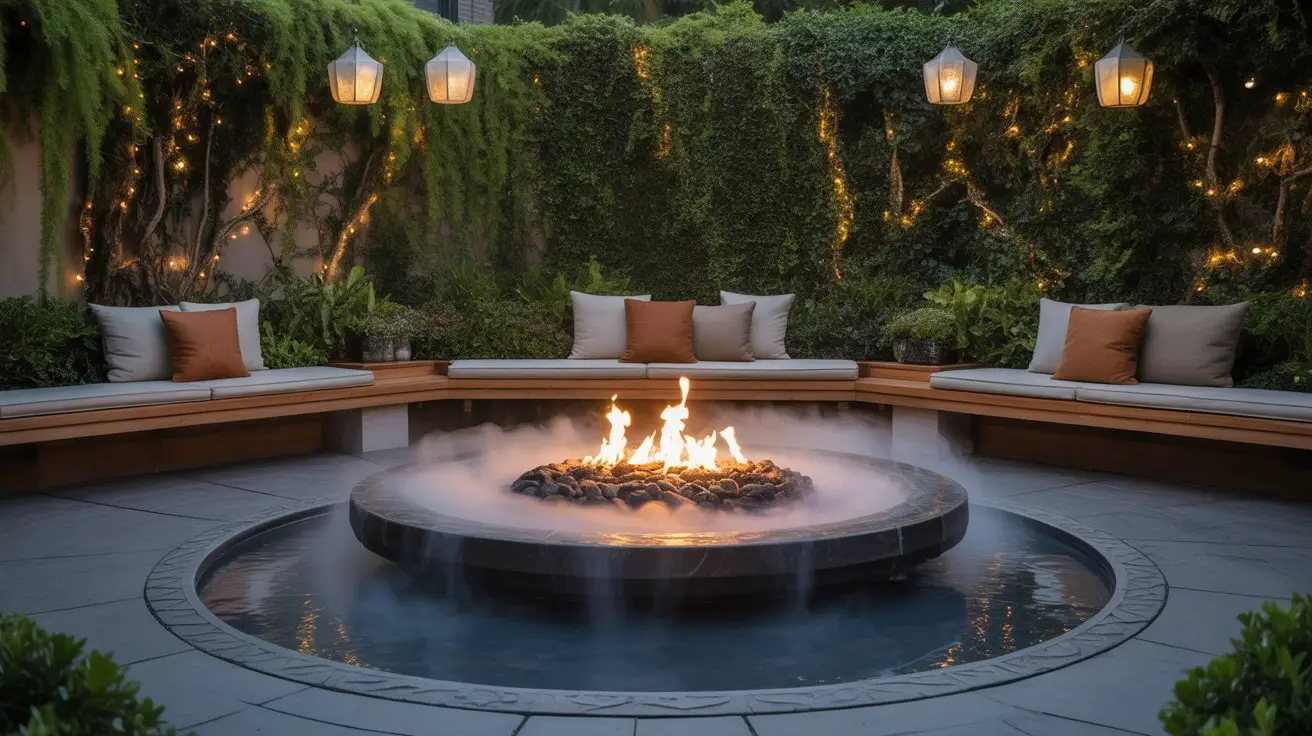
Surround the pit with non-combustible surfaces like pavers, gravel or stone. Keep cushions, outdoor rugs, plants and wood furniture back from the flames.
Low-voltage landscape lights or LED strips look great with the mist. Keep them and their wiring outside the heat zone and away from the gas line.
Glass wind guards help in breezy spots, but use one the burner maker approves. Check that any additions still meet your local rules.
Testing and Maintenance Tips
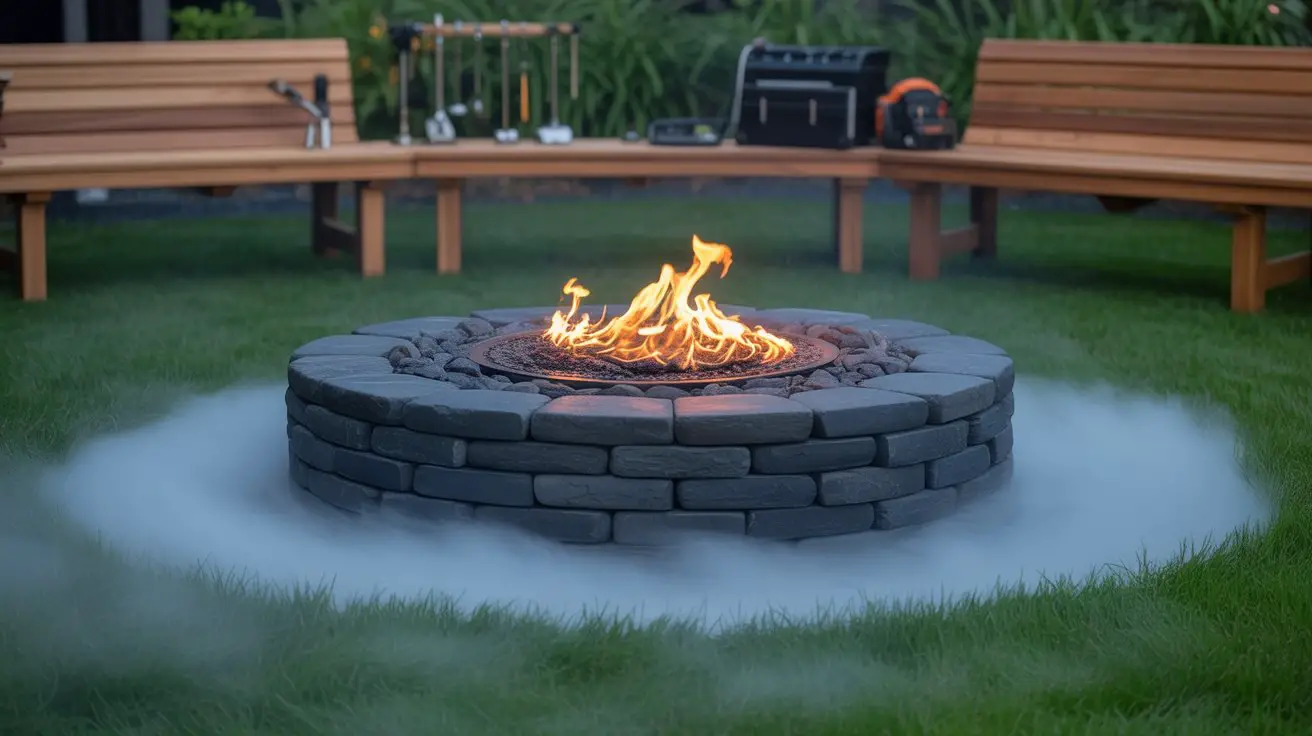
For the first lighting, follow the kit’s startup steps, ideally with your gas fitter there. If you ever smell gas, shut the valve, keep flames away and call your fitter or gas company.
Check connections with soapy water each season, as the manual describes. Keep burner ports and drain openings clear, and cover the pit when it’s not in use.
Empty and clean the mister basin regularly so it doesn’t grow algae. Inspect the cord, and press the GFCI’s test button once in a while.
Call a pro if you see cracked masonry, heavy soot, or a burner that won’t stay lit.
Frequently Asked Questions
How Much Does It Typically Cost to Build a Fire and Fog Pit?
Costs vary a lot with size, materials, fuel type and where you live. The burner kit and the gas fitter’s work are usually the biggest pieces, so get quotes before you start.
Can I Use My Fire and Fog Pit During Windy Weather Conditions?
Follow your burner manual, which often says not to run the pit in strong wind. Wind pushes flames sideways and blows the mist away, so save the effect for calm nights.
What’s the Best Time of Year to Install a Backyard Fire Pit?
Spring or fall is usually easiest, when the ground isn’t frozen and it isn’t too hot to work. Check how long permits take in your area, too.
How Long Does the Fog Effect Typically Last During Operation?
It depends on the basin size and the mister. Many ultrasonic misters need a minimum water depth and shut off when it runs low, so check the manual and top up as needed.
Can I Convert My Existing Fire Pit Into a Fire and Fog Pit?
Adding a separate mister basin beside an existing pit is simple. Converting a wood pit to gas is a bigger job that needs a certified conversion kit and, in most areas, a licensed gas fitter.
Conclusion
A fire and fog pit is a great backyard feature when the gas work is done right. Follow your local codes and the burner kit’s manual, and let a licensed gas fitter handle the gas connections.
Keep the mister’s water and wiring away from the fire, and keep an extinguisher close by. Then enjoy the show on calm evenings.