You’ll need to configure your mist cooling system with precise water pressure specifications and proper nozzle spacing to achieve maximum thermal reduction efficiency. The installation requires adherence to local plumbing codes while integrating high-pressure components that can withstand continuous operation. Most homeowners underestimate the critical relationship between pump capacity, line pressure, and droplet size—a miscalculation that’ll render your system ineffective and waste significant water resources.
Understanding How Mist Cooling Systems Work
When water droplets atomize to 5-50 microns in diameter, they evaporate rapidly and absorb thermal energy from surrounding air, reducing ambient temperature by 15-25°F depending on relative humidity levels.
You’ll achieve ideal performance when humidity remains below 60%. High-pressure pumps generating 800-1200 PSI force water through precision nozzles with 0.012-0.016 inch orifices.
The atomization process requires proper nozzle spacing of 24-36 inches for uniform coverage patterns. System efficiency depends on pump capacity matching nozzle flow rates—typically 0.5-2.0 gallons per hour per nozzle.
Install pressure regulators to maintain consistent output and prevent nozzle damage. Use stainless steel components to prevent corrosion and guarantee compliance with local plumbing codes.
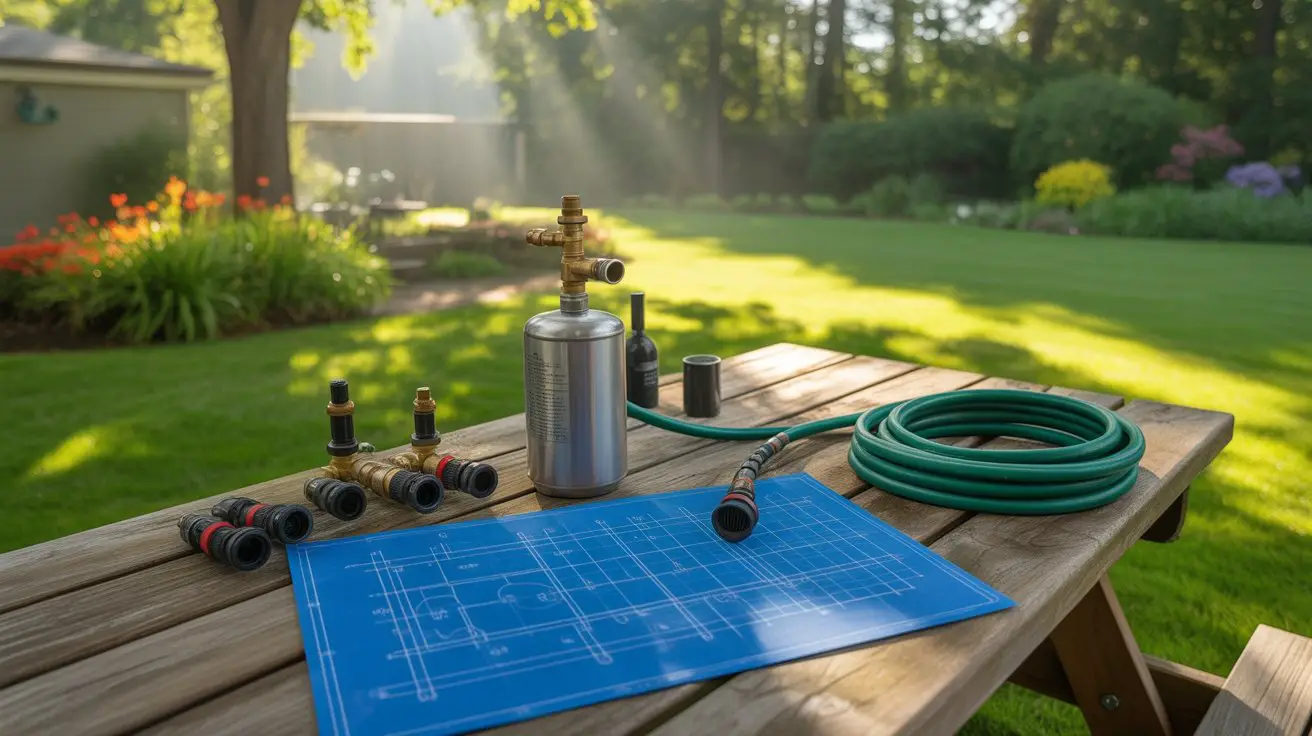
Essential Materials and Tools You’ll Need
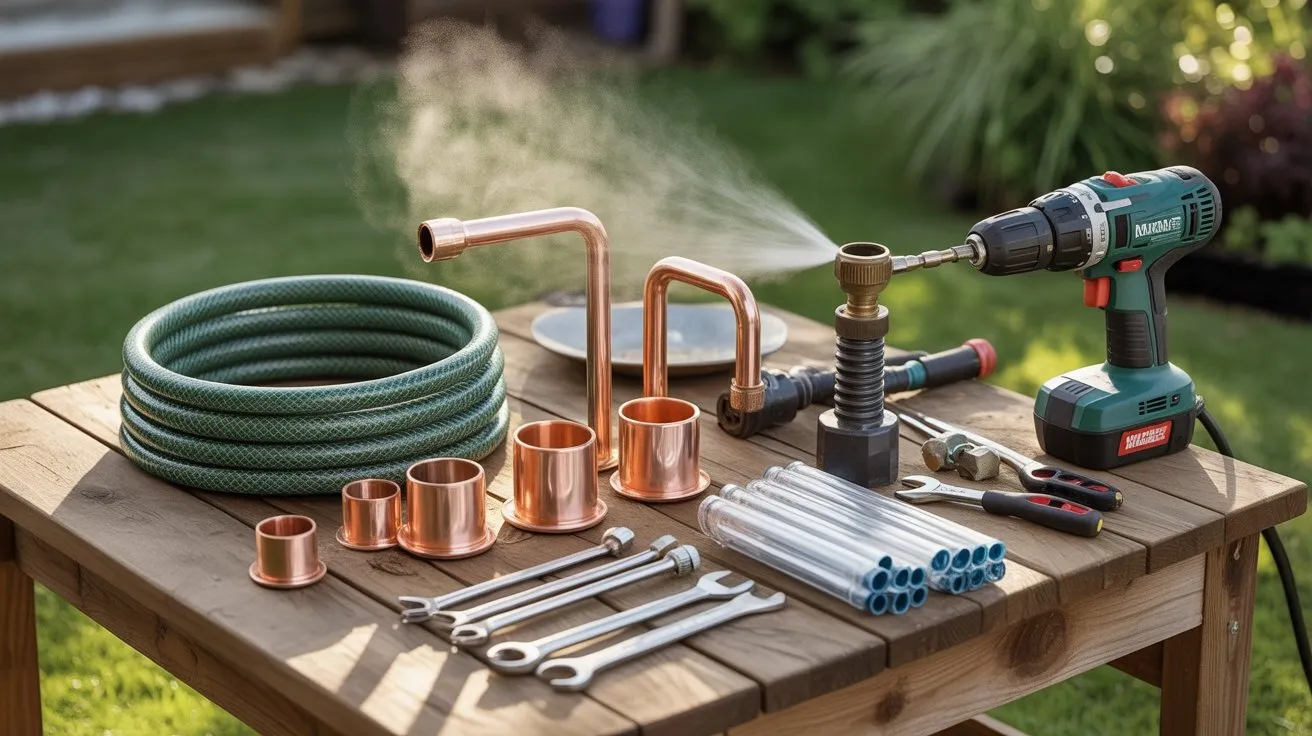
Success in building your mist cooling station depends on selecting the right high-pressure pump rated for continuous duty at 800-1200 PSI, paired with corrosion-resistant stainless steel tubing in 3/8-inch or 1/2-inch diameter.
You’ll need push-fit connectors rated for high pressure, ceramic or stainless steel misting nozzles with 0.2-0.4mm orifices, and a pressure regulator with gauge.
Install a solenoid valve for automated operation and include a sediment filter plus water softener if you’re dealing with hard water conditions.
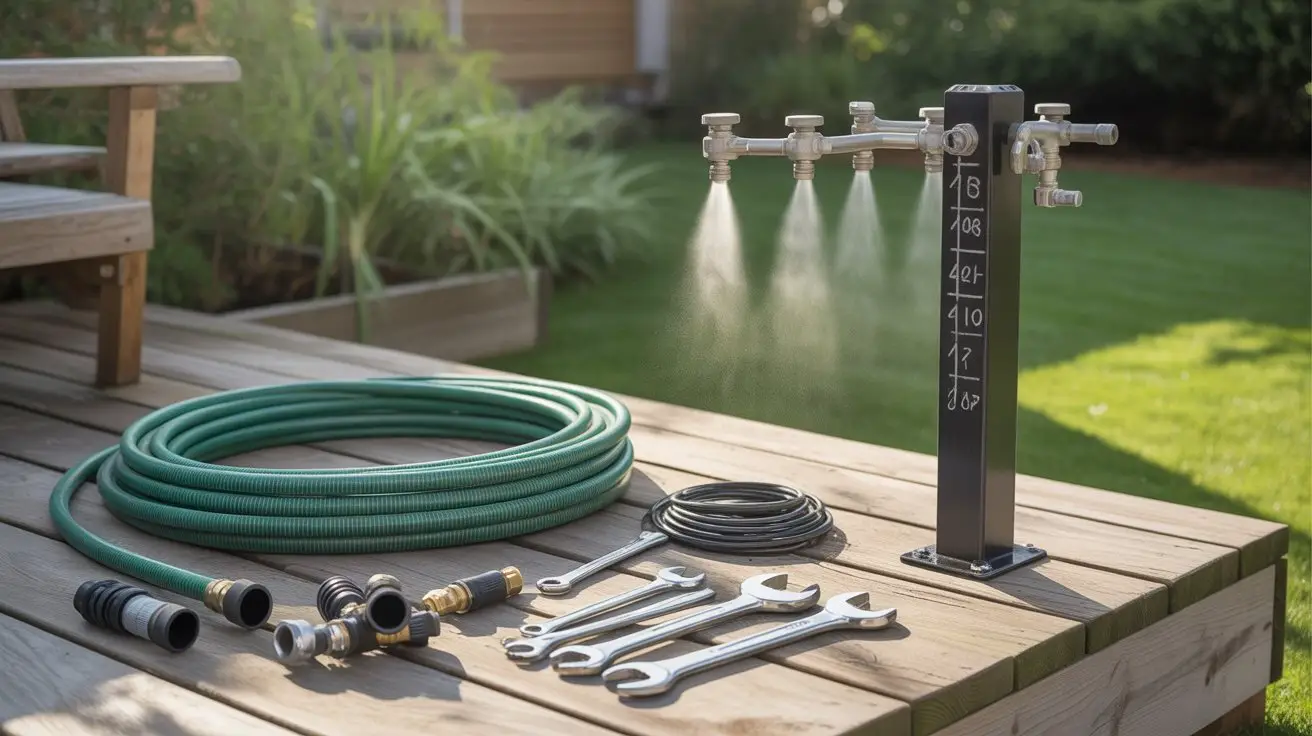
Essential tools include pipe cutters, adjustable wrenches, drill with masonry bits, mounting brackets, and electrical supplies for pump wiring.
Don’t forget GFCI protection for outdoor electrical connections. Add timer controls and pressure relief valves to guarantee safe, code-compliant operation meeting local building standards.
Planning Your Mist Cooling Station Layout
Three critical factors determine your mist cooling station’s effectiveness: coverage area, water pressure distribution, and structural mounting points.
You’ll need to map your target cooling zone and calculate the required nozzle spacing—typically 6-8 feet apart for ideal coverage without oversaturation.
Position your main water supply line to maintain consistent pressure throughout the system. Install a pressure regulator rated at 35-50 PSI to guarantee uniform mist output.
Plan your mounting structure to support the water-filled tubing weight—approximately 2 pounds per linear foot when operational.
Consider wind patterns and drainage requirements. Place nozzles downwind from seating areas to prevent excessive moisture accumulation.
Assure adequate slope for condensate runoff and comply with local building codes regarding permanent water installations.
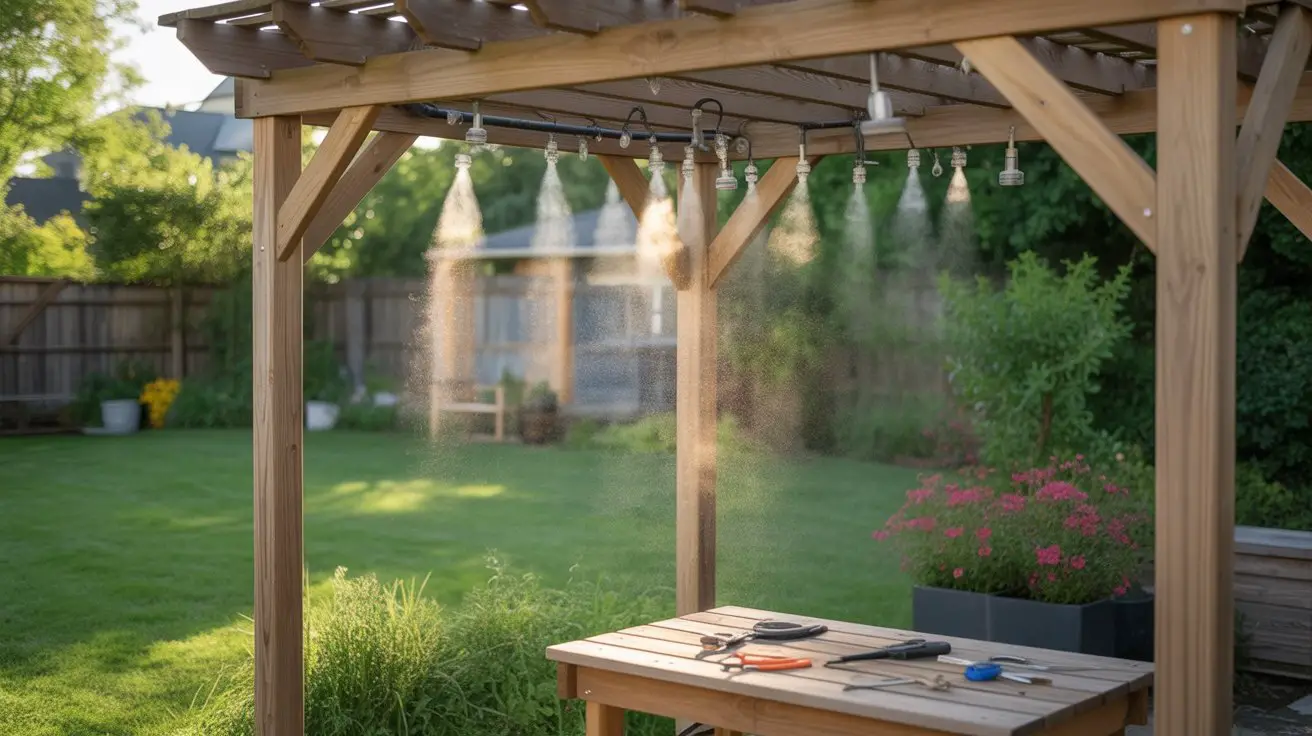
Step-by-Step Assembly Process
Before you begin assembly, gather all components and verify you’ve received the correct fittings, tubing diameter, and nozzle specifications for your calculated coverage area.
Start by connecting the main supply line to your water source using appropriate backflow prevention devices per local codes. Install the high-pressure pump according to manufacturer torque specifications.
Run your primary distribution tubing along predetermined pathways, securing every 24 inches with UV-resistant clamps. Thread nozzles into tee-fittings, ensuring gaskets seat properly to prevent leaks.
Install pressure gauges at critical points to monitor system performance. Connect electrical components through GFCI-protected circuits.
Flush the system thoroughly before final nozzle installation to remove debris. Test each zone individually, adjusting nozzle patterns for best coverage and efficiency.
Installation and Water Connection Setup
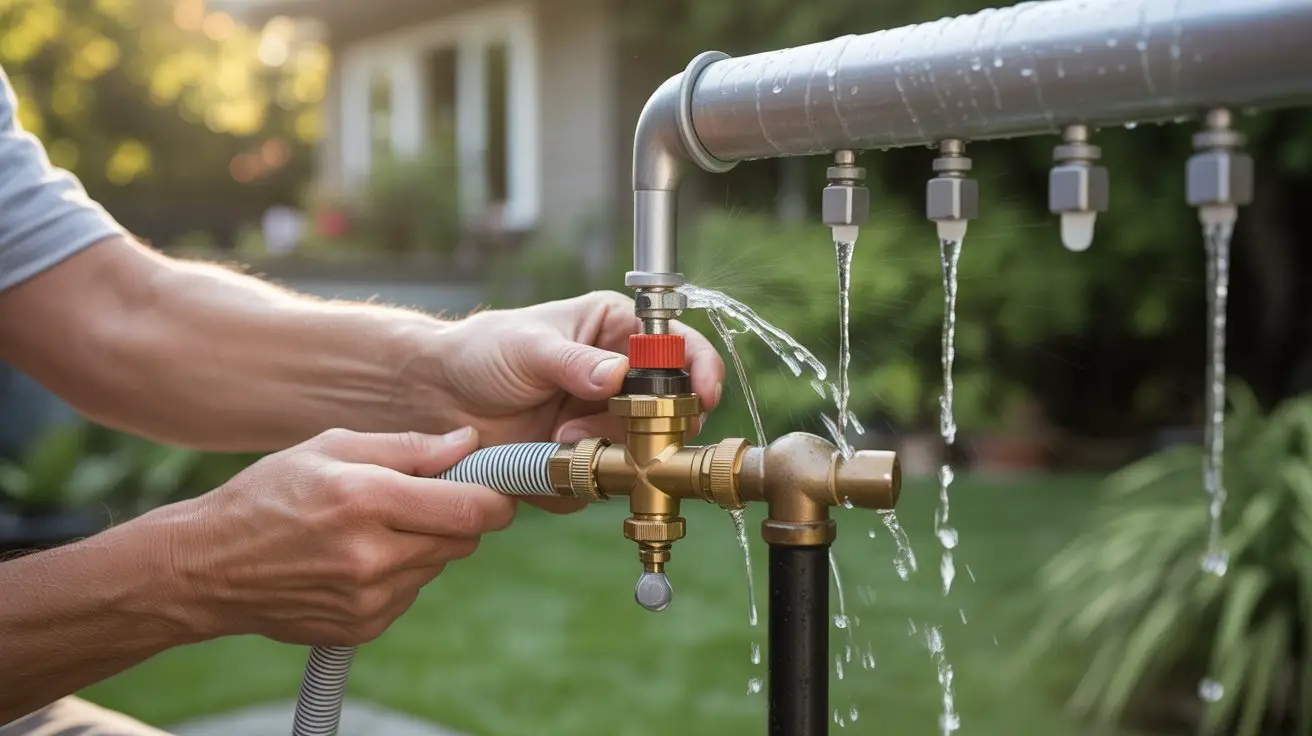
Once you’ve completed the initial assembly, you’ll need to establish a proper water connection that meets both performance requirements and local plumbing codes.
Install a backflow prevention device at your main water supply connection point—this prevents contaminated water from entering your home’s system.
Connect 3/8-inch polyethylene tubing from the backflow preventer to your mist system’s main line. Secure all connections with compression fittings rated for outdoor use.
Install an inline water filter to prevent nozzle clogs from sediment and minerals.
Mount a pressure regulator near the system inlet, setting it to 35-60 PSI for ideal misting performance.
Test all connections for leaks before energizing the system.
Maintenance Tips for Optimal Performance
Regular maintenance of your mist cooling system prevents costly repairs and maintains peak cooling efficiency.
You’ll need to flush the system monthly using a 10:1 water-vinegar solution to eliminate mineral deposits that restrict flow rates. Replace nozzle filters every 90 days to maintain proper 5-50 micron particle filtration.
Check pressure gauge readings weekly—optimal performance occurs between 800-1000 PSI. Inspect all connection joints for leaks using soapy water detection methods.
Clean the water reservoir bi-weekly and replace inline filters according to manufacturer specifications.
During winter months, drain all water lines completely to prevent freeze damage. Schedule annual pump servicing to verify motor amperage stays within nameplate ratings and maintain warranty compliance.
Frequently Asked Questions
How Much Does It Cost to Build a DIY Mist Cooling Station?
You’ll spend $50-200 for a basic DIY system using standard pressure components, or $200-500 for high-pressure systems requiring specialized fittings, pumps, and nozzles that meet efficiency standards.
Can Mist Cooling Systems Be Used During Winter Months?
You’ll face 40% reduced evaporation rates below 50°F, making winter mist systems ineffective. Your nozzles risk freezing, damaging components and reducing heat transfer efficiency. You’d waste energy without achieving meaningful temperature reduction during cold months.
Will a Mist System Increase My Water Bill Significantly?
Your water consumption’ll increase modestly, typically 2-6 gallons per hour depending on nozzle count and pressure settings. You’ll notice a $10-30 monthly increase during peak usage periods if you’re running the system efficiently.
Are There Any Local Permits Required for Installing Mist Cooling Systems?
Most municipalities don’t require permits for residential mist systems under 50 PSI. You’ll need to check local plumbing codes, water connection regulations, and HOA restrictions before installation to guarantee compliance.
How Much Does a Mist Cooling System Lower Outdoor Temperature?
You’ll achieve 10-35°F temperature reduction depending on ambient humidity levels. High-pressure systems deliver maximum efficiency at 1000+ PSI. Lower humidity environments produce greater cooling differential through enhanced evaporation rates and heat transfer.
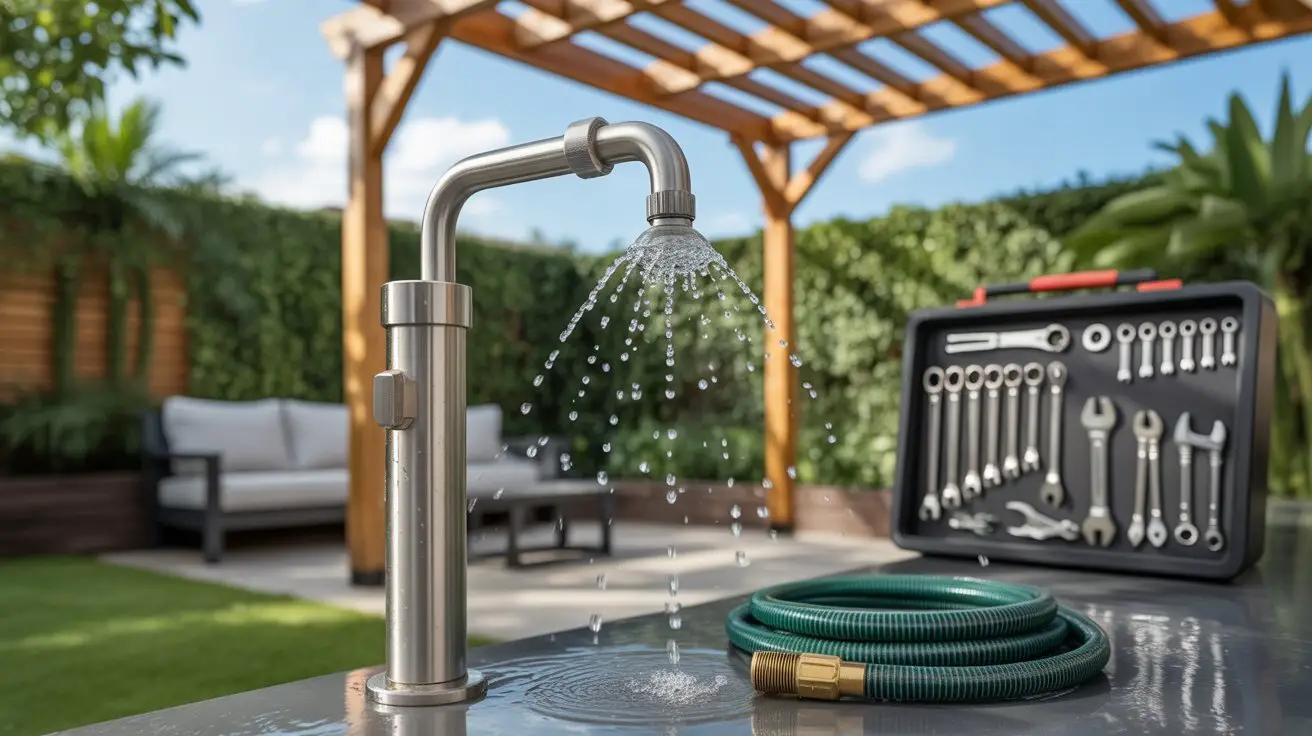
Conclusion
You’ve transformed your scorching backyard into a revitalizing oasis through precise engineering and methodical installation. While summer heat relentlessly beats down, your high-pressure misting system now delivers cool relief at 1,000+ PSI. Though the initial assembly demanded technical accuracy and code-compliant connections, you’ll now enjoy effortless comfort for years. Regular maintenance guarantees peak efficiency, but your investment pays dividends through consistent temperature reduction and energy-efficient cooling that outperforms traditional air conditioning systems.