Studies show that 73% of lighting designers position their lasers incorrectly, resulting in dead zones and wasted visual impact. You’ll need to master the precise relationship between beam angle, mounting height, and audience coverage to avoid joining this statistic. The difference between amateur and professional laser positioning lies in understanding how spatial geometry affects light propagation—and there’s a specific formula that determines whether your beams will create stunning atmospheric effects or disappointing gaps in coverage.
Understanding Your Venue’s Physical Dimensions and Limitations
Spatial assessment forms the foundation of effective laser positioning.
You’ll need to measure ceiling height, stage depth, and audience sightlines to determine ideal beam trajectories. Document structural obstacles like ventilation systems, rigging points, and architectural features that could obstruct laser paths or create unwanted reflections.
Calculate your throw distances carefully—lasers require specific focal lengths to achieve sharp beam definition.
Consider ambient lighting conditions and surface reflectivity of walls, ceilings, and floors. Dark surfaces absorb laser energy while reflective materials can create unpredictable scatter patterns.
Map out power distribution points and DMX cable runs early in your planning process.
You’ll also need to identify safe zones where lasers won’t accidentally sweep across audience areas, ensuring compliance with laser safety regulations while maximizing visual impact throughout your venue’s three-dimensional space.
Safety Considerations and Eye-Level Protection Protocols
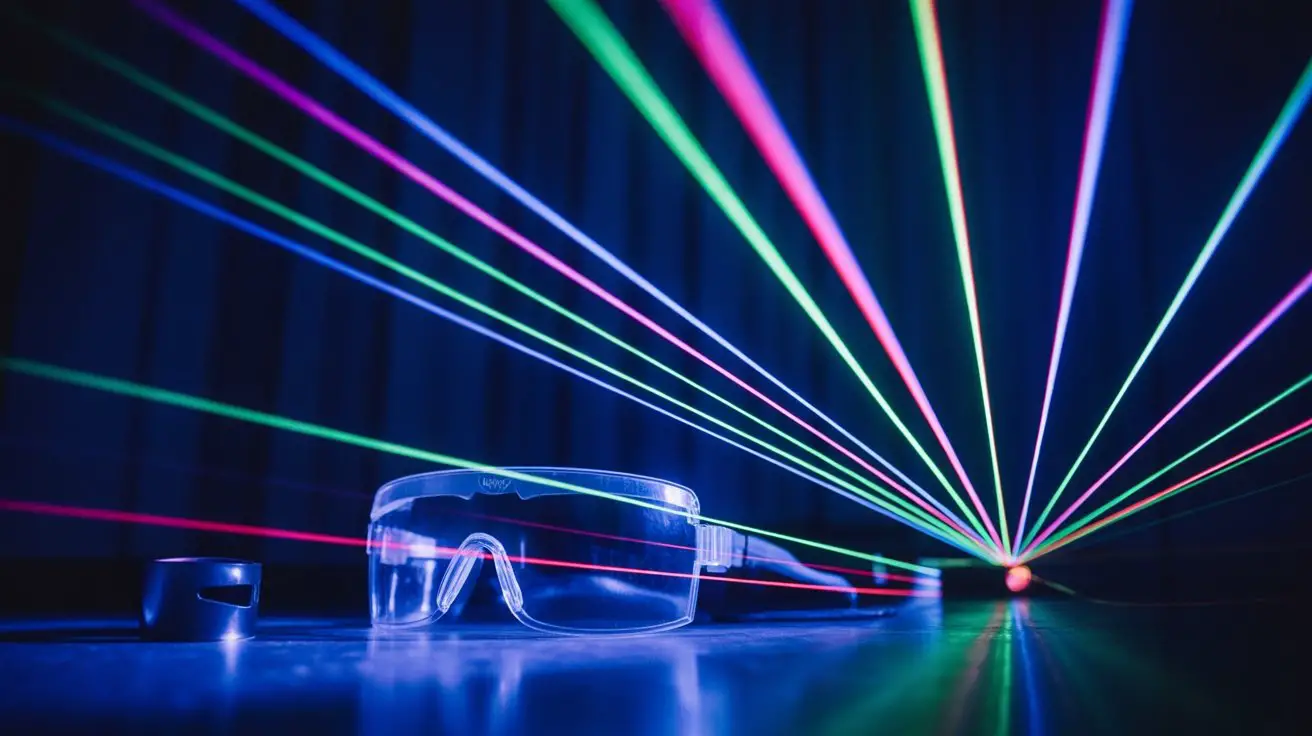
Beyond mapping your venue’s physical boundaries, you must establish thorough safety protocols that protect performers and audience members from direct laser exposure.
Understanding beam classification and implementing proper positioning prevents permanent retinal damage and guarantees regulatory compliance.
Your laser positioning strategy requires these critical safety measures:
- Establish minimum projection heights – Position beams at least 10 feet above audience areas to prevent direct eye contact.
- Create safety zones – Designate restricted access areas within the laser’s operational envelope.
- Install emergency shutoffs – Place accessible kill switches at multiple control points throughout the venue.
- Deploy beam terminators – Use proper backstops to contain laser projections within designated areas.
These protocols transform potentially hazardous installations into controlled artistic environments while maintaining the visual impact you’re seeking.
Strategic Beam Angle Planning for Optimal Coverage
Once you’ve secured your safety perimeters, calculating precise beam angles becomes your primary tool for achieving thorough venue coverage without visual gaps or overcrowded zones. You’ll need to map divergence patterns systematically, considering each fixture’s throw distance and dispersion characteristics.
| Beam Width | Ideal Distance | Coverage Area |
|---|---|---|
| 15-25° | 20-40 feet | Focused zones |
| 30-45° | 15-30 feet | Medium wash |
| 50-80° | 8-20 feet | Wide coverage |
Start by positioning your narrowest beams at maximum throw distances for precise targeting. Medium angles work best for shifting zones, while wide dispersions fill peripheral areas effectively. You’ll achieve seamless integration by overlapping adjacent beam edges at 10-15% intensity points, eliminating harsh boundaries while maintaining consistent illumination density throughout your performance space.
Height Placement Techniques for Different Ceiling Types

Your beam angle calculations directly inform mounting height decisions, as ceiling architecture fundamentally determines how effectively your laser fixtures project their planned coverage patterns.
Standard 8-10 foot residential ceilings require mounting heights of 7-8 feet to achieve ideal beam dispersion without overwhelming nearby surfaces. Cathedral and vaulted spaces demand strategic positioning at 12-15 feet, utilizing the angular geometry to create expansive coverage zones.
Consider these critical height placement factors:
- Beam divergence ratios – Calculate spread distance using fixture specifications
- Obstruction clearance – Maintain 2-foot minimum from ceiling fans or architectural elements
- Power density optimization – Higher placement reduces intensity per square foot
- Access requirements – Plan maintenance accessibility for filter cleaning and adjustments
Dropped ceilings offer concealed mounting opportunities but limit heat dissipation.
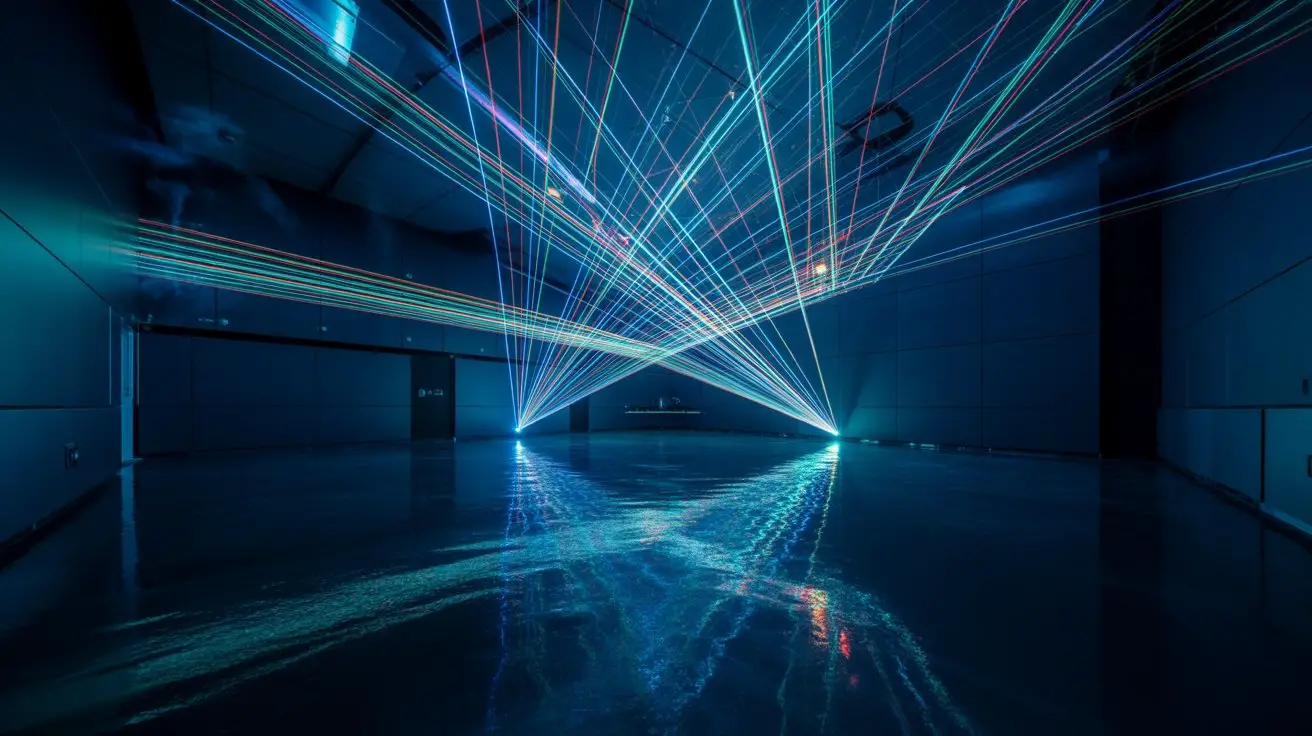
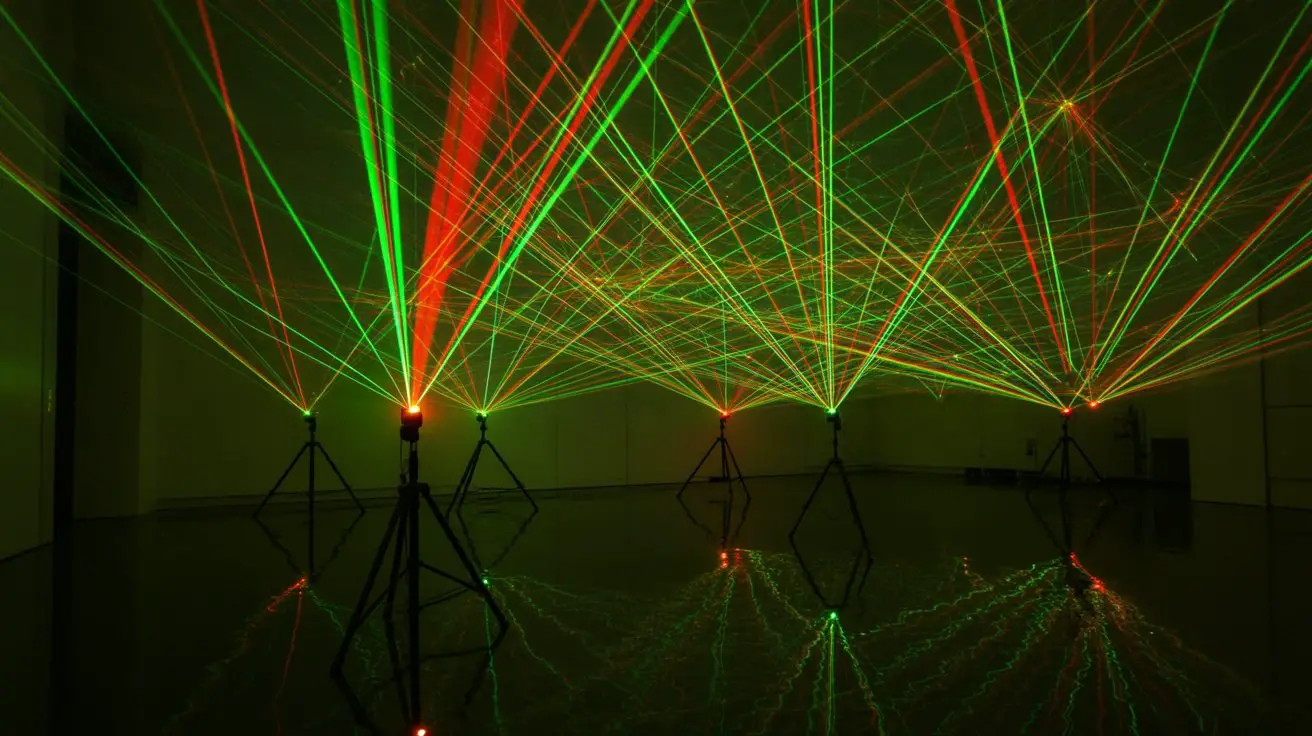
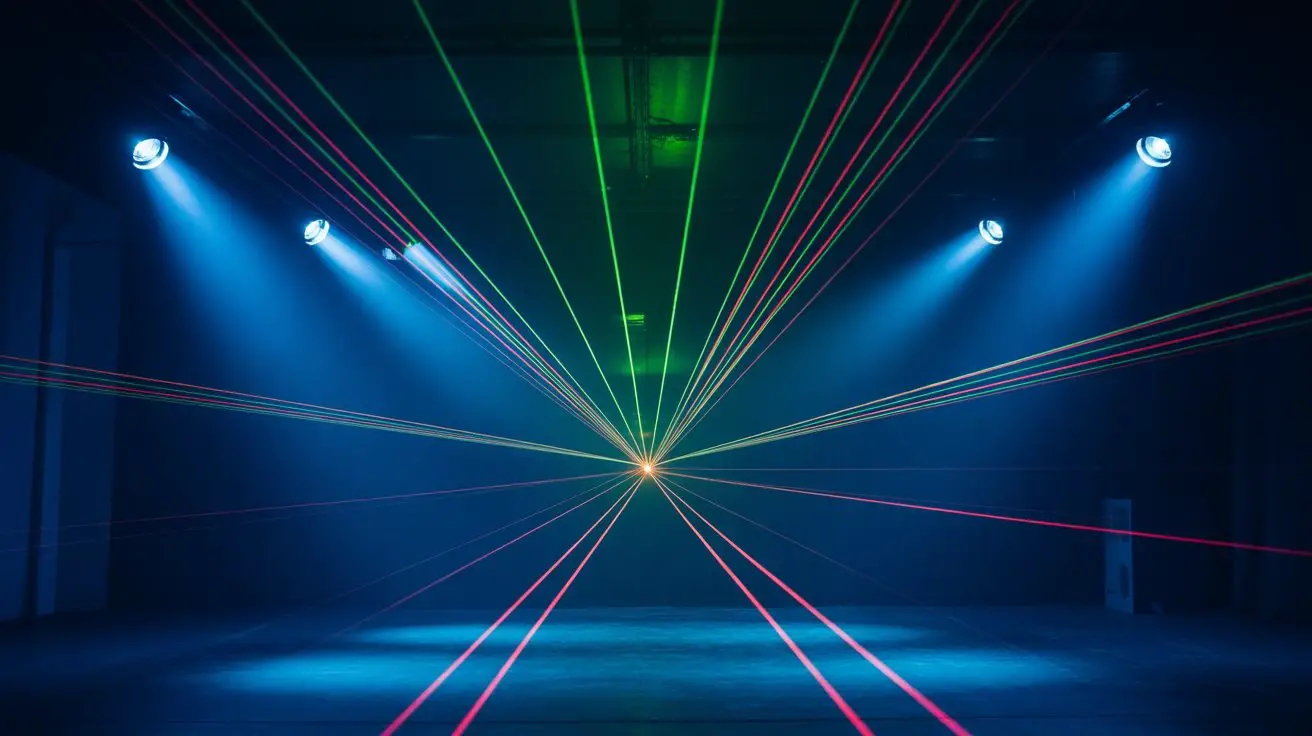
Creating Depth and Layering Effects With Multiple Laser Units
Multiple laser units transform flat projection surfaces into dynamic three-dimensional environments through strategic positioning and coordinated beam patterns.
You’ll create compelling depth by positioning your primary unit at standard height while placing secondary lasers at varied elevations—floor-mounted units project upward angles, while elevated fixtures cast downward beams. Stagger your beam intersection points to establish multiple focal planes throughout the space.
Configure alternating pulse sequences between units to enhance the layering effect. Your foreground lasers should use sharper, more defined patterns, while background units employ softer, diffused projections.
Maintain 15-20 degree angular separation between adjacent units to prevent beam interference. Cross your laser paths at strategic points to create visual anchor zones where patterns intersect, establishing dimensional reference points that guide viewers’ eyes through your three-dimensional light sculpture.
Working With Architectural Features and Obstacles
When architectural elements dominate your venue, they’ll either enhance your laser display or create challenging obstacles that require strategic workarounds.
You must assess each structural component’s potential impact on your beam paths and projection surfaces.
Transform architectural challenges into creative opportunities:
- Beam interruption mapping – Document columns, hanging fixtures, and structural elements that’ll block laser trajectories
- Surface texture exploitation – Utilize rough walls, curved ceilings, and textured surfaces to scatter beams for atmospheric effects
- Shadow play integration – Position units to cast deliberate shadows from architectural features, creating geometric patterns
- Reflection angle optimization – Leverage mirrors, metallic surfaces, and glass elements to redirect beams into unexpected zones
Strategic positioning around obstacles guarantees seamless visual flow while maximizing architectural synergy.
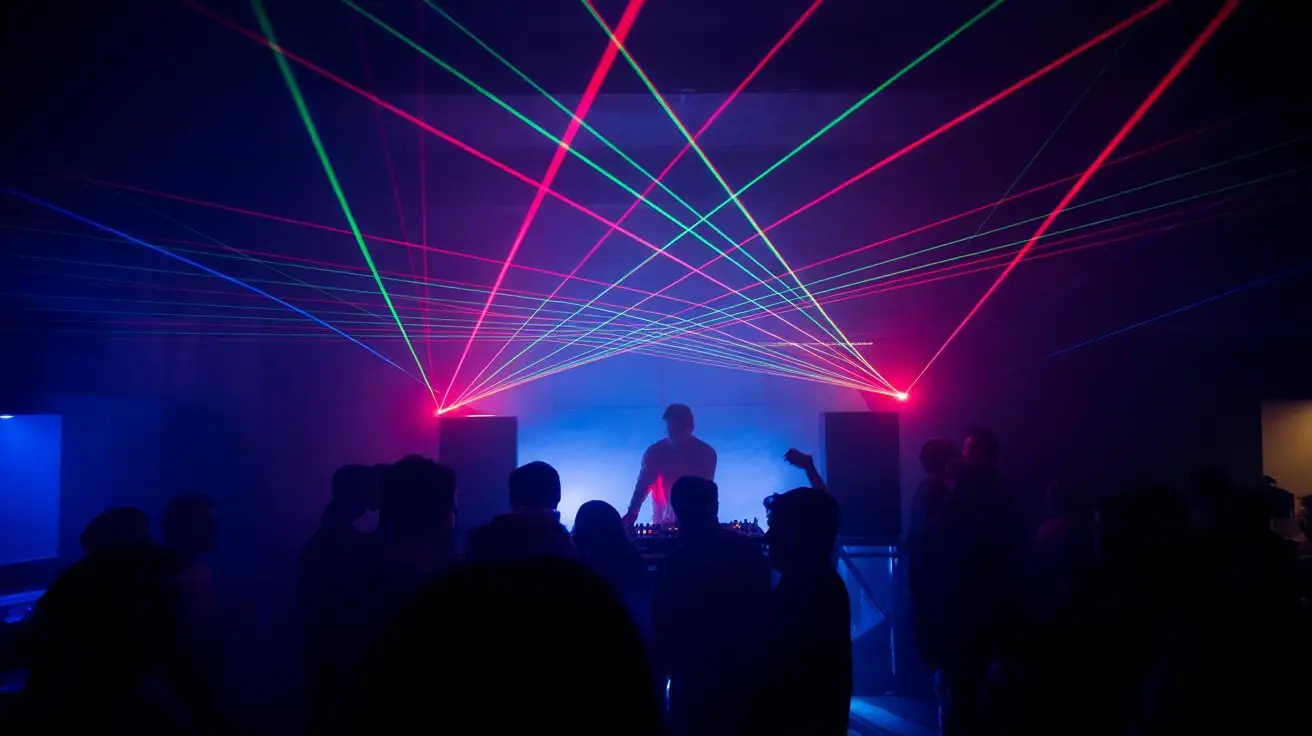
Audience Sightline Management and Viewing Zones
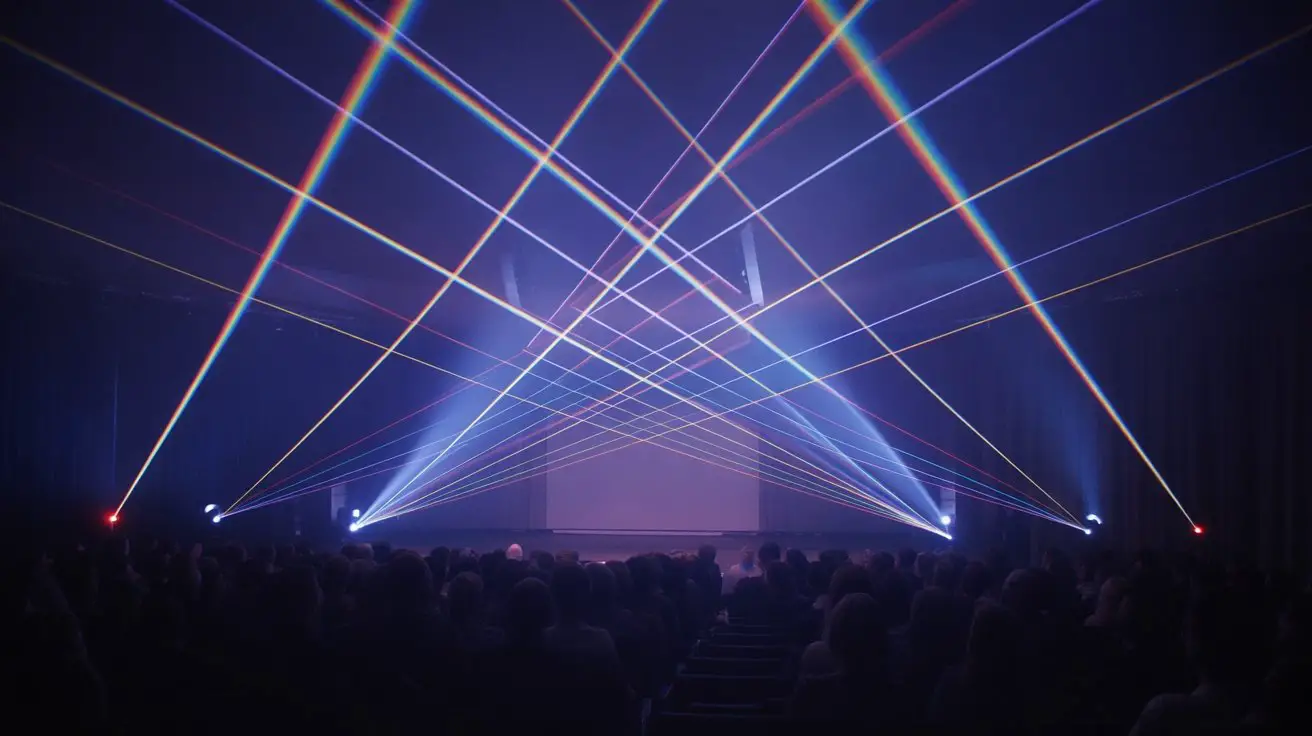
Since proper audience positioning determines the success of your entire laser installation, you must analyze viewing angles, obstruction patterns, and ideal sight lines before finalizing projector placement.
Map your venue’s primary and secondary viewing zones, identifying prime positions where laser beams create maximum visual impact without obstruction.
Consider audience height variations—seated versus standing configurations dramatically affect beam visibility. Position projectors to eliminate dead zones where effects disappear or become distorted.
Calculate beam convergence points to guarantee critical moments occur within the primary viewing zone.
Account for dynamic audience movement during performances. Static installations require different sight line considerations than mobile crowds.
Test projector angles from multiple audience positions, adjusting elevation and orientation to maintain consistent beam visibility across all designated viewing areas.
Coordinating Laser Positioning With Other Lighting Elements
Although laser projectors create stunning standalone effects, they must integrate seamlessly with your existing lighting infrastructure to achieve professional results.
You’ll need to coordinate beam paths, color temperatures, and timing sequences to prevent conflicts and enhance overall visual impact.
Strategic coordination requires careful planning of these key elements:
- Beam intersection mapping – Plot laser trajectories to avoid interference with moving lights, spotlights, and wash fixtures.
- Color palette synchronization – Match or complement laser colors with your conventional lighting scheme to maintain aesthetic cohesion.
- Dimming curve alignment – Synchronize laser intensity changes with your lighting console’s fade curves for smooth shifts.
- Fixture positioning hierarchy – Establish mounting priorities to prevent physical obstructions between laser projectors and traditional luminaires.
This systematic approach guarantees your lasers enhance rather than compete with existing lighting elements.
Distance Calculations for Beam Spread and Intensity
How do you determine the precise distance needed to achieve your desired beam coverage and intensity levels?
You’ll need to calculate the relationship between distance, beam divergence, and output power using fundamental optical principles.
Start with your laser’s beam divergence specification, typically measured in milliradians. Multiply this value by your projection distance to determine beam diameter at that point.
For intensity calculations, apply the inverse square law: intensity decreases proportionally to the square of distance.
Use the formula: Beam diameter = (divergence × distance) + initial beam width. For power density, divide total output by beam area.
Factor in atmospheric conditions and surface reflectivity when calculating visible intensity.
Document your measurements systematically, creating distance-to-coverage charts for consistent setup procedures across different venues and applications.
Mounting Solutions and Equipment Stability Methods
Once you’ve calculated your ideal positioning distances, securing your laser equipment with appropriate mounting hardware becomes your next priority.
Professional installations demand robust mounting solutions that eliminate vibration and maintain precise alignment throughout extended operational periods.
Your mounting strategy should incorporate these essential stability methods:
- Truss-mounted clamps with safety cables for overhead installations requiring 360-degree rotation capabilities
- Floor-standing pedestals with weighted bases for ground-level positioning and enhanced portability
- Wall brackets featuring adjustable pivot joints for permanent installations with limited floor space
- Ceiling suspension systems using aircraft cable and vibration dampeners for venues with structural constraints
Select mounting hardware that exceeds your laser’s weight specifications by at least 200%.
Anti-vibration pads between fixtures and mounting surfaces prevent micro-movements that compromise beam accuracy and geometric precision.
Frequently Asked Questions
What Color Combinations Work Best for Different Music Genres and Events?
You’ll want deep blues and purples for ambient electronic music, while rock demands intense reds and whites. Corporate events require subtle greens and blues, whereas dance music thrives with rapid-cycling rainbow sequences and strobing effects.
How Do You Synchronize Laser Movements With Audio Beats and Rhythms?
You’ll configure BPM detection software to analyze audio frequencies, then program your DMX controller to trigger laser cue sequences on beat peaks. Set attack/decay parameters matching musical dynamics for seamless synchronization between sound waves and beam movements.
What’s the Ideal Laser Power Output for Indoor Versus Outdoor Venues?
You’ll need 50-150mW for intimate indoor spaces, while outdoor festivals demand 500mW-3W systems. Consider ambient light pollution, venue size, and safety regulations when selecting wattage. Higher output penetrates daylight but requires stricter beam control protocols.
How Often Should Laser Equipment Be Cleaned and Maintained for Optimal Performance?
Like clockwork precision in theatrical productions, you’ll need weekly dust removal from optical components, monthly calibration checks, and quarterly deep cleaning of cooling systems to maintain peak beam quality and prevent thermal damage.
What Backup Power Solutions Work Best for Preventing Mid-Show Laser Failures?
You’ll need uninterruptible power supplies with pure sine wave output rated 150% above your laser’s consumption. Battery backup systems shouldn’t exceed 0.5% total harmonic distortion to prevent beam instability and projector damage during critical performance moments.
Conclusion
Think of laser positioning as choreographing light itself—each beam’s placement becomes a calculated dance move across your venue’s canvas. You’ve mastered the technical fundamentals: mounting heights, beam angles, and safety protocols. Now you’ll transform spatial mathematics into visual poetry. Your precise calculations for coverage zones, intensity distribution, and sightline optimization guarantee every audience member experiences seamless illumination. Execute these positioning strategies with surgical precision, and you’ll orchestrate lighting that transcends mere illumination to become architectural spectacle.