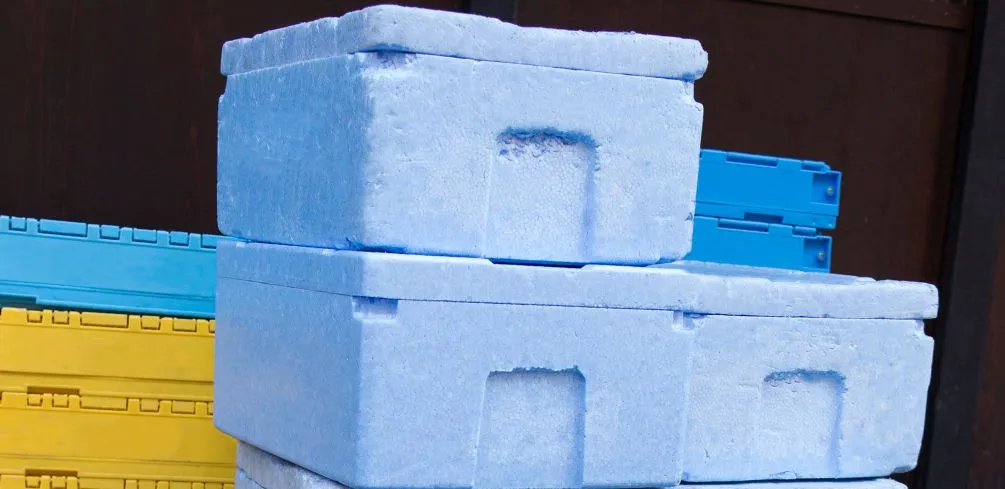
To make a fog chiller you’ll need a Styrofoam cooler and a few other materials you can easily get. Design the cooler such that you have a fog inlet and outlet. You will need a cooling chamber where you will have ice and a fan so that the hot fog from your fog machine will be cooled before getting out.
Do you want to make your own fog chiller? It’s a great idea and actually easier than you might think.
In this blog post, we will walk you through the six steps that you need to follow in order to make your very own fog chiller. So if you are looking to create a spooky atmosphere for your next Halloween party, read on.
How Does a Fog Chiller Work?
Fog machines are great when looking to make a spooky atmosphere. However, the fog that they produce can often be too warm and thick, making it difficult to see through.
A fog chiller will help to cool down the hot fog, making it denser. So a fog chiller helps make the fog cool and stay low; it is a good way to produce low-lying fog.
You can make a fog chiller with items you can find at home such as regular ice, a container or big water bottle, etc. Keep reading to see how you can make your own fog chiller in just six steps.
How to Make a DIY Fog Chiller
The Materials
You are going to need the following stuff:
- Styrofoam
- Some PVC coupling
- A small fan (a computer fan works pretty well)
- Normal ice
- Duct tape
- A fog machine
- A 9-volt battery
- Fog juice
- Tools: Pliers, stapler, and a flathead screwdriver
The Design
Before you make your fog chiller, you will need to have a basic understanding of the design. The fog chiller consists of two main parts: the cooler chamber and the fan assembly.
The cooling chamber is where the hot fog will be cooled down. It is made up of pieces of Styrofoam that are held together by PVC coupling.
There should be a small hole in the top piece of Styrofoam so that the hot fog can enter the cooling chamber. This hole is where you attach the inlet tube.
The fan assembly will help to circulate the cold air throughout the cooling chamber. It is made up of a small fan and a battery.
The battery powers the fan, which helps to circulate the cold air. This chamber is on the lower end of the cooling chamber and is where the outlet tube is attached.
It should be at one end of at the bottom of the chamber.
Step 1 – Make the styrofoam cooler
The first step is to cut the Styrofoam into four pieces. If you find styrofoam that’s already in cuboid shapes, that would work perfectly. If not, you can easily cut it into four pieces using a knife.
You will need two pieces that are 14″x14″, and two pieces that are 12″x12″. These will be the sides of your cooling chamber. In this guide, I am assuming you have styrofoam in a cuboid shape.
Step 2
Now it’s time to make the holes: The inlet hole and exit hole. Take the 12″x12″ piece and make a hole in the center of it. Make sure that this hole is big enough for your inlet tube to fit through snugly.
For the other hole, the exit hole, make a small hole on one side of the styrofoam (one of the 14″x14″ pieces). This will be where the outlet tube attaches.
Step 3
Now it’s time to start putting everything together. First, take the two 14″x14″ pieces and attach them together using the PVC coupling. Do this for all four sides. Now you should have a big box with an open top.
You will need another styrofoam piece that will seal the top so that the smoke doesn’t escape once it gets into the chamber. You can use any other lid if you want.
Step 4
Now you will need to prepare the fan chamber at the bottom of the cooler. Cut a hole in one of the 14″x14″ pieces, big enough for the fan to fit through.
Attach the fan to the battery using duct tape. Make sure that the wires don’t touch each other as this could cause a short circuit. Once you have done this, put the fan assembly into the hole you cut earlier.
Step 5
This is where you put everything together. First, take the inlet tube and attach it to the hole you made on the top piece of styrofoam. Make sure that it is a snug fit so that no smoke escapes.
Next, take the outlet tube and attach it to the hole on the side of the chamber. Again, make sure that it is a snug fit.
Now, put the top piece of styrofoam on the chamber and seal it with duct tape. Make sure that all the holes are sealed so that no smoke escapes.
Step 6
You’re almost done! The last thing you need to do is add ice to the chamber. You will need around five pounds of ice, or enough to fill the chamber.
Once you have added the ice, turn on the fog machine and the fog chiller.
Here’s what’s going to happen:
The DIY fog chiller will produce the same effect as a store-bought chiller or a ground fogger. As the fog from the fog machine enters the fog chiller, it mixes with hot air and therefore, expands.
When it enters the chiller it starts cooling as it mixes with cold air. Now as the cool air sinks, the fog sinks to the bottom of the chamber.
The fog gets colder and colder and sinks even further below the ice. The running fan keeps the fog low and forces it out so it shoots straight out the chamber through the outlet aperture.
So you now have low-lying fog with a normal fog machine. It helps to make sure that you cut holes that are the right size. If the holes are too big, you are not going to have an efficient system.
Note also that the ice starts to melt after some time. So watch out for this and add more ice so that your fog stays low.
If the temperature in your room is too high, you can use a big hose and keep the chiller in a colder place.
How to Make a Fog Chiller: FAQ
Final Thoughts
A fog chiller is a great addition to any Halloween display or party. It’s easy and inexpensive to make, and it will definitely impress your guests. Follow the steps above to create your own fog chiller.
Please be careful and use at your own risk
None of the authors, contributors, administrators, or anyone else connected with Wild Fog, in any way whatsoever, can be responsible for your use of the information contained in or linked from these web pages.


