You’ll need precise measurements and the right components to transform ordinary fog into dense, ground-hugging effects that professional theaters rely on. Your mini fog chiller requires careful attention to airflow dynamics, thermal transfer principles, and airtight sealing techniques. Without proper construction methods, you’ll waste fog fluid and create disappointing wispy clouds instead of dramatic low-lying fog. The critical failure point that destroys most DIY attempts involves one overlooked detail in the cooling chamber design.
Materials and Tools Required
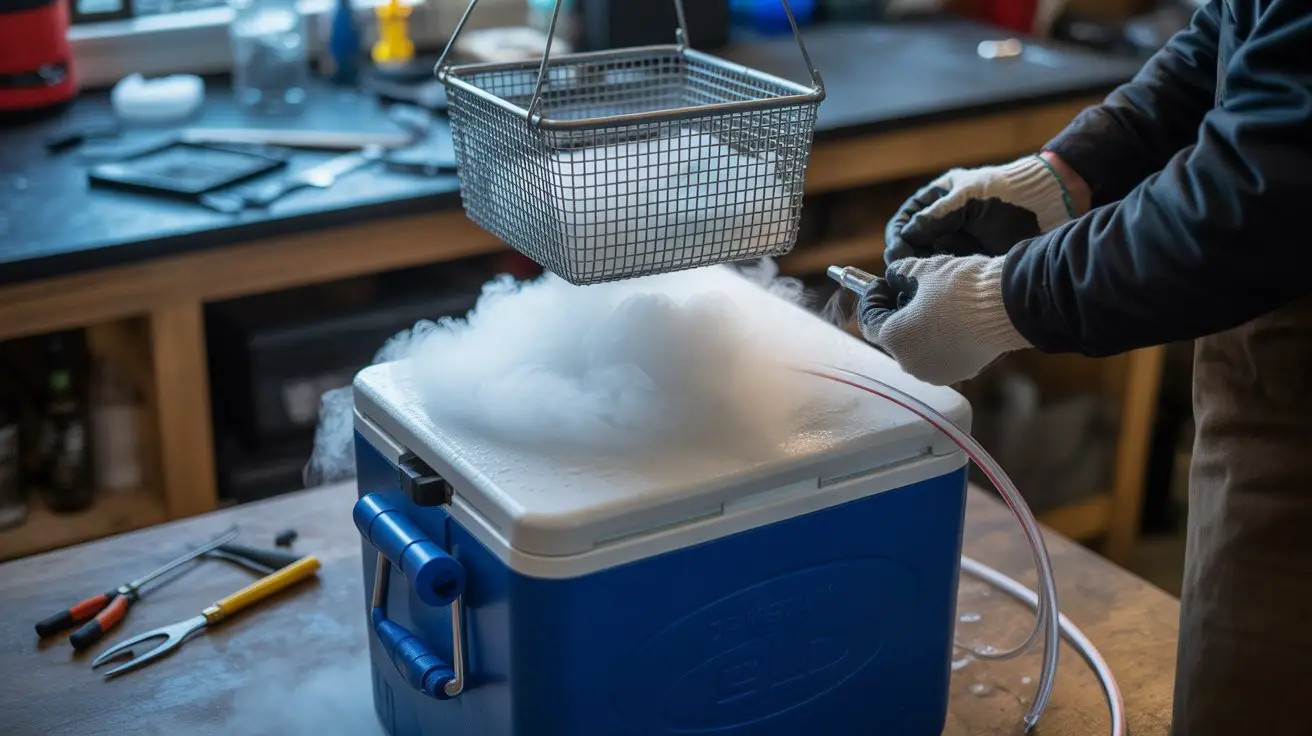
Before assembling your mini fog chiller, you’ll need specific components that guarantee both effective cooling performance and safe operation. Your primary container requires a sealed cooler or insulated box with removable lid.
You’ll need PVC pipe fittings: two 90-degree elbows, straight connectors, and flexible tubing rated for temperature variations. Essential tools include a drill with hole saw attachments, measuring tape, and permanent markers for precise positioning.
Safety equipment consists of protective eyewear and work gloves. You’ll require waterproof sealant or gaskets to prevent leaks at connection points.
Ice serves as your cooling medium, while dry ice offers enhanced performance but demands ventilation precautions. A small computer fan with battery pack provides circulation.
Finally, gather electrical tape for secure connections and a multimeter for testing electrical components before operation. Additionally, ensure your design includes a cooling chamber that effectively chills the fog before it exits the system.
Understanding How Fog Chillers Work
Now that you’ve gathered your components, you’ll need to understand the fundamental cooling principle that makes your fog chiller effective. Your fog chiller operates through basic thermodynamics: hot fog enters the chamber, contacts cold surfaces, and exits as dense, low-lying mist.
The cooling process follows these critical steps:
- Heat Transfer – Hot fog from your machine enters the insulated cooling chamber.
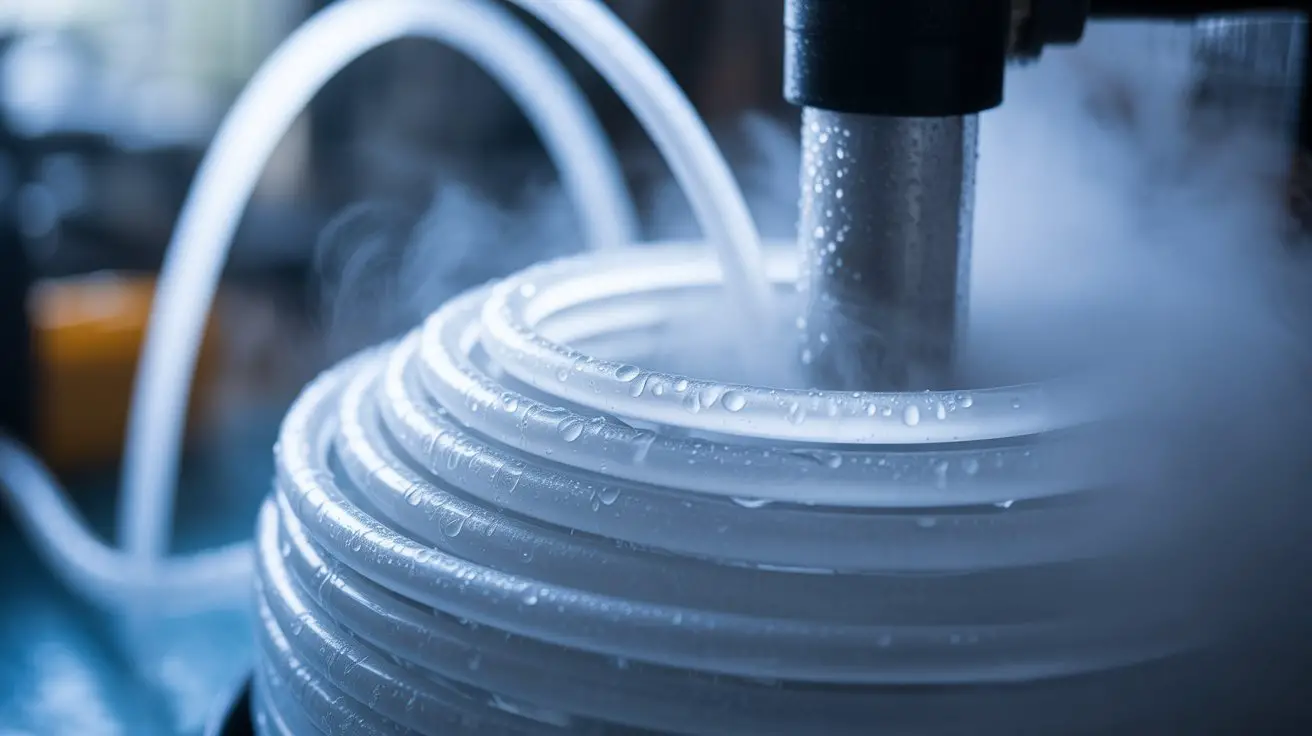
- Surface Contact – Fog particles interact with ice-chilled metal surfaces or tubing.
- Density Increase – Cooled fog becomes denser and heavier than ambient air.
- Gravity Effect – Dense fog naturally flows downward, creating ground-hugging effects.
Your system’s efficiency depends on maximizing surface contact time between fog and cooling elements. Proper insulation prevents heat infiltration, while adequate airflow guarantees consistent fog movement without turbulence disrupting the cooling process. Additionally, the low-lying fog effects produced by dry ice machines can be replicated with an effective fog chiller setup.
Choosing the Right Container

Three container characteristics determine your fog chiller’s performance: insulation capacity, structural integrity, and fog flow dynamics.
You’ll need a cooler with thick foam walls—minimum 2-inch density—to maintain temperature differentials effectively. Avoid thin plastic containers that won’t retain cold temperatures.
Select hard-sided coolers over soft-shell variants. They’ll withstand drilling modifications and support internal component mounting without deformation. Coleman Xtreme or similar rigid coolers work excellently for mini builds.
Consider internal dimensions carefully. You’ll need adequate space for ice, coiled tubing, and proper airflow patterns. A 16-20 quart capacity provides ideal fog-to-ice ratios while maintaining portability.
Ensure your container features a tight-fitting lid. Poor sealing compromises cooling efficiency and allows fog to escape through unintended gaps, reducing overall output effectiveness. Additionally, be mindful that fog machines can trigger fire alarms if not managed properly.
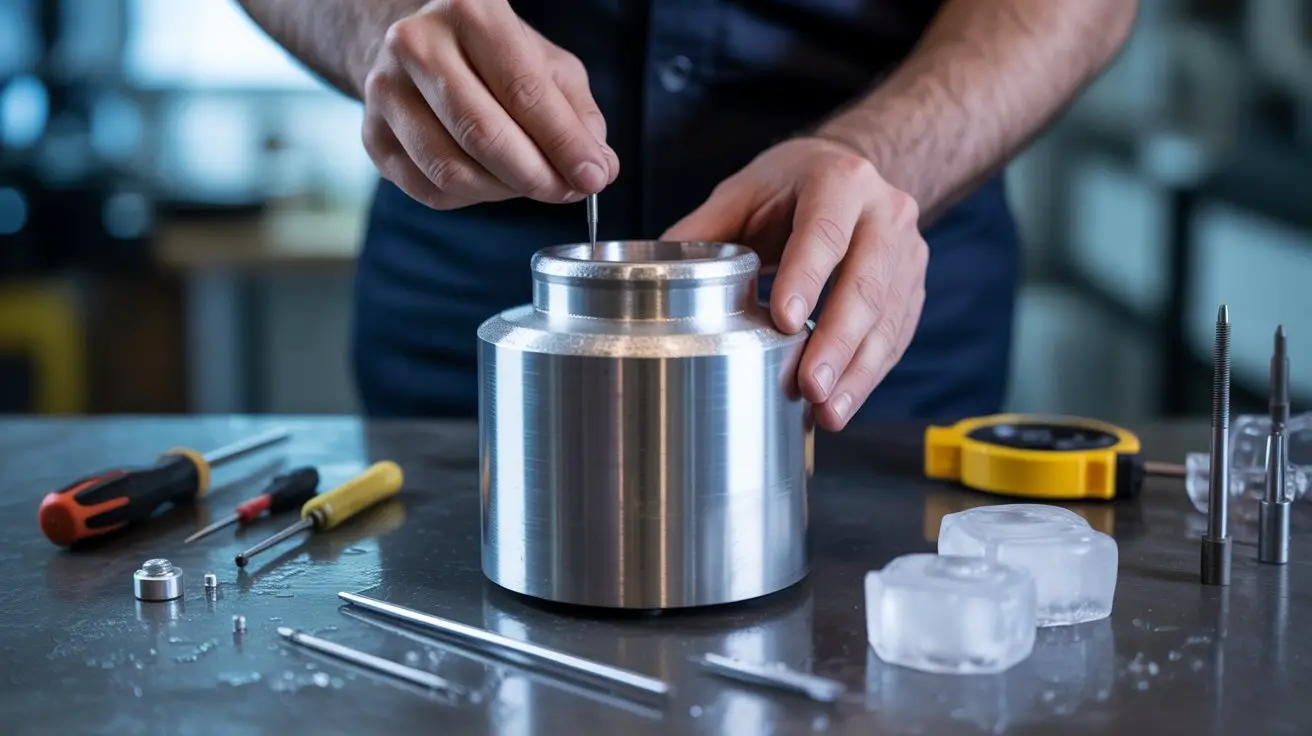
Cutting and Preparing the Inlet Hole
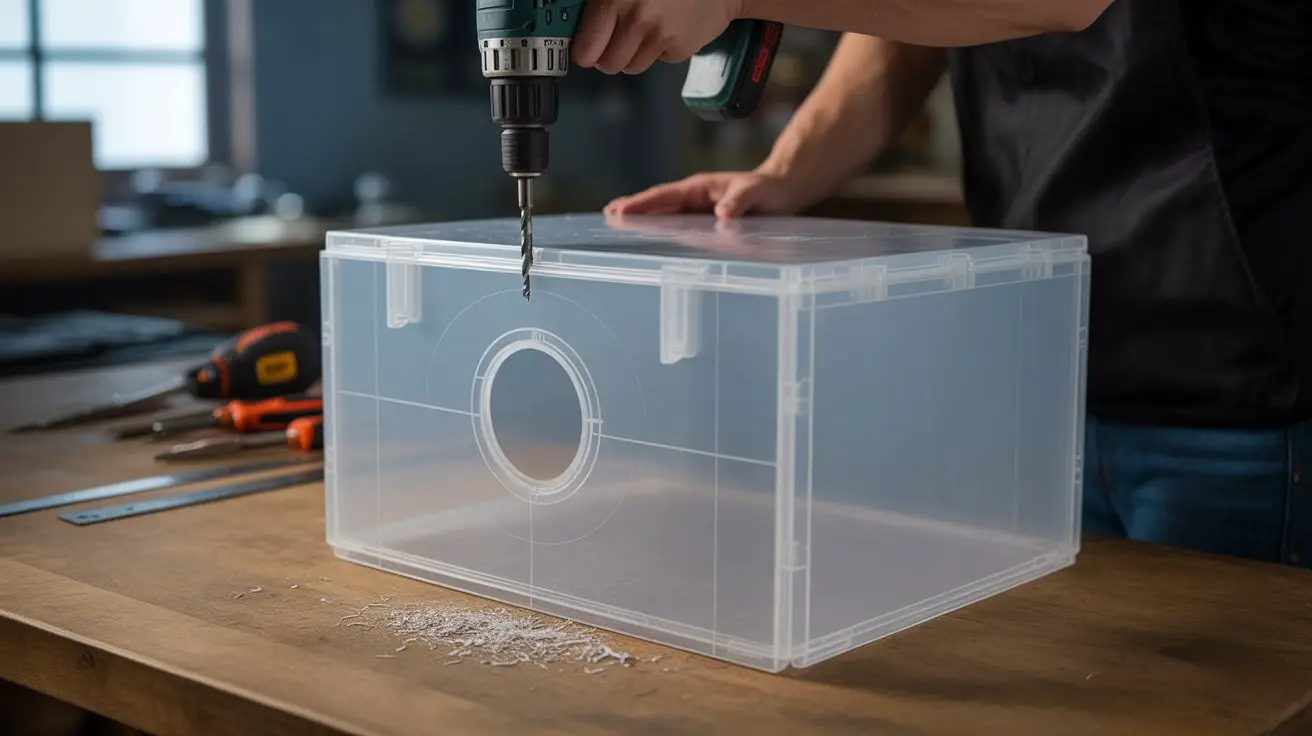
Once you’ve selected your container, mark the inlet hole location on the cooler’s side wall approximately 2 inches from the top edge. This positioning guarantees ideal fog flow while maintaining structural integrity.
Use a hole saw or utility knife to cut the opening, matching your fog machine’s output hose diameter precisely.
- Measure twice, cut once – Verify hose diameter before cutting to prevent air leaks
- Deburr all edges – Sand rough surfaces smooth to guarantee proper hose connections
- Test-fit components – Check hose attachment before proceeding to avoid modifications
- Seal connections – Apply electrical tape or hose clamps to prevent fog escape
Clean debris from the cutting area thoroughly.
The inlet hole’s diameter should create a snug fit with your fog machine’s output hose, preventing efficiency-reducing air gaps. Additionally, ensure that you are aware of the fog machine health hazards to minimize any potential health risks during use.
Installing the Fog Input System
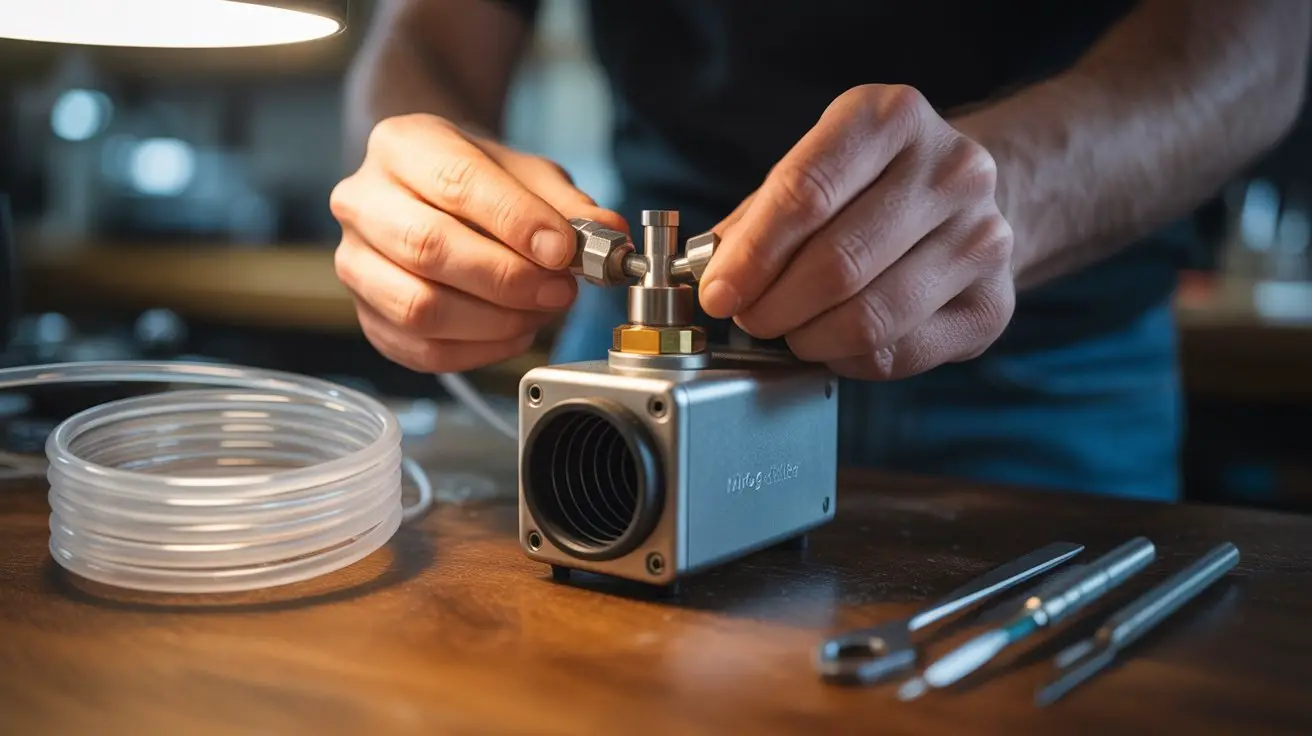
After completing the inlet hole preparation, you’ll connect the fog machine’s output hose to the cooler’s input port using a secure, airtight seal. Insert the barbed hose fitting through the hole from inside the cooler, ensuring the threads protrude outward. Apply thread sealant compound to prevent air leaks before threading the locking nut onto the fitting from outside.
| Component | Torque Specification |
|---|---|
| Hose Fitting | Hand-tight + 1/4 turn |
| Locking Nut | 15-20 ft-lbs |
| Hose Clamp | 25-30 in-lbs |
| Safety Check | Visual inspection required |
Attach your fog machine’s output hose to the barbed fitting using a stainless steel hose clamp. Tighten the clamp to specification using a torque wrench. Test the connection by running fog through the system briefly, checking for leaks around all connection points.
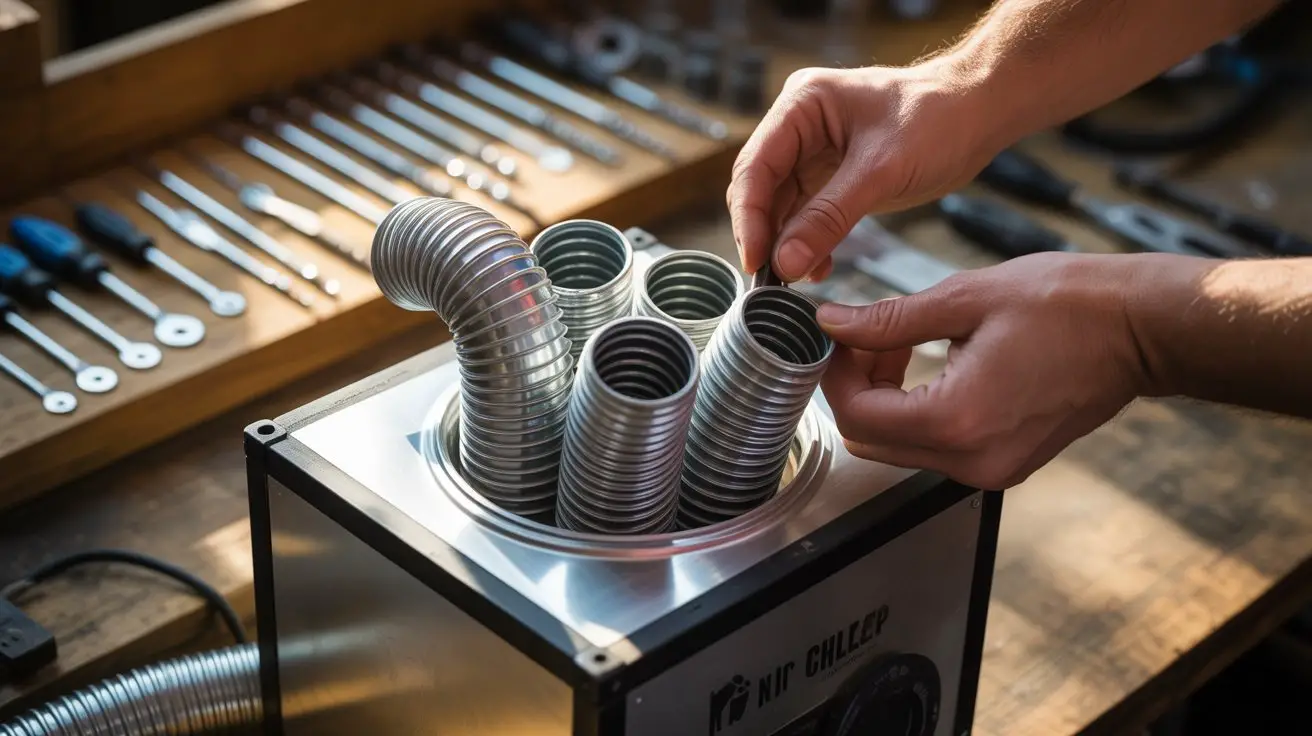
Creating the Cooling Chamber
Two primary elements form the heart of your fog chiller’s cooling chamber: the ice reservoir and the fog circulation pathway.
You’ll construct this chamber using your container’s interior space, guaranteeing ideal thermal exchange between circulating fog and ice.
Critical cooling chamber components:
- Baffle system – Install perforated dividers to prevent ice from blocking fog flow while maximizing contact surface area.
- Drainage mechanism – Create a sloped bottom with drain holes to prevent water accumulation that reduces cooling efficiency.
- Insulation barriers – Line chamber walls with foam insulation to maintain consistent internal temperatures.
- Fog inlet positioning – Mount the inlet tube at the chamber’s top-center to guarantee even distribution across the ice bed.
Position your ice reservoir at the chamber’s bottom, allowing gravity-fed drainage while maintaining maximum fog-to-ice contact time for effective temperature reduction.
Additionally, ensure that your setup is compatible with the fog machine to achieve the desired low-lying fog effects.
Setting Up the Output Vents
Your fog chiller’s output vents determine both the volume and direction of chilled fog distribution from your cooling chamber. Install 2-inch PVC elbow joints at 45-degree angles to direct fog downward naturally. Position vents 6 inches apart to prevent output interference and guarantee even distribution.
| Vent Size | Fog Volume | Coverage Area |
|---|---|---|
| 1.5 inch | Low | 3-4 sq ft |
| 2 inch | Medium | 6-8 sq ft |
| 3 inch | High | 10-12 sq ft |
Secure vent connections with PVC primer and cement to prevent air leaks that’ll reduce cooling efficiency. Test each vent’s output before finalizing placement. You’ll want consistent fog flow from all outlets. Install removable caps on unused vent ports to maintain proper pressure throughout your system.
Sealing and Insulating Your Chiller
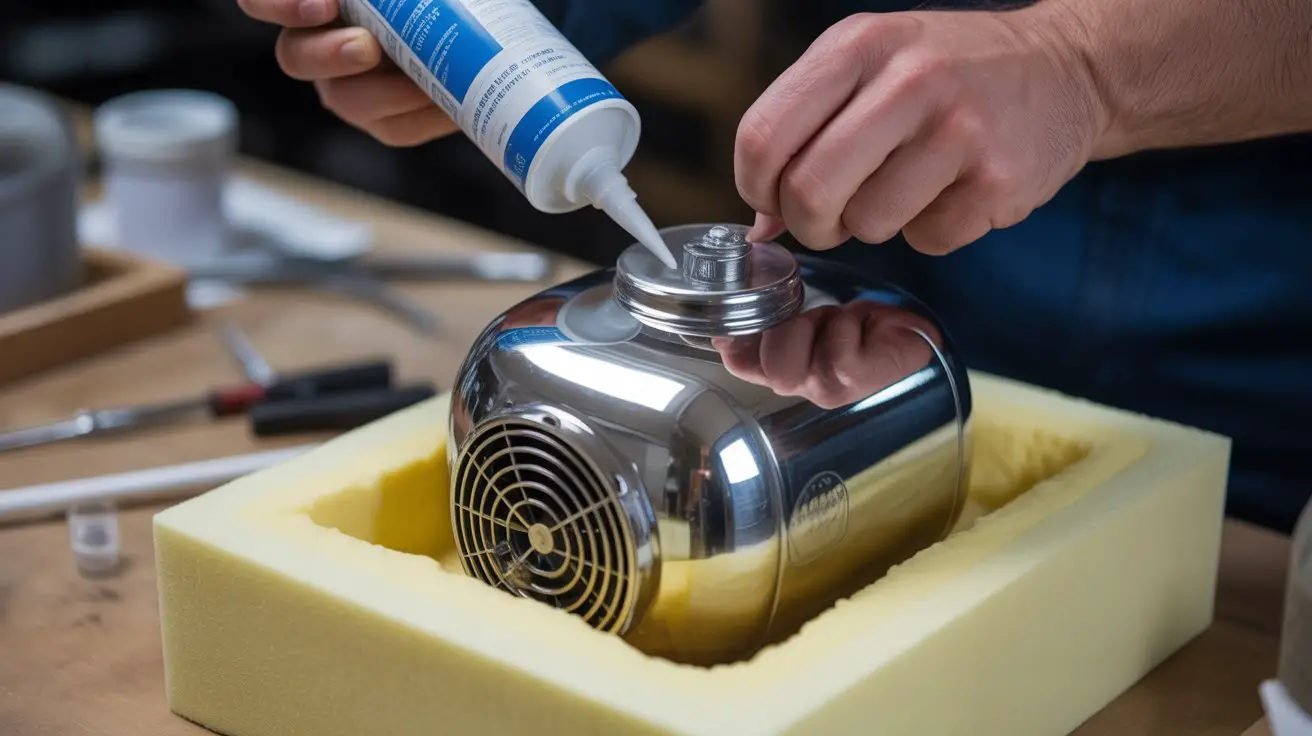
Once you’ve positioned your output vents, you’ll need to create an airtight seal around your cooling chamber to maximize thermal efficiency and prevent warm air infiltration.
- Apply weatherstripping around all removable lid edges using closed-cell foam tape to eliminate air gaps.
- Seal pipe penetrations with expanding polyurethane foam, then trim excess material flush with container walls.
- Wrap cooling chamber exterior with reflective bubble insulation, securing with aluminum foil tape at all seams.
- Install gasket material around electrical cord entry points using rubber grommets rated for outdoor use.
Test your seal by closing the lid and checking for light leaks in a darkened room.
Any visible light indicates air infiltration points that’ll compromise cooling performance.
Address these gaps immediately with additional sealant or weatherstripping before initial testing.
Testing and Fine-Tuning Performance
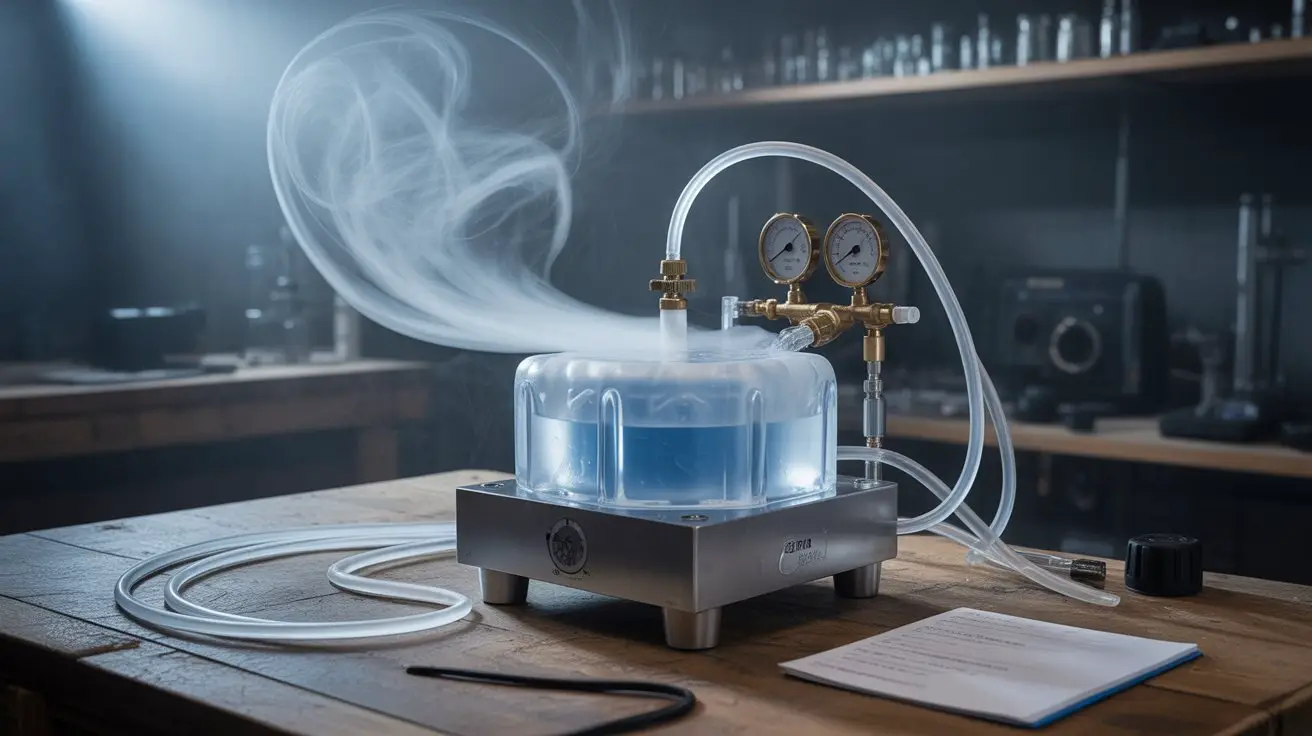
After completing the sealing process, you’ll need to conduct systematic performance tests to verify your chiller operates within perfect parameters.
Connect your fog machine and run continuous fog through the system for fifteen minutes. Monitor the fog’s temperature differential using infrared thermometer readings at inlet and outlet points. Ideal cooling should achieve 40-60°F temperature reduction.
Check for condensation buildup inside the chamber and verify drainage functionality.
Test fog density consistency by observing output patterns. If fog dissipates too quickly, increase coolant quantity or improve insulation. Weak cooling indicates insufficient ice contact or air leaks requiring seal reinforcement.
Document temperature readings, fog duration, and coolant consumption rates.
Adjust airflow restrictions using variable dampers to enhance fog density while maintaining proper cooling efficiency for consistent theatrical effects.
Maintenance and Storage Tips
Proper maintenance extends your fog chiller’s operational lifespan and prevents performance degradation between uses.
Component-specific care guarantees peak thermal transfer efficiency and prevents ice buildup that compromises fog output quality.
Essential Maintenance Protocol:
- Drain all water completely from the cooling chamber and connecting tubes after each session to prevent bacterial growth and freeze damage during storage.
- Clean copper coils monthly using a 50/50 white vinegar solution to remove mineral deposits that reduce heat exchange effectiveness.
- Inspect insulation integrity regularly for cracks, tears, or moisture penetration that compromise thermal efficiency and create condensation problems.
- Store in climate-controlled environment below 70°F with silica gel packets inside the chamber to absorb residual moisture and prevent corrosion of metal components.
Frequently Asked Questions
Can I Use My Fog Chiller Outdoors in Windy Conditions?
You shouldn’t use fog chillers outdoors in windy conditions. Wind disperses fog effects rapidly, making them ineffective. Strong gusts can damage cooling components, tip units over, or blow debris into intake vents, compromising performance and safety.
How Long Does Chilled Fog Typically Last Compared to Regular Fog?
Chilled fog you’ll produce stays low for 2-3 times longer than regular fog since the cooled vapor’s increased density resists rising. You’ll get 30-60 seconds of ground-level effects versus 10-20 seconds with standard fog machines.
Is It Safe to Use Fog Chillers Around Children and Pets?
You’ll need fog machine fluid that’s non-toxic and water-based. Guarantee proper ventilation since dense chilled fog settles low.
What’s the Maximum Room Size a Mini Fog Chiller Can Effectively Cover?
You’ll typically cover 100-200 square feet effectively with a mini fog chiller, depending on your fog machine’s output capacity, room ventilation rates, and desired fog density. Larger spaces require multiple units or professional-grade equipment.
Can I Add Scents or Fragrances to the Fog Fluid Safely?
You shouldn’t add scents directly to fog fluid as they’ll clog your fog machine’s heating element and pump system. Instead, use separate scent dispensers or oil diffusers positioned near your fog output for safe fragrance distribution.
Conclusion
You’ve constructed a device that transforms hot fog into cold fog using the same principle that keeps your beverages chilled. Your fog machine now breathes through an insulated lung, exhaling dense, ground-hugging vapor instead of rising wisps. Monitor internal temperatures consistently—the irony is that achieving ideal “cold” fog requires precise heat management. Always guarantee proper ventilation when using dry ice, and inspect all seals regularly. Your chiller’s performance depends entirely on maintaining optimal thermal differential ratios.