Like a theatrical magician’s secret weapon, a fog chiller transforms ordinary warm fog into a mesmerizing ground-hugging effect that’ll elevate your haunted house or stage production. You don’t need expensive commercial equipment to achieve professional results—a simple cooler modification using precise measurements and proper ventilation will create the dramatic atmosphere you’re after. However, one critical safety consideration could make or break your entire setup, and it’s not what most DIY enthusiasts expect.
Materials and Tools You’ll Need
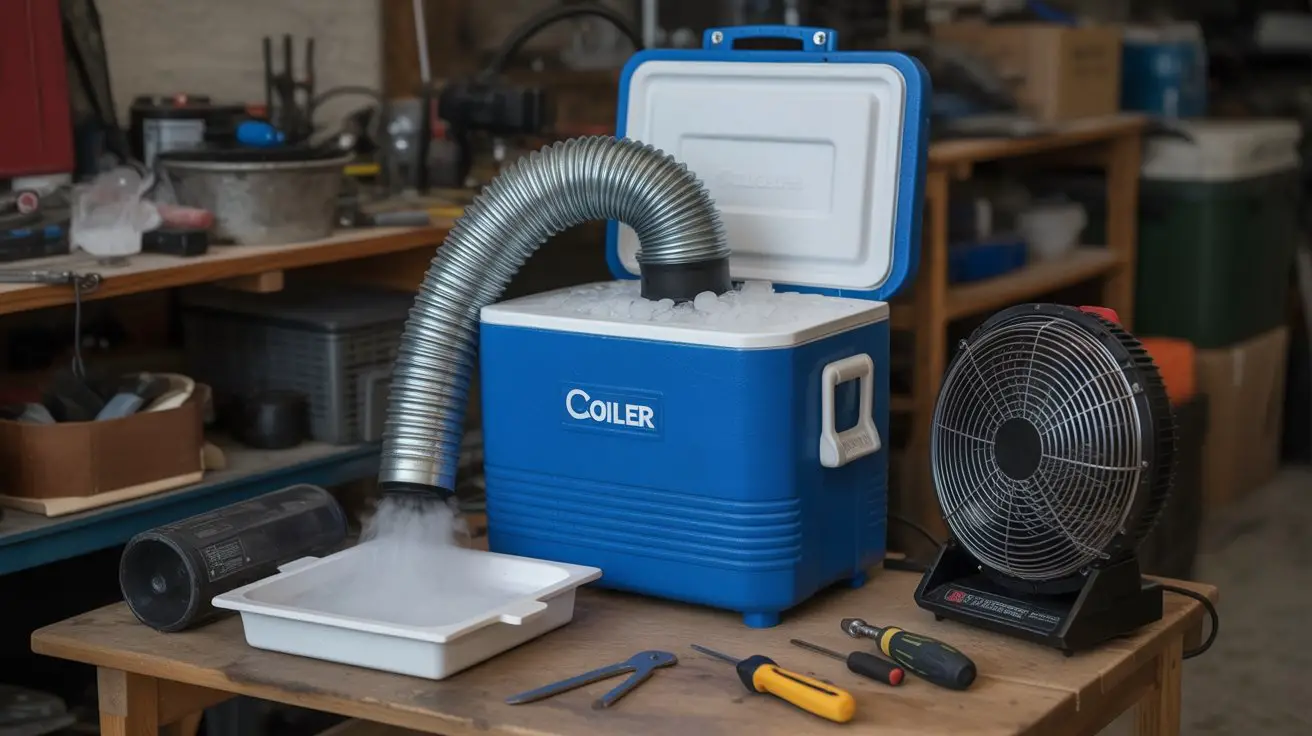
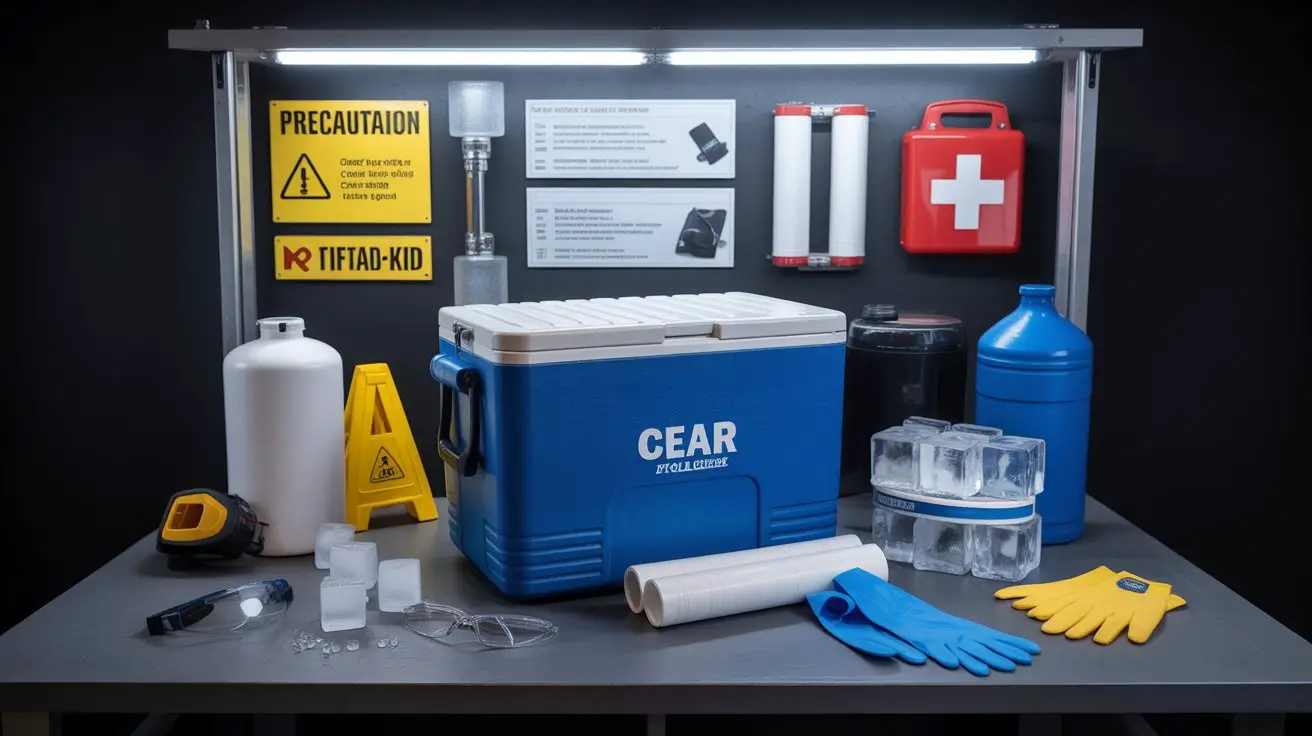
Before constructing your fog chiller, you’ll need specific materials and tools to guarantee safe operation and ideal performance.
Essential components include a rigid cooler with a tight-fitting lid, PVC pipe fittings (90-degree elbows and straight sections), foam board insulation, and weatherproof electrical tape. You’ll require dry ice or frozen gel packs for cooling medium, plus a fog machine with compatible fluid.
Critical tools include a drill with hole saw attachments for precise pipe penetration, utility knife for foam cutting, and measuring tape for accurate dimensions.
Safety equipment is non-negotiable: insulated gloves for dry ice handling, safety glasses, and adequate ventilation masks.
Additional supplies encompass silicone sealant for airtight connections, zip ties for secure fastening, and a digital thermometer for temperature monitoring throughout operation. A fog chiller enhances the spooky atmosphere for events like Halloween, ensuring that your setup is not only effective but also immersive.
Step-by-Step Assembly Instructions
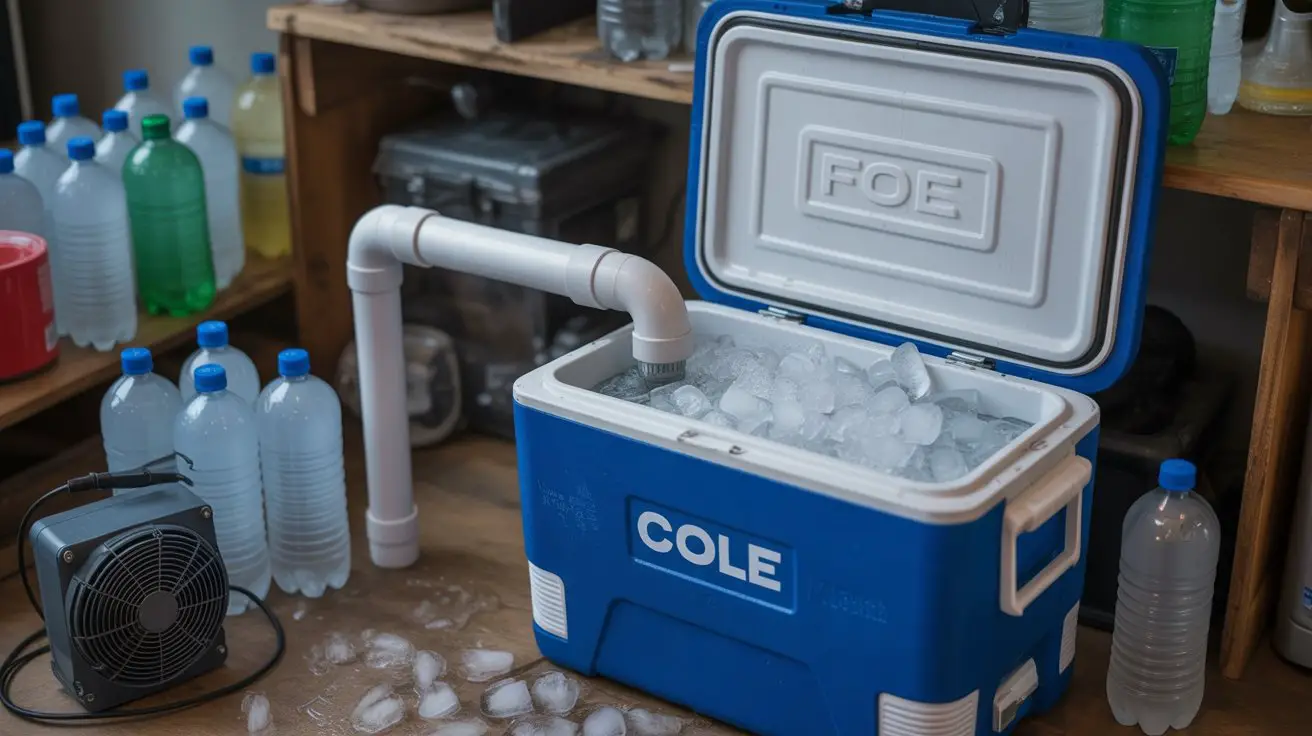
First, you’ll position the cooler on a stable work surface and mark two hole locations on opposite sides—one inlet hole 2 inches from the bottom and one outlet hole 4 inches from the top.
Use a drill with a hole saw attachment matching your PVC pipe diameter to cut clean, precise holes. Insert the PVC pipes, ensuring they’re flush with the cooler’s interior walls. Apply silicone caulk around each pipe connection to create airtight seals—this prevents fog leakage and maintains proper airflow.
Next, you’ll drill the drain tube’s perforations using a 1/8-inch bit, spacing holes every 2 inches along the tube’s length.
Insert the perforated tube into the inlet pipe, securing it with PVC cement. Fill the cooler with ice, leaving the drain tube completely submerged for maximum cooling efficiency.
Testing and Fine-Tuning Your Fog Chiller
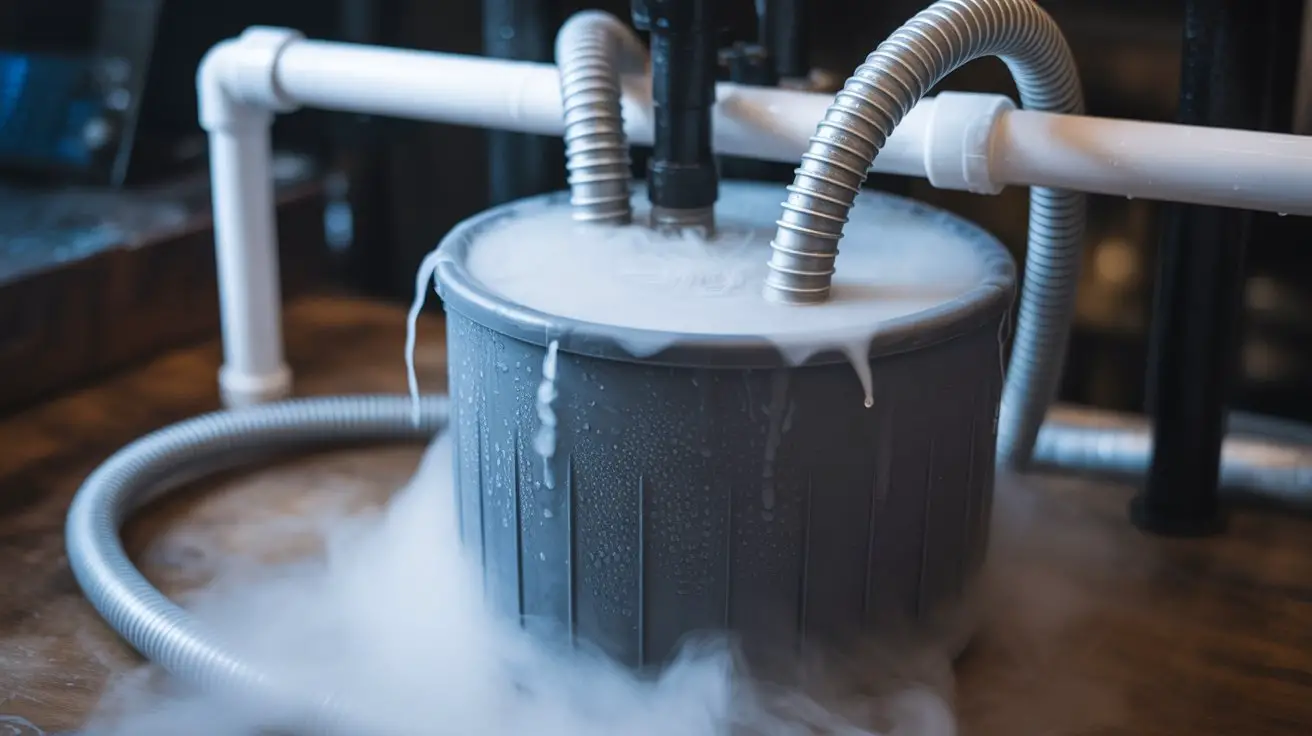
Once you’ve completed the assembly, connect your fog machine to the inlet pipe and power on the system to evaluate cooling performance.
Monitor fog output temperature using an infrared thermometer at the chiller’s exit point. Properly functioning units should produce fog 15-20°F cooler than ambient temperature.
If fog remains too warm, increase ice quantity or add salt to lower the cooling medium’s temperature.
Check for air leaks around pipe connections using soapy water—bubbles indicate seal failures requiring immediate attention.
Adjust the fog machine’s output speed to optimize residence time within the cooling chamber.
Test fog density and ground-hugging behavior in your intended space. This is crucial because dry ice fog typically lasts 10-15 minutes, depending on conditions.
Make incremental adjustments until you achieve desired cooling efficiency and visual effects.
Safety Tips and Best Practices
Operating a fog chiller requires strict adherence to electrical safety protocols since you’ll be working with water and electrical equipment in close proximity.
Always verify your fog machine and any pumps are properly grounded and connected to GFCI-protected outlets to prevent electrical shock hazards.
Critical safety measures include:
- Ventilation management – Operate only in well-ventilated areas to prevent fog buildup that could impair visibility or breathing.
- Coolant monitoring – Use food-grade ice or dry ice with proper handling techniques; never use toxic antifreeze solutions.
- Temperature control – Monitor internal temperatures to prevent condensation damage to electrical components.
Never leave your fog chiller unattended during operation.
Regularly inspect all electrical connections for moisture intrusion and replace any damaged insulation immediately to maintain safe operating conditions. Additionally, ensure that you are aware of the potential risks of fog machine health hazards to protect yourself and others in the vicinity.
Troubleshooting Common Issues
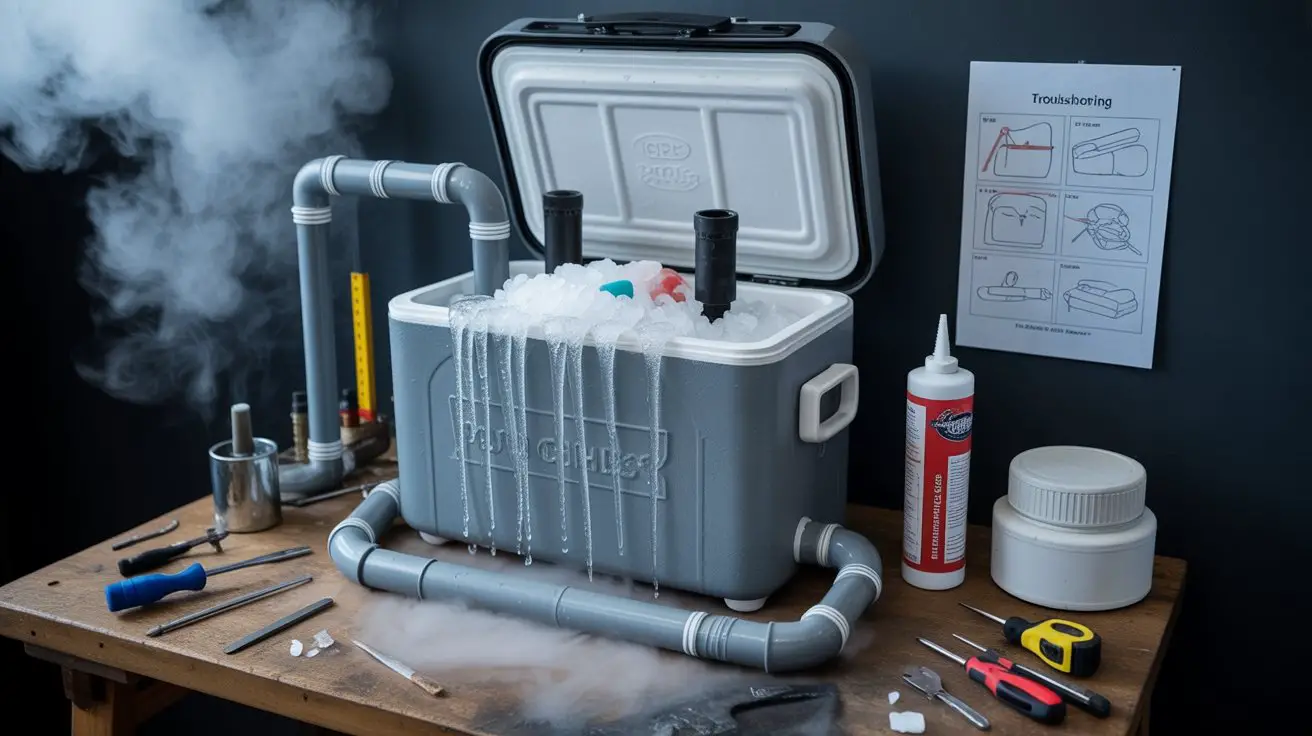
Even with proper safety protocols in place, you’ll encounter operational challenges that require systematic diagnosis and repair. Most fog chiller malfunctions stem from temperature regulation failures, blocked airflow, or inadequate cooling capacity.
| Problem | Solution |
|---|---|
| Fog rises instead of staying low | Check ice levels; verify drain isn’t clogged |
| Weak fog output | Clean tubing; inspect fog machine fluid levels |
| Ice melts too quickly | Add more insulation; reduce ambient temperature |
| Condensation backup | Clear drainage system; check tube positioning |
Monitor your chiller’s performance continuously during operation. Temperature differentials should maintain 40-50°F between input and output. If fog doesn’t hug the ground effectively, you’re losing thermal efficiency. Address drainage issues immediately—standing water reduces cooling effectiveness and creates safety hazards. It’s important to ensure that your fog chiller is compatible with fog machine types to achieve optimal performance.
Frequently Asked Questions
How Long Does Homemade Fog Typically Last Compared to Store-Bought Fog Machines?
You’ll get 5-15 minutes from homemade dry ice fog versus 30-60 minutes from store-bought glycol machines. Homemade fog dissipates faster due to sublimation rates and lacks the engineered fluid viscosity that commercial foggers provide.
Can I Use My Fog Chiller Outdoors in Windy Conditions?
You’ll struggle with outdoor fog chiller performance in windy conditions. Wind disperses fog rapidly, reducing visibility effects. Position your chiller downwind from viewing area and use windbreaks or barriers to protect fog flow patterns.
What’s the Ideal Room Temperature for Maximum Fog Chiller Effectiveness?
During Halloween productions, fog chillers perform most efficiently at 65-70°F room temperature. You’ll achieve maximum density differential when ambient air stays cool while your chiller maintains sub-freezing temperatures, creating dramatic low-lying fog effects.
How Much Does It Cost to Operate a Homemade Fog Chiller per Hour?
You’ll spend approximately $0.15-0.30 per hour operating your homemade fog chiller. Power consumption varies based on your fog machine’s wattage, cooling fan specifications, and dry ice sublimation rates affecting overall electrical draw requirements.
Can I Add Scents or Colors to the Fog Without Damaging the Chiller?
You shouldn’t add scents directly to your fog fluid—they’ll clog the heater and void warranties. Instead, use pre-scented commercial fog fluids or add fragrances to the chiller’s ice chamber for safe operation.
Conclusion
You’ve now built a fog chiller that’ll reduce fog temperature by 40-60°F compared to standard output—creating that dramatic ground-hugging effect that transforms any space. Remember, dry ice burns at -109°F, so you’re handling equipment that can cause frostbite in seconds. Always maintain proper ventilation, wear insulated gloves, and check your PVC connections regularly. Your homemade chiller will outperform many commercial units while costing 70% less than store-bought alternatives.