Most photographers don’t realize that fog machines lose up to 60% of their output density in outdoor conditions compared to indoor use. You’ll need to compensate for wind dispersion, temperature variations, and power limitations that can make or break your atmospheric shots. The key lies in understanding how environmental factors affect fog behavior and implementing specific positioning strategies that work with nature rather than against it.
Choosing the Right Fog Machine for Outdoor Conditions
When shooting outdoors, you’ll need a fog machine that delivers consistent output despite wind, temperature variations, and open-air dispersion.
Look for units producing 20,000+ cubic feet per minute output to overcome natural air currents. Choose machines with variable speed controls and remote operation capabilities for precise timing adjustments.
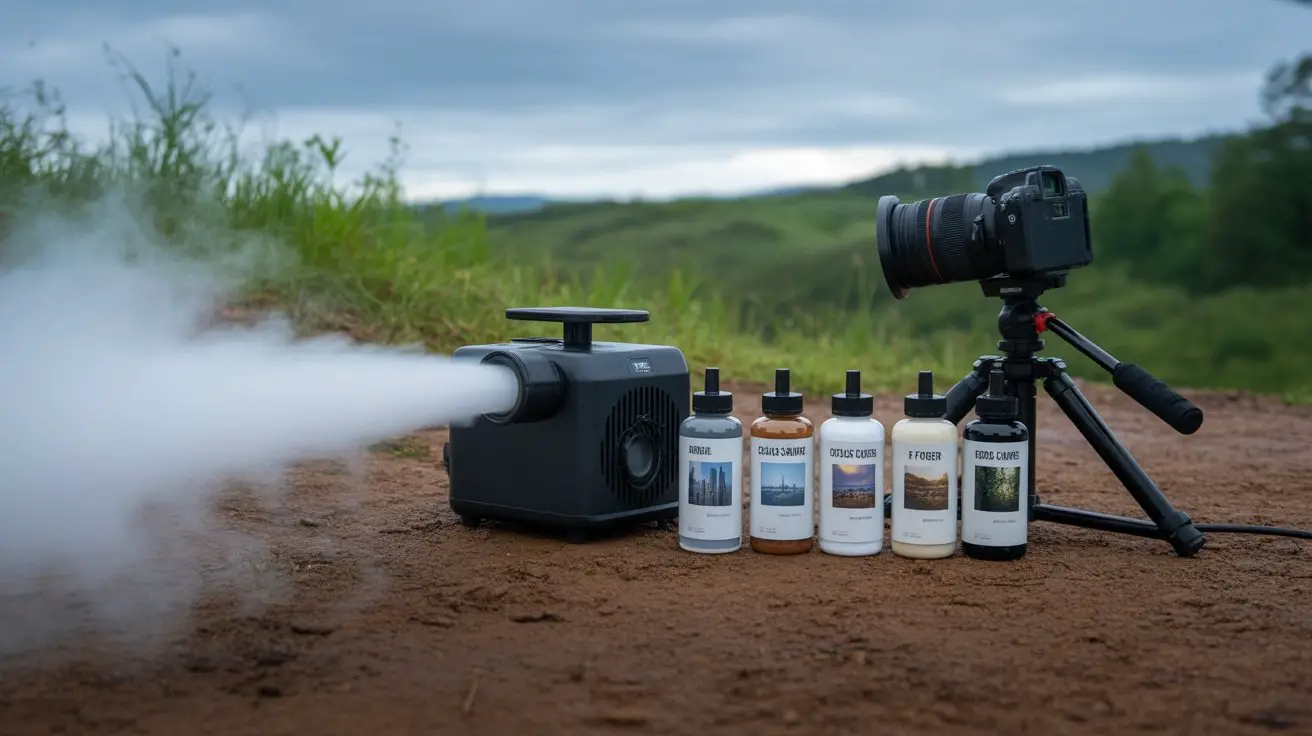
Water-based fog fluid performs better outdoors than oil-based alternatives, creating denser particles that photograph more effectively in natural light.
Select machines with rapid heat-up times under 5 minutes and continuous operation ratings exceeding 30 minutes.
Battery-powered units eliminate generator dependency, while models with built-in fans provide directional control over fog placement.
Consider machines rated for temperature ranges matching your shooting conditions, ensuring reliable performance from 40°F to 95°F. Additionally, ensure the fog machine is designed for different types of fog machines to achieve the desired visual effects tailored to your outdoor environment.
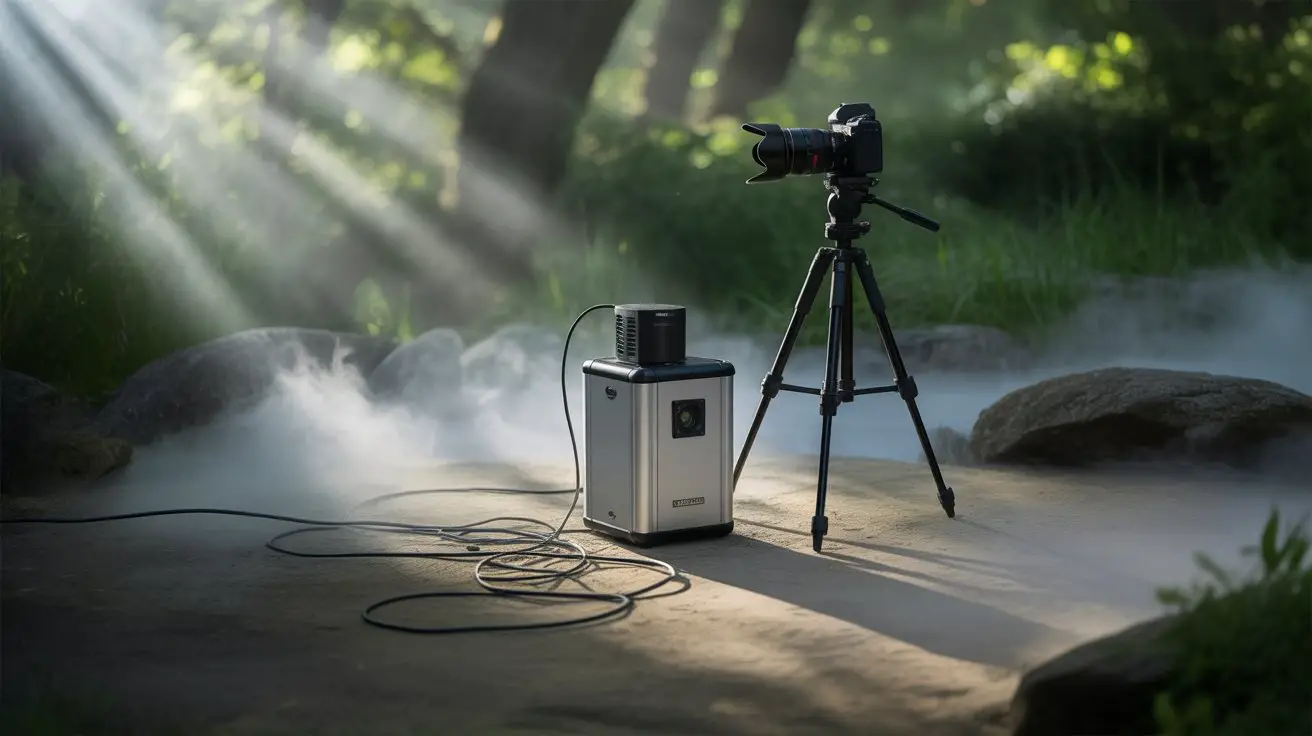
Essential Power Solutions for Remote Locations
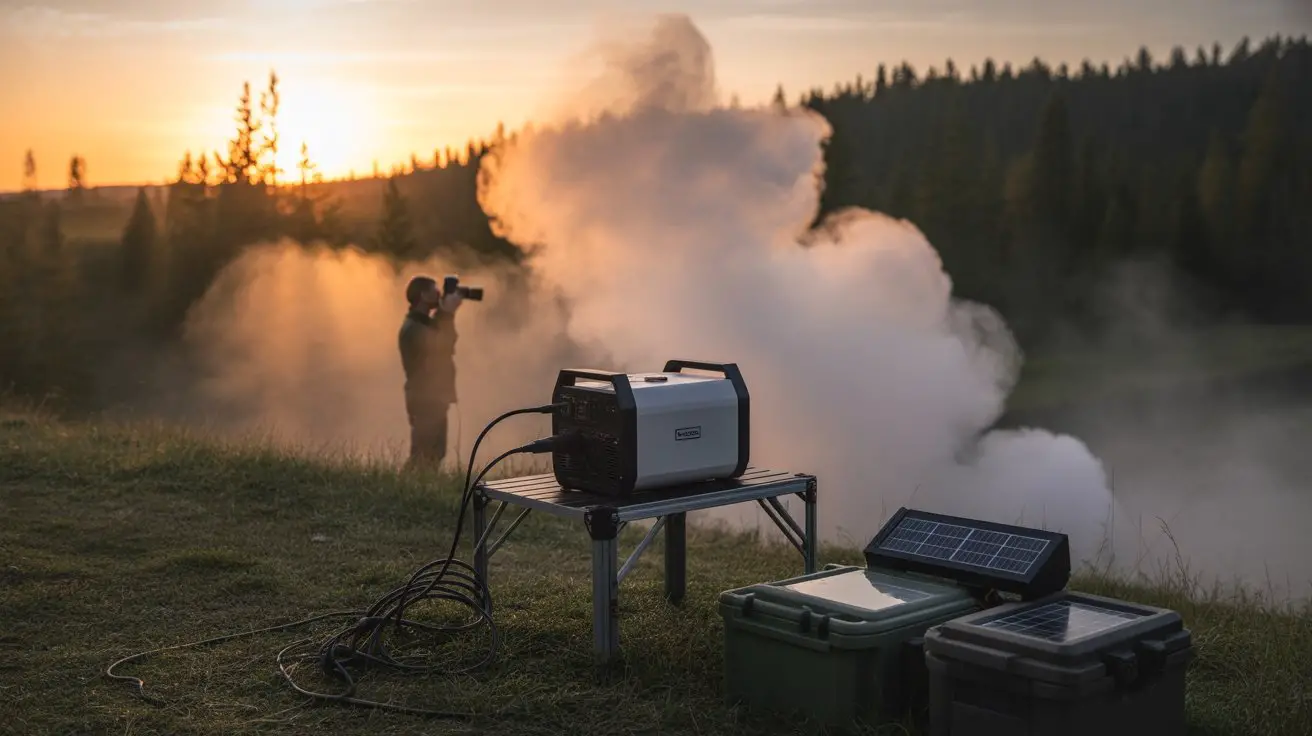
Since most professional fog machines require consistent AC power ranging from 800-1500 watts, you’ll need reliable portable power solutions that can sustain continuous operation throughout your shoot.
Portable power stations with pure sine wave inverters are essential—aim for 2000Wh capacity minimum to handle extended sessions. Jackery Explorer 2000 Pro and EcoFlow Delta Pro deliver sufficient wattage with multiple AC outlets for simultaneous equipment operation.
Generator alternatives include Honda EU2200i or Yamaha EF2000iSv2, offering quiet operation under 53dB—critical for maintaining ambient sound during video work.
Always pack redundant power sources and calculate total consumption: fog machine plus camera batteries, lighting, and laptop charging. Monitor power levels continuously using built-in displays. Additionally, be mindful of energy consumption to prevent unexpected power shortages during your shoot.
Cold weather reduces battery efficiency by 20-40%, so factor temperature impact into your power planning and bring insulated storage solutions.
Weather Considerations and Wind Management Strategies
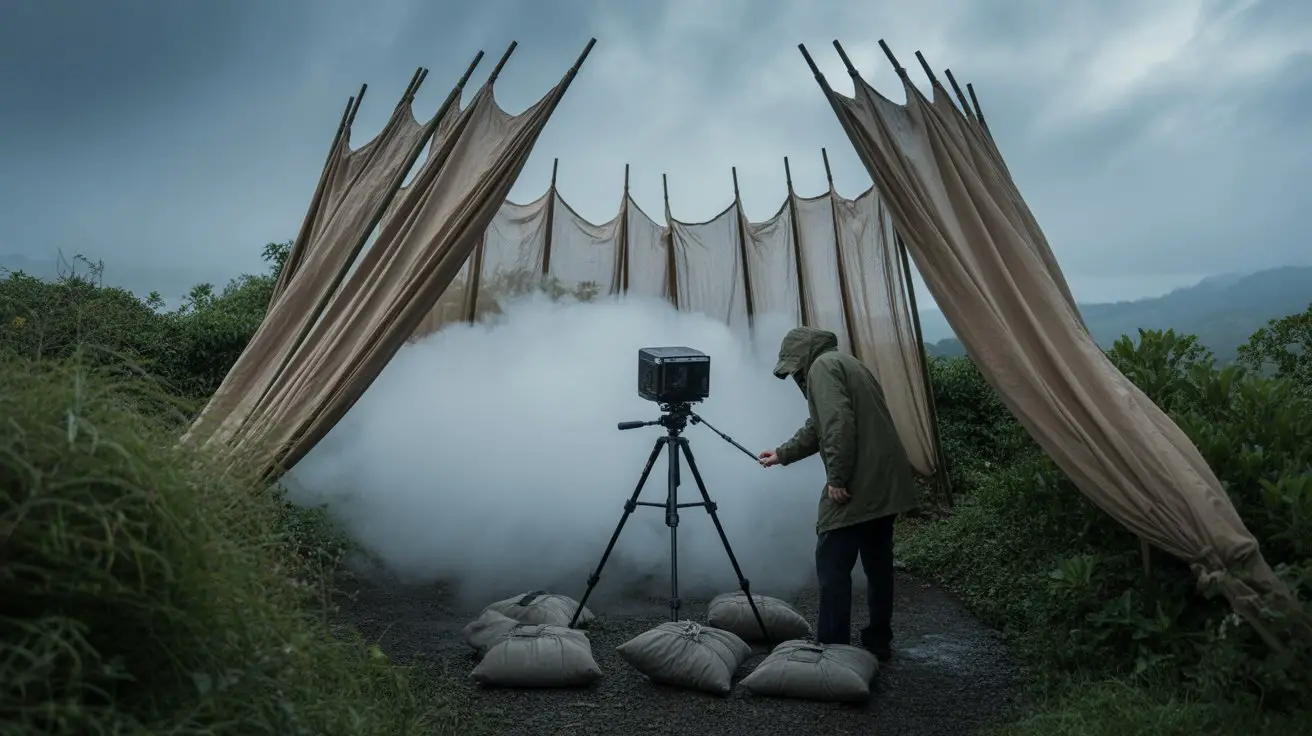
Weather conditions directly impact fog density, dispersion patterns, and machine performance, making environmental assessment essential for successful outdoor shoots.
You’ll need wind speeds below 10 mph for controlled fog placement—higher speeds scatter effects unpredictably. Check humidity levels; low humidity dissipates fog faster, requiring increased output settings.
Temperature affects fluid viscosity and vaporization rates—cold conditions reduce machine efficiency while heat accelerates fog dispersal.
Position your machine upwind from subjects, allowing natural air movement to carry fog into frame. Use windbreaks like reflectors or vegetation to create protected zones for concentrated effects.
Monitor barometric pressure changes; dropping pressure indicates incoming weather that’ll disrupt shoots. Install anemometers to track real-time wind data.
Schedule sessions during golden hour when thermal currents stabilize, providing ideal atmospheric conditions for consistent fog behavior and photographic results. Additionally, understanding the mechanisms of fog production can enhance your control over fog effects for optimal photography outcomes.
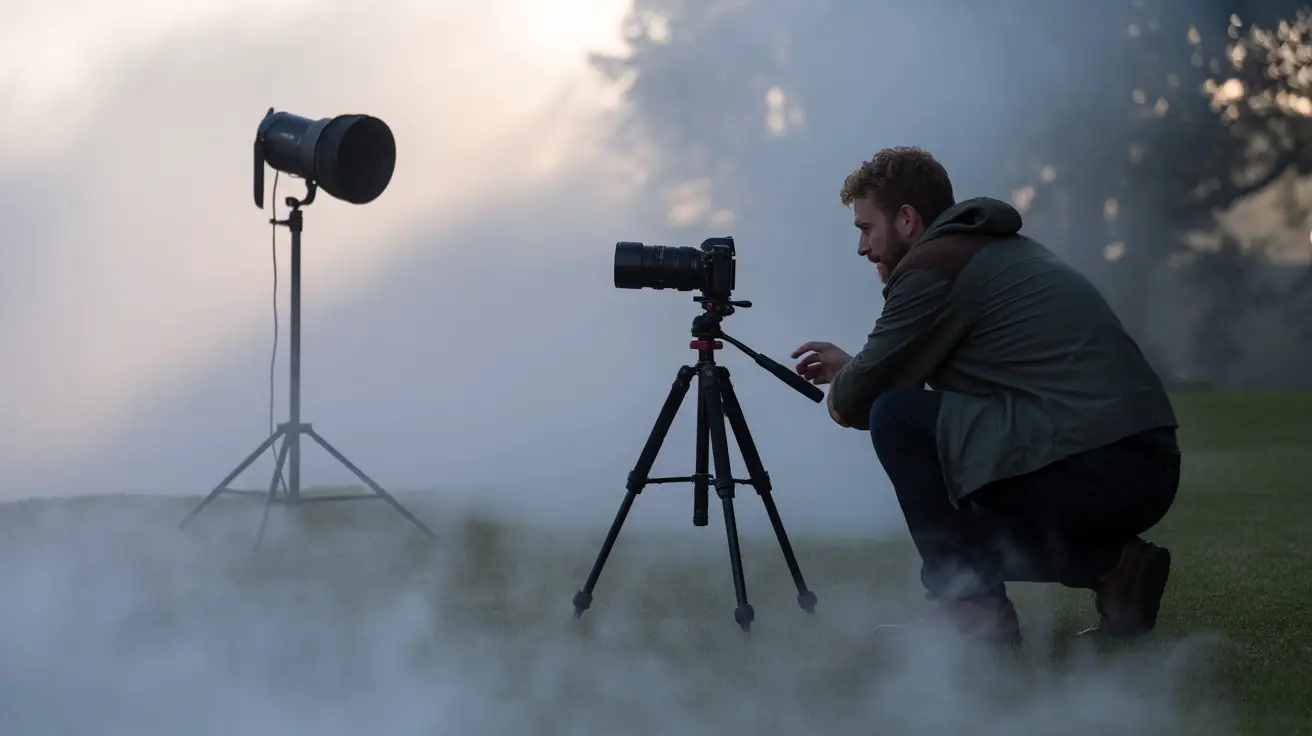
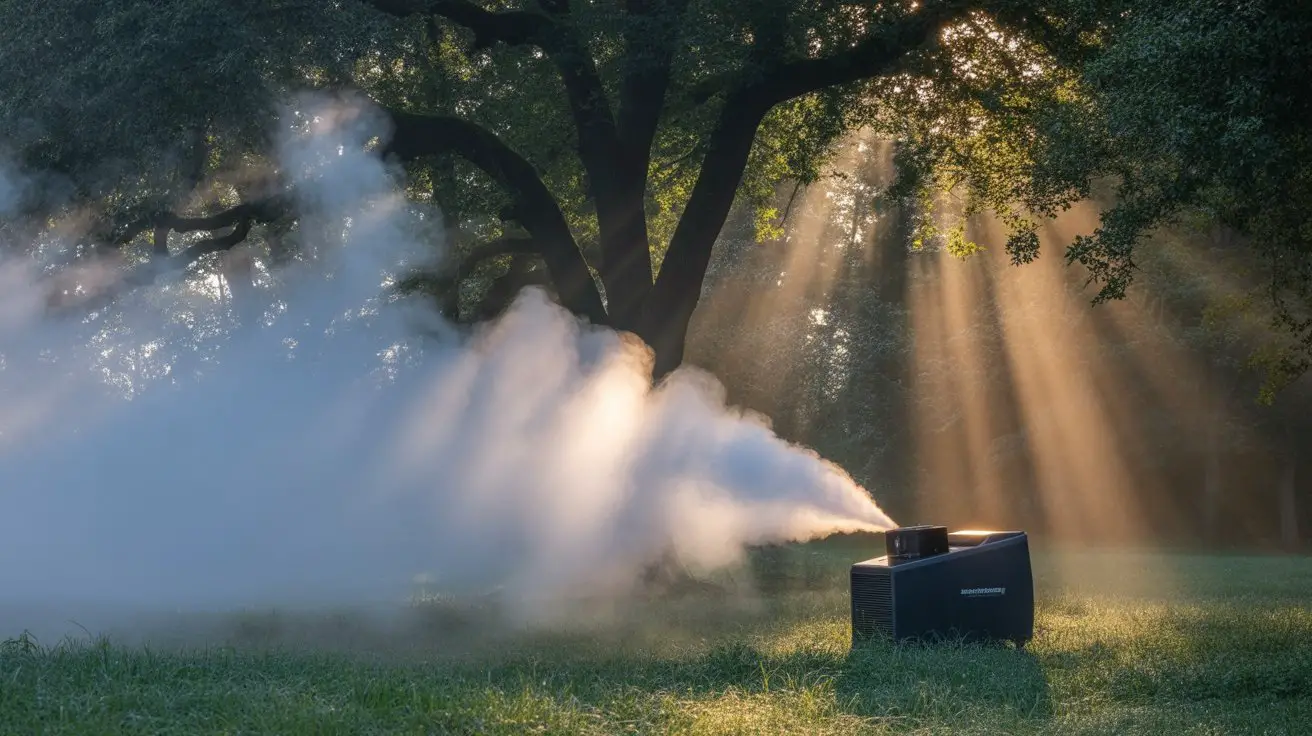
Optimal Placement and Positioning Techniques
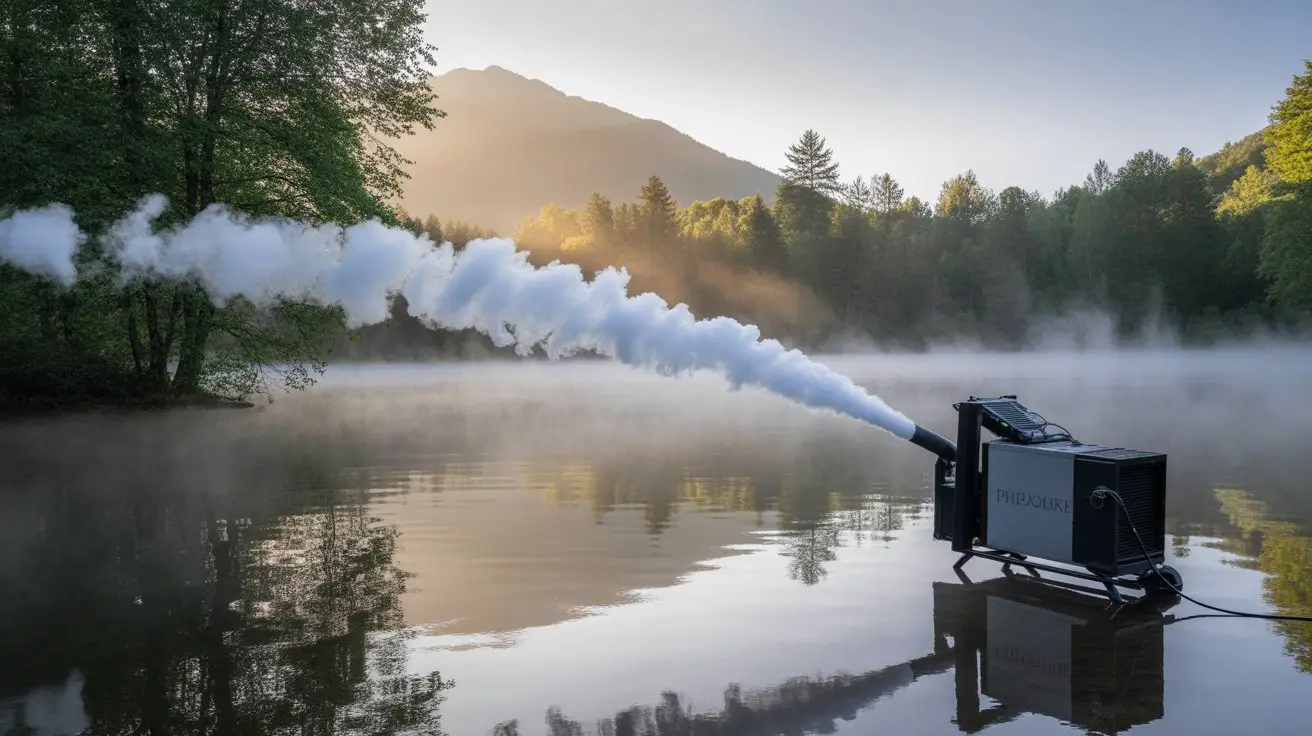
Strategic machine placement determines fog distribution patterns and photographic impact more than any other setup variable. Position your fog machine 10-15 feet from your primary subject to achieve ideal density gradients. Elevate the unit 2-3 feet above ground level using stable platforms or tripods to prevent fog from pooling immediately. Regular cleaning is essential for optimal fog machine performance, and using water-based fog fluid can help minimize residue on surfaces.
| Placement Distance | Fog Density | Coverage Area | Best Use Case |
|---|---|---|---|
| 5-8 feet | Heavy/Dense | Narrow/Focused | Close portraits |
| 10-15 feet | Medium/Layered | Wide/Balanced | Group shots |
| 20-25 feet | Light/Atmospheric | Expansive/Subtle | Landscapes |
| 30+ feet | Minimal/Accent | Background only | Environmental mood |
Angle your machine’s output nozzle slightly upward at 15-20 degrees. This creates natural atmospheric layering while preventing direct fog streams from overwhelming foreground elements. Test positioning during setup to verify coverage patterns match your compositional requirements.
Fog Fluid Selection for Different Environments
Although placement technique establishes fog distribution patterns, fluid selection directly impacts duration, visibility, and environmental compatibility of your atmospheric effects.
Water-based fluids offer ideal safety for outdoor shoots, producing dense fog lasting 2-5 minutes with minimal environmental impact. Oil-based alternatives create longer-lasting effects but require careful handling and cleanup protocols.
Temperature considerations dictate fluid viscosity performance. Below 50°F, you’ll need low-temperature formulations to prevent clumping and machine clogging. Standard fluids work efficiently between 50-85°F ranges.
Wind conditions demand specific density ratios. Light breeze environments benefit from medium-density fluids, while calm conditions allow lighter formulations for subtle atmospheric layering.
Environmental regulations vary by location. Research local restrictions before selecting fluids, particularly near water sources or protected areas.
Always choose biodegradable options when possible to minimize ecological impact while maintaining photographic quality standards. Additionally, using distilled water for your fog fluid can help prevent damage to your fog machine.
Camera Settings for Fog Photography
Once you’ve deployed your fog effects, exposure settings become critical for capturing atmospheric depth without losing subject detail.
Start with manual mode to maintain consistent exposure as fog density fluctuates. Set ISO between 200-800 to minimize noise while preserving shadow detail in misty areas.
Choose apertures between f/5.6-f/8 for ideal sharpness across fog layers without excessive depth of field that flattens atmospheric perspective.
Use spot metering on your subject rather than the fog itself, which can mislead your camera’s meter. Shoot in RAW format for maximum post-processing flexibility with highlights and shadows.
Enable focus peaking or use single-point autofocus on high-contrast subject areas, as fog reduces contrast dramatically.
Consider exposure bracketing for challenging lighting situations where fog creates extreme dynamic range between illuminated and shadowed areas.
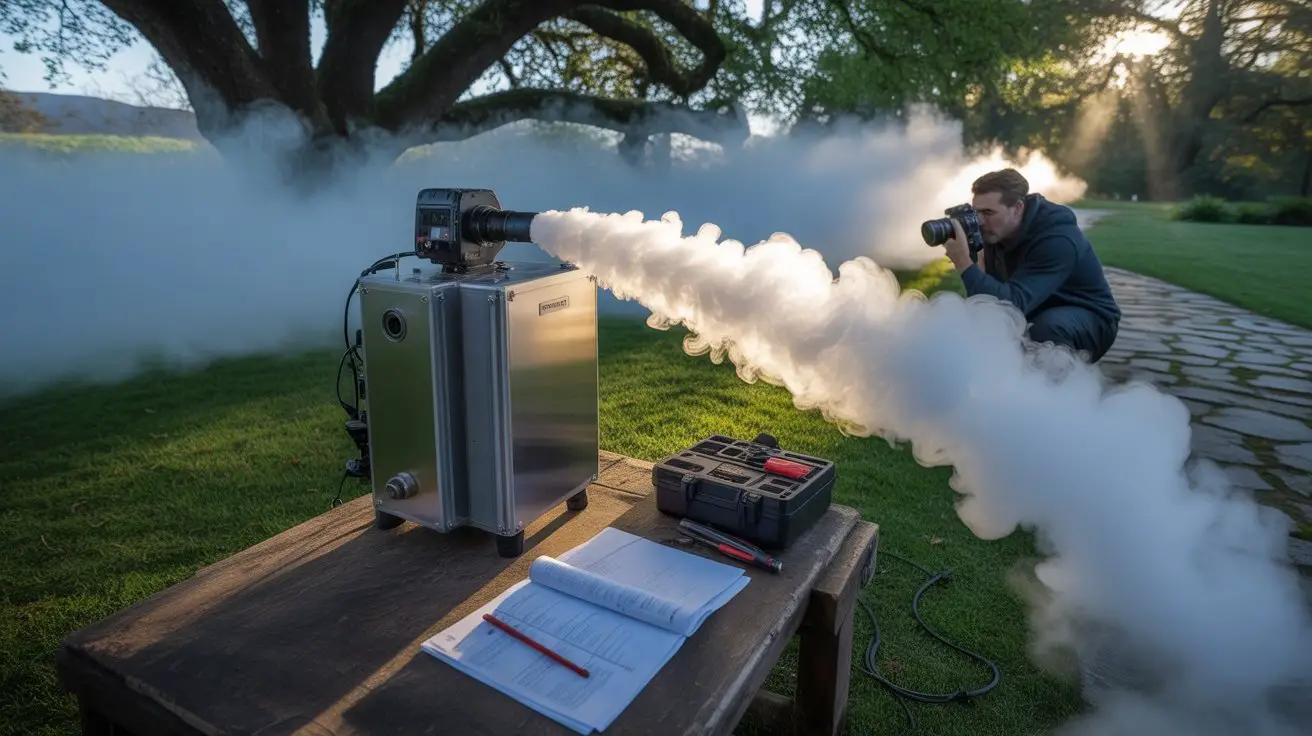
Safety Precautions and Equipment Protection
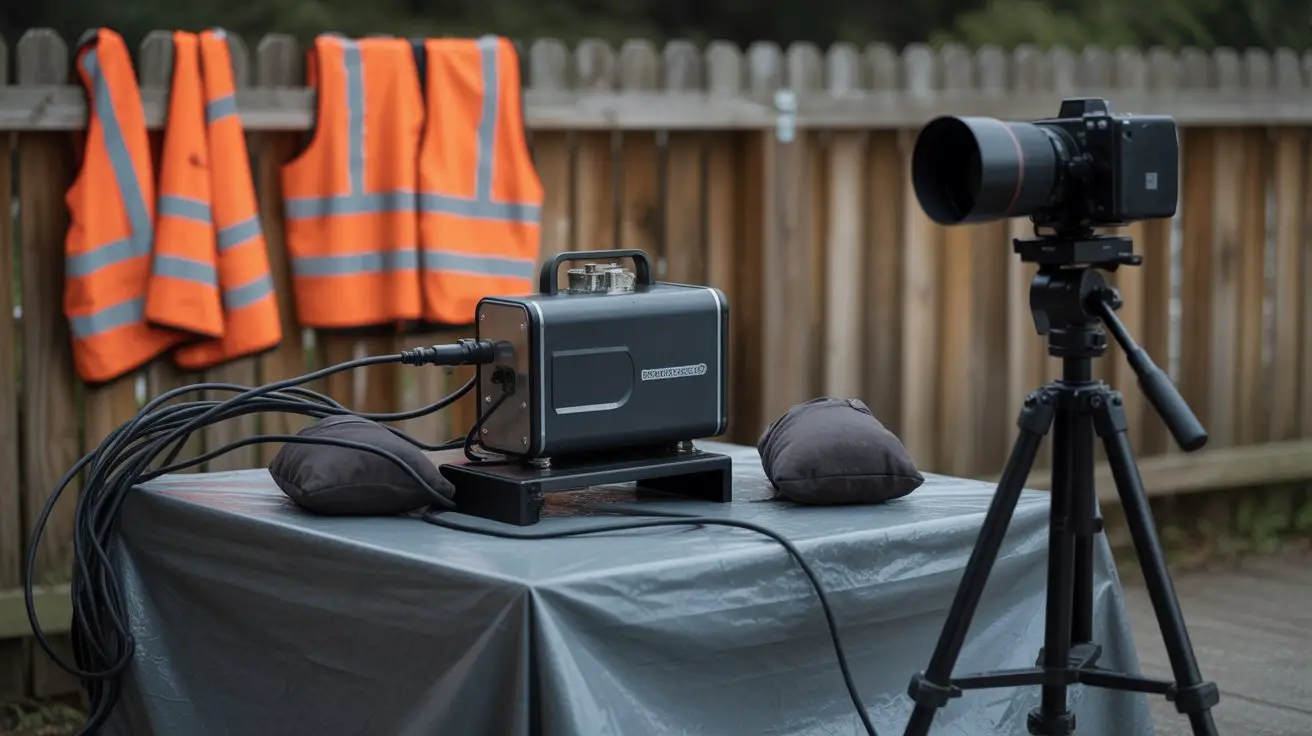
When operating fog machines outdoors, you’ll need to protect both yourself and your expensive camera gear from potential hazards. Position your equipment upwind from the fog output to prevent moisture buildup on lenses and camera bodies. Use lens hoods and UV filters as barriers against fog residue.
| Equipment | Protection Method | Risk Level |
|---|---|---|
| Camera Body | Weather sealing/rain cover | Medium |
| Lenses | UV filters + lens hoods | High |
| Tripod | Waterproof leg wraps | Low |
| Fog Machine | Elevated platform | Medium |
Maintain safe distances from electrical connections, especially in damp conditions. Keep backup batteries warm and dry, as cold temperatures reduce performance. Monitor wind direction continuously to avoid overwhelming your shooting area with excessive fog density.
Timing Your Fog Release for Maximum Impact
Since atmospheric conditions shift rapidly outdoors, you’ll achieve peak fog effects by synchronizing your release timing with natural light changes and wind patterns.
Monitor wind speed using an anemometer—releases work best at 0-5 mph winds. Deploy fog 15-20 seconds before capturing your shot, allowing proper dispersion without complete dissipation.
Golden hour provides best conditions as cooler temperatures maintain fog density longer. Release fog in short bursts rather than continuous streams to preserve fluid and battery life.
Use your camera’s interval timer to coordinate releases with exposures automatically.
Watch for thermal updrafts that’ll lift fog vertically—ideal for dramatic height effects. Cold morning air holds fog closer to ground level, perfect for mysterious landscape shots.
Always have backup fluid ready since outdoor conditions consume fog faster than indoor setups.
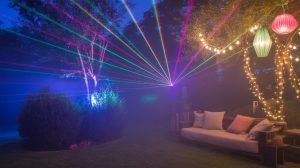
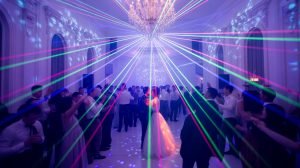
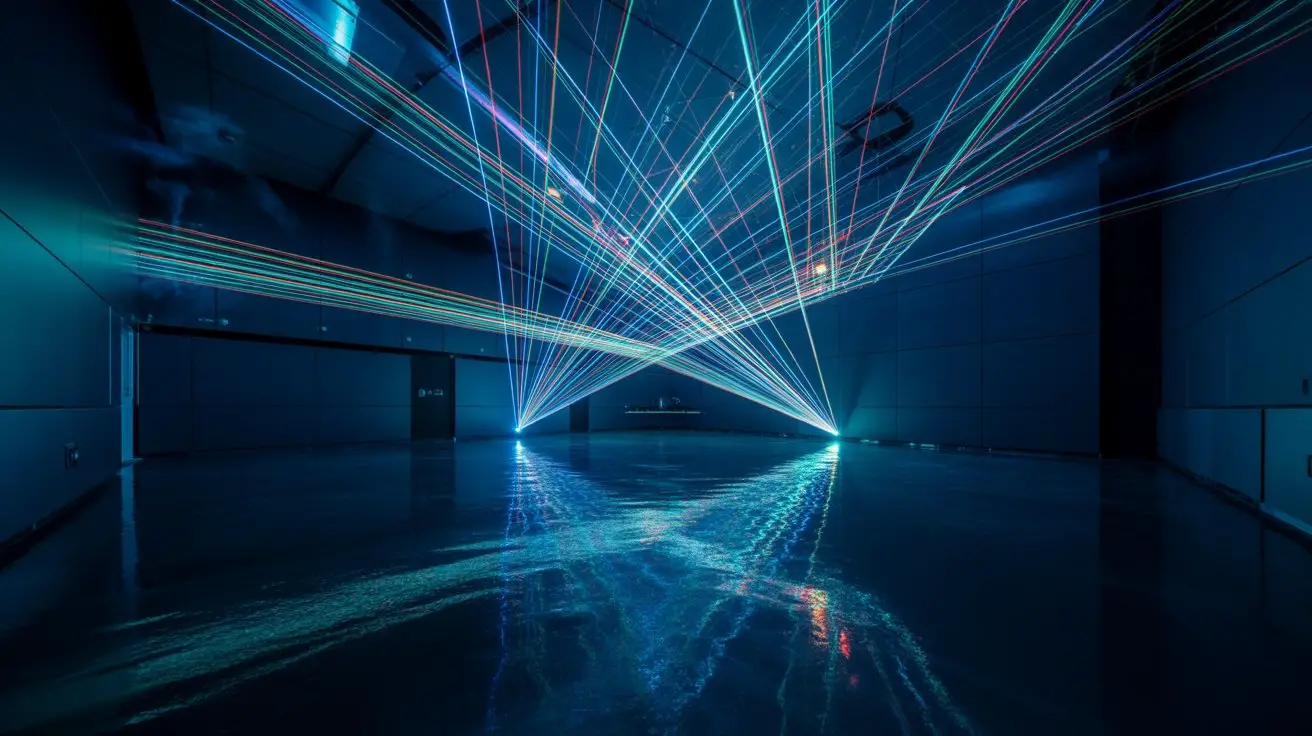
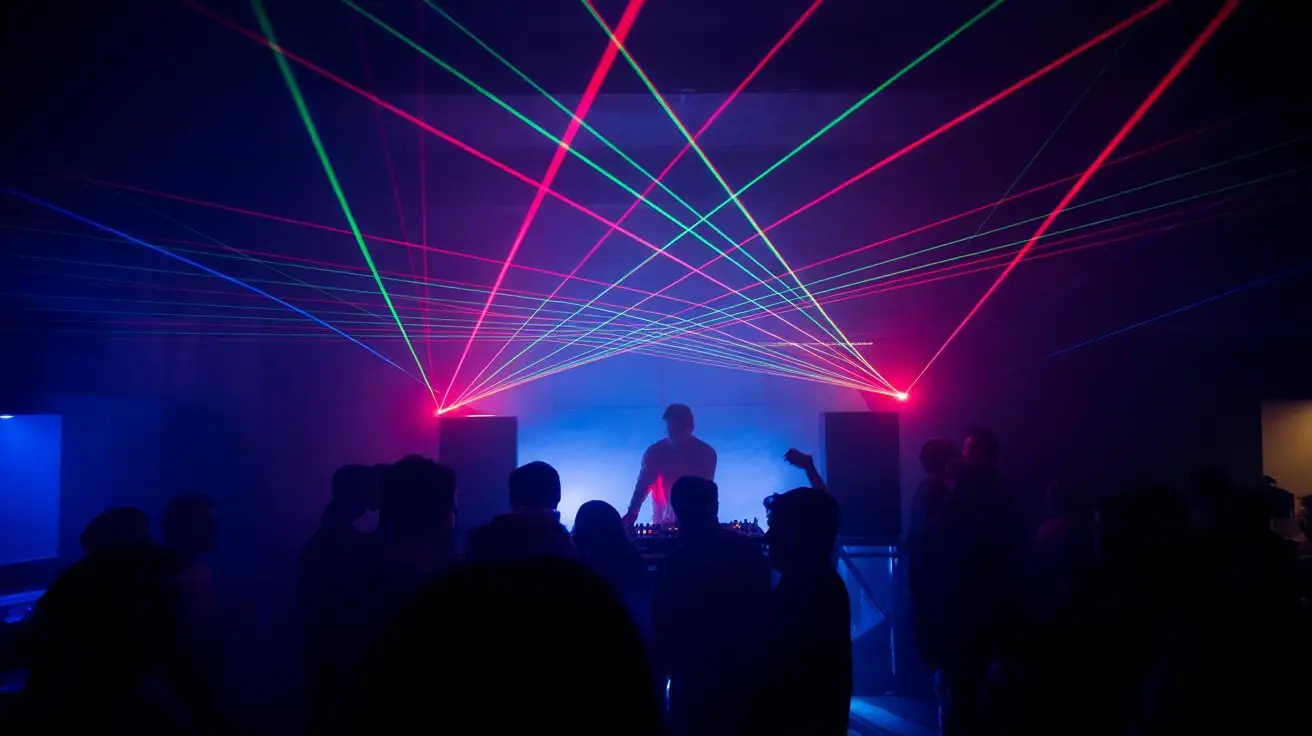
Working With Natural Light and Fog Interaction
As fog interacts with natural light, you’ll control dramatic visual effects by positioning your machine to exploit backlighting and sidelighting angles.
Place your fog machine perpendicular to your light source for ideal particle illumination. Backlit fog creates luminous, ethereal effects while concealing your machine from camera view. Sidelight reveals fog’s three-dimensional structure and creates defined light beams cutting through mist.
Monitor your camera’s histogram to prevent blown highlights in dense fog areas. Use spot metering on your subject rather than matrix metering to avoid underexposure. Adjust your fog output based on light intensity—reduce volume during golden hour when particles become highly reflective.
Position reflectors opposite your light source to fill shadow areas within the fog. Time your shots during the fog’s drift phase when particle distribution creates natural gradients and lighting changes.
Troubleshooting Common Outdoor Fog Machine Issues
Although outdoor fog machines deliver impressive photographic results, they’re susceptible to specific environmental challenges that can disrupt your shoot. Wind disperses fog too quickly, power supply failures drain batteries faster outdoors, and temperature extremes affect fluid viscosity and output consistency.
| Issue | Solution |
|---|---|
| Wind dispersing fog rapidly | Position machine downwind, use multiple units, shoot during calm periods |
| Inconsistent fog density | Check fluid levels, clean heating element, verify proper fluid viscosity |
| Power drainage in cold weather | Use insulated battery packs, keep spare batteries warm in jacket |
| Clogged nozzle from debris | Carry cleaning kit, use distilled water for maintenance, cover when idle |
| Overheating in direct sunlight | Provide shade cover, allow cooling intervals between extended operations |
You’ll maximize reliability by performing pre-shoot equipment checks and carrying backup components.
Frequently Asked Questions
How Much Does It Cost to Rent Versus Buy a Fog Machine?
You’ll spend $30-80 daily renting professional fog machines, while purchasing costs $150-800. Buy if you’re shooting frequently; rent for occasional use. Consider fluid costs, maintenance requirements, and storage space when deciding between rental versus purchase options.
Do I Need Special Permits to Use Fog Machines in Public Spaces?
You’ll need permits for most public spaces since fog machines create atmospheric effects that obstruct visibility and trigger safety concerns. Contact local authorities, parks departments, and fire marshals before deploying equipment to avoid citations.
How Long Does Fog Fluid Typically Last During a Photo Session?
Like precious fuel feeding your creative vision, you’ll consume roughly 4-6 ounces per hour with continuous operation. Monitor your reservoir gauge frequently—most sessions require 8-12 ounces total for ideal atmospheric density and consistent output.
Can Fog Machines Damage Nearby Plants or Affect Local Wildlife?
Standard fog fluids won’t harm plants or wildlife when used properly. You’ll want water-based, glycol-containing solutions rather than oil-based alternatives. Avoid direct contact with sensitive vegetation and guarantee adequate ventilation to prevent concentration buildup around animal habitats.
What’s the Best Way to Transport a Fog Machine to Remote Locations?
Like a sherpa conquering Everest, you’ll need a padded hard case with foam inserts, spare fluid bottles secured separately, and backup power sources. Distribute weight evenly, protect heating elements, and test all connections before departing.
Conclusion
You’ve mastered the technical fundamentals of outdoor fog machine operation. Remember, “the devil’s in the details” – precise positioning, proper fluid selection, and wind management separate amateur attempts from professional results. Your equipment setup determines shot quality, so maintain consistent power delivery, monitor environmental variables, and execute timing with precision. Deploy these techniques systematically, and you’ll achieve atmospheric effects that transform ordinary scenes into compelling visual narratives. Execute the process methodically for repeatable, professional-grade photographic outcomes.