You’re about to discover how fog machines can transform your photography from ordinary to cinematic. Whether you’re shooting portraits with dramatic rim lighting or creating ethereal landscapes, understanding DMX controllers, proper fluid viscosity, and strategic light placement will determine your success. Your camera’s ISO settings, aperture choices, and timing with fog dispersal patterns require precise coordination. Master these technical fundamentals, and you’ll reveal creative possibilities that separate professional work from amateur attempts.
Types of Fog Machines and Their Applications
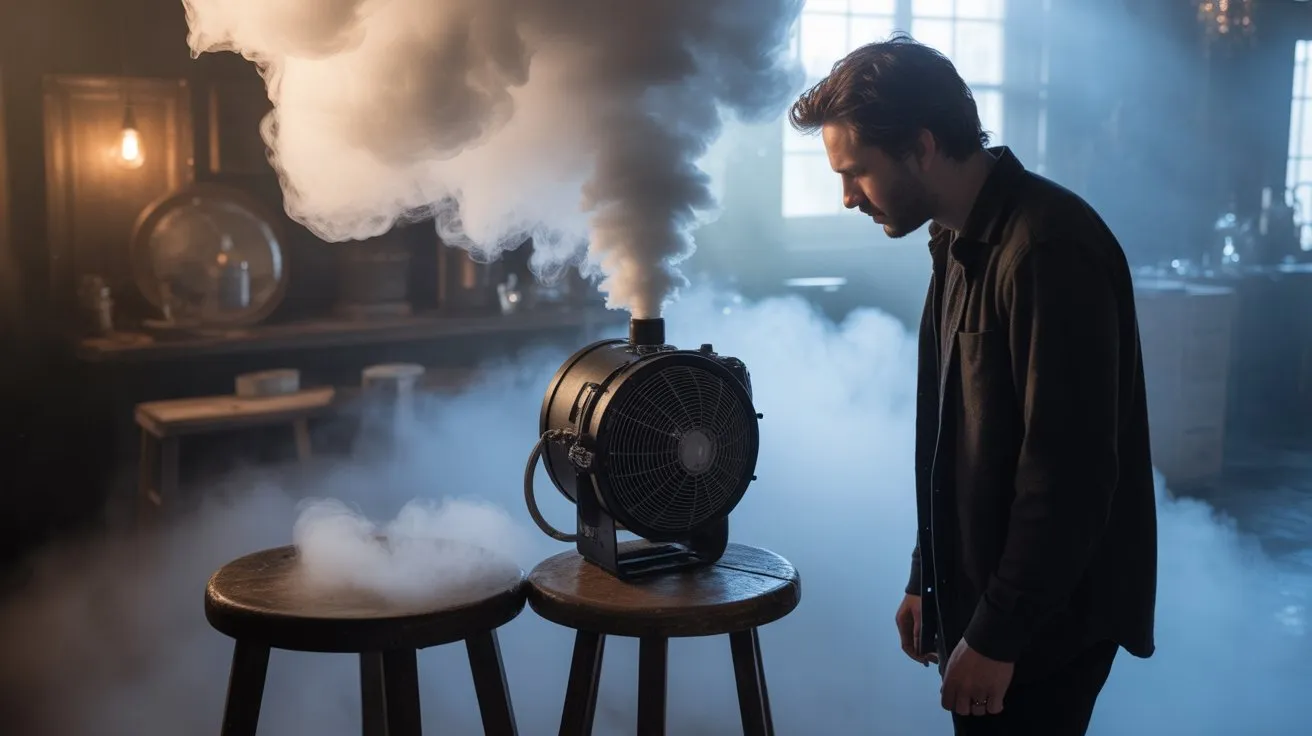
When selecting fog machines for photography, you’ll encounter three primary categories: thermal foggers, ultrasonic foggers, and low-lying fog machines.
Thermal foggers generate dense vapor through heated fog juice, producing high-output atmospheric effects ideal for concert and theatrical photography. They typically consume 400-1500 watts and offer rapid deployment with quick heat-up times.
Ultrasonic foggers create fine mist particles through high-frequency vibrations, delivering subtle ambiance perfect for portrait and macro work. These units operate silently and consume minimal power, making them suitable for controlled studio environments.
Low-lying fog machines utilize dry ice or specialized fluid cooling systems to produce ground-hugging effects. They’re essential for dramatic floor-level atmospherics in fashion shoots and product photography, creating distinct layered compositions without obscuring upper frame elements. Additionally, fog machines can enhance theatrical productions by adding immersive effects that elevate the overall visual storytelling.
Essential Equipment and Fog Fluid Selection
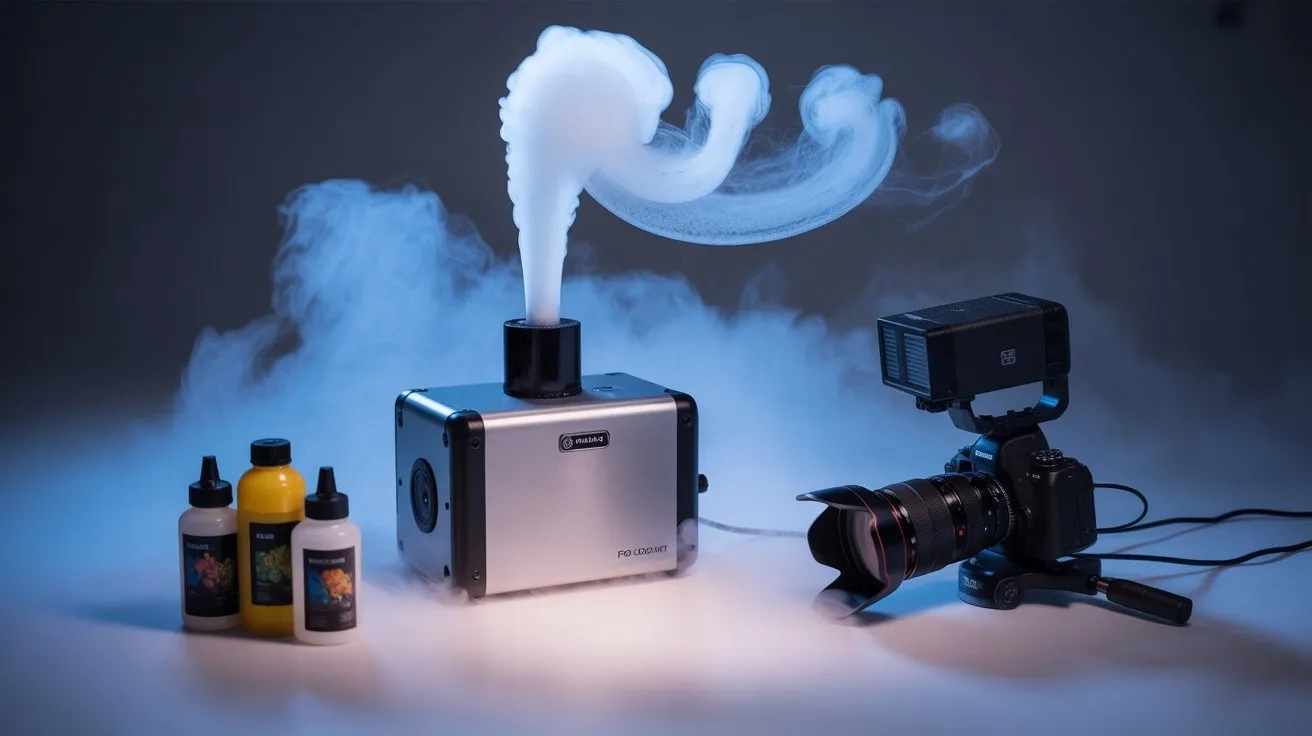
Beyond choosing the right fog machine type, your success depends heavily on selecting compatible fog fluids and supporting equipment.
Water-based fluids produce cleaner vapor with faster dissipation, while oil-based formulations create denser, longer-lasting effects. Always match fluid viscosity to your machine’s specifications—glycol-based fluids work universally across most units.
Essential supporting gear includes wireless remote controls for precise timing, extension cables rated for your machine’s amperage, and fluid funnels to prevent spillage.
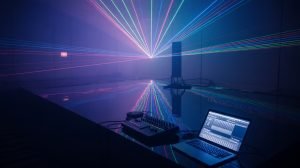
DMX controllers enable automated fog deployment synchronized with lighting sequences. Keep backup fluid containers on-site, as consumption rates vary considerably between continuous and burst modes.
Temperature affects fluid performance—store containers at manufacturer-recommended ranges. Higher glycerin concentrations produce thicker fog but may clog heating elements in budget machines. Additionally, using glycerin-based smoke fluid is crucial for achieving the desired fog effects in your photography sessions.
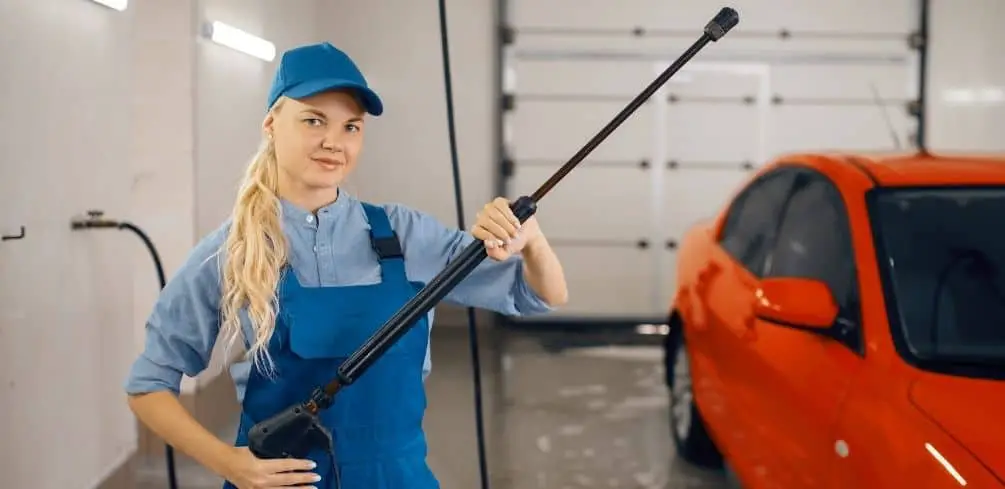
Safety Precautions and Ventilation Requirements
Before activating your fog machine, you must establish proper ventilation protocols to prevent vapor accumulation and maintain safe breathing conditions.
Install exhaust fans or open windows to create airflow circulation, maintaining minimum air exchange rates of 6-8 changes per hour. Position your fog unit downwind from talent and crew to prevent direct inhalation of glycol-based vapors.
Monitor ambient temperature and humidity levels, as excessive moisture can trigger smoke detectors and create slippery surfaces. Keep fire extinguishers accessible when using heated fog generators operating at 400-600°F. Additionally, be aware that fog machines can potentially trigger fire alarms due to smoke particles, so take precautions accordingly.
Never operate fog machines in confined spaces without mechanical ventilation systems.
Test fog dispersal patterns before shooting to identify potential hazards. Allow 15-minute intervals between fog bursts to prevent overheating internal heating elements and guarantee consistent output density.
Camera Settings for Fog Photography
Since fog dramatically alters your scene’s light transmission and contrast ratios, you’ll need to adjust your camera’s exposure settings to compensate for the vapor’s light-scattering properties.
Start with manual mode using ISO 200-800 to minimize noise while maintaining clean shadows. Set your aperture between f/5.6-f/8 for ideal depth-of-field control—wider apertures create shallow focus planes that separate subjects from fog layers effectively.
Shutter speeds of 1/60s or faster prevent motion blur from drifting vapor. Enable spot metering to meter directly off your subject rather than fog-affected ambient light.
Shoot in RAW format for maximum post-processing latitude. Consider exposure bracketing since fog density fluctuates rapidly, creating unpredictable lighting conditions that require precise exposure compensation. Additionally, understanding fog types can help you anticipate how it will interact with your lighting and composition.
Controlling Fog Density and Direction
While camera settings capture fog effectively, mastering fog machine output controls determines your scene’s atmospheric depth and visual impact. You’ll need to manipulate fluid flow rates, heating element temperatures, and dispersal patterns to achieve precise atmospheric effects.
- Adjust fluid flow rate – Control your machine’s pump settings between 10-100% output. Lower rates (10-30%) create subtle haze for portrait work, while maximum output generates dense theatrical fog for dramatic landscapes.
- Modify heating chamber temperature – Higher thermostat settings produce denser fog with slower dissipation rates. Lower temperatures create lighter, faster-dispersing mist ideal for backlighting techniques.
- Direct fog placement using ducting – Attach flexible aluminum ducts or PVC pipes to your machine’s output nozzle. This channels fog precisely where you need atmospheric elements without overwhelming your entire shooting area.
Additionally, it’s crucial to be aware of the fog machine health hazards since prolonged exposure can lead to respiratory issues, especially for sensitive individuals.
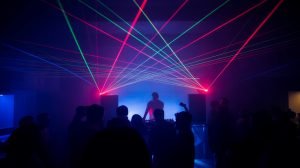
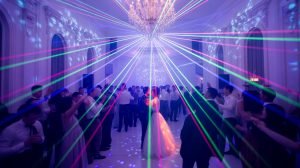
Lighting Techniques to Enhance Fog Effects
Proper lighting transforms fog from a simple atmospheric element into a powerful visual tool that defines mood and depth in your photographs.
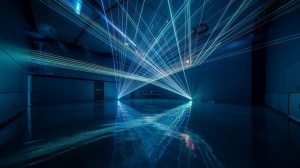
Position key lights behind fog to create rim lighting effects that reveal particle density and texture. Use barn doors or snoots to create defined light rays cutting through the mist.
Side lighting at 45-degree angles produces dramatic volumetric beams while maintaining subject separation. LED panels with adjustable color temperature let you shift between warm tungsten tones and cool daylight effects.
Avoid direct frontal lighting, which flattens fog and eliminates dimensional qualities. Control spill with flags and gobos to create selective illumination zones.
Use DMX-controlled fixtures for precise intensity adjustments as fog dissipates or concentrates during your shoot.
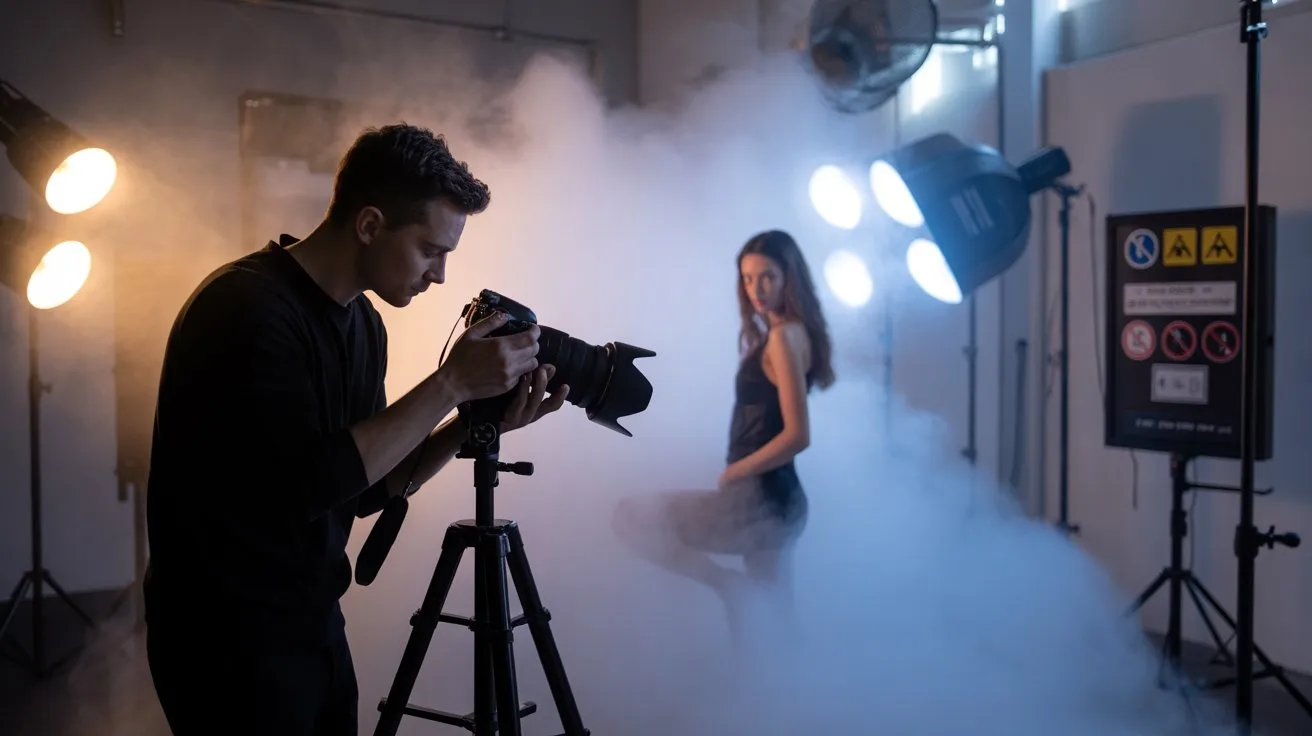
Portrait Photography With Fog Machines
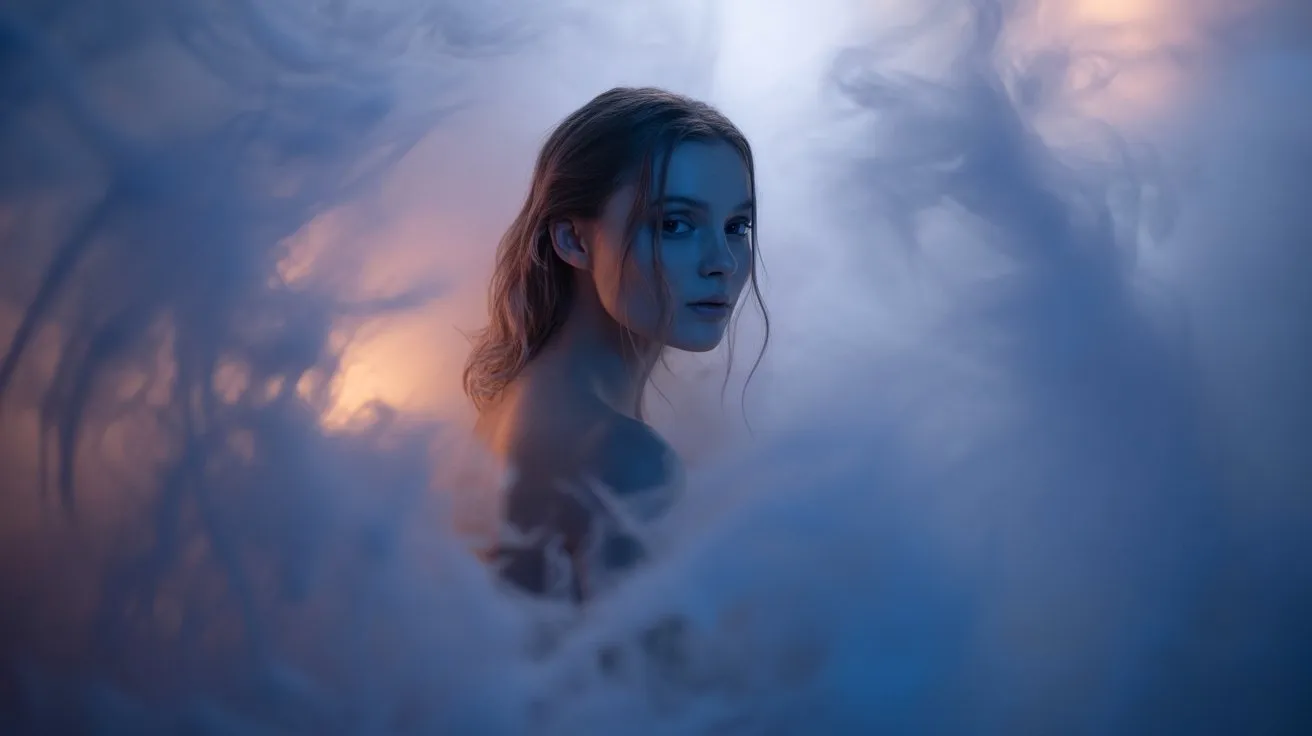
When capturing portraits with fog machines, you’ll need to balance atmospheric density with facial definition through strategic subject positioning and equipment selection.
Position your subject between the fog machine and camera, maintaining 8-12 feet separation to avoid oversaturation. Use continuous LED panels or strobes with modeling lights to cut through the haze effectively.
Essential portrait fog techniques:
- Backlighting placement – Position key lights behind your subject at 45-degree angles to create rim lighting and fog separation.
- Fill light ratios – Maintain 3:1 or 4:1 ratios between backlight and fill to preserve facial detail while emphasizing atmospheric depth.
- Fog density control – Operate machines at 30-50% output with glycol-based fluids for consistent particle distribution without overwhelming facial features.
Monitor fog dispersion patterns and adjust ISO settings accordingly for ideal exposure balance.
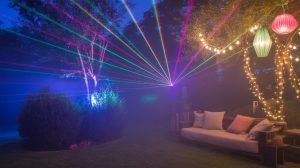
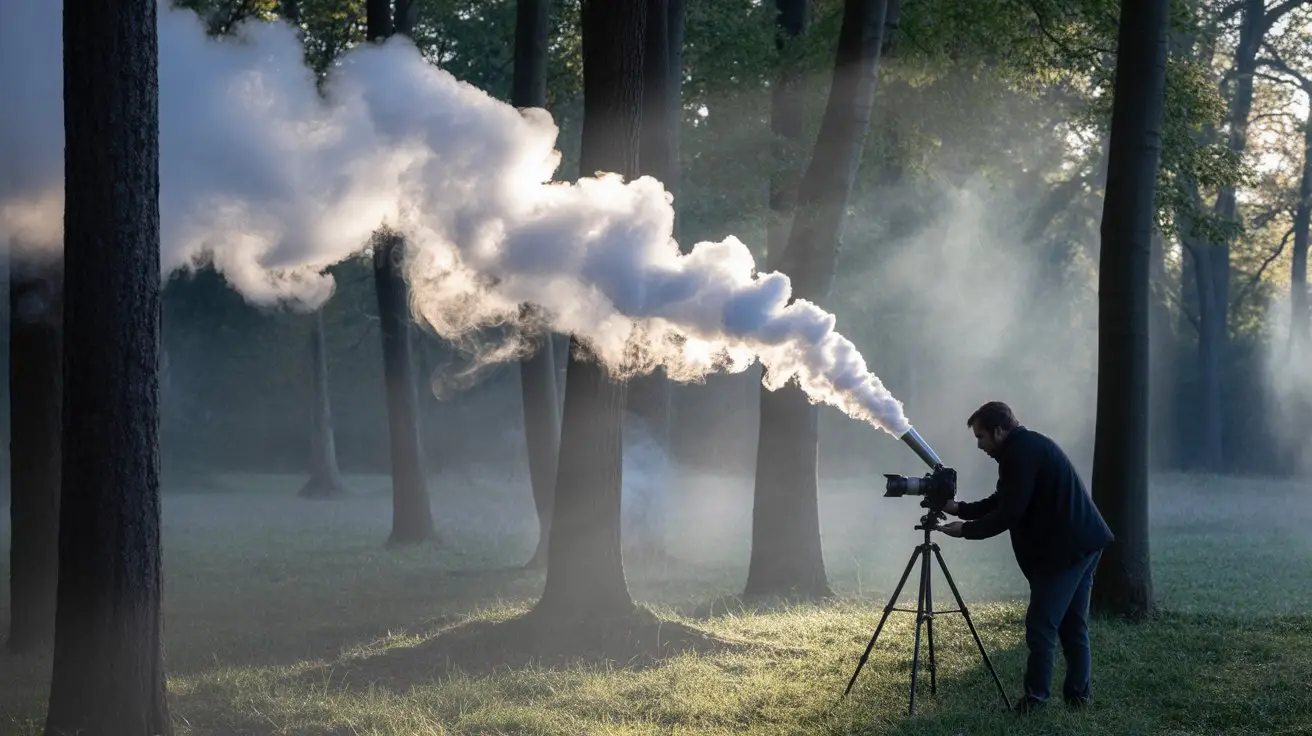
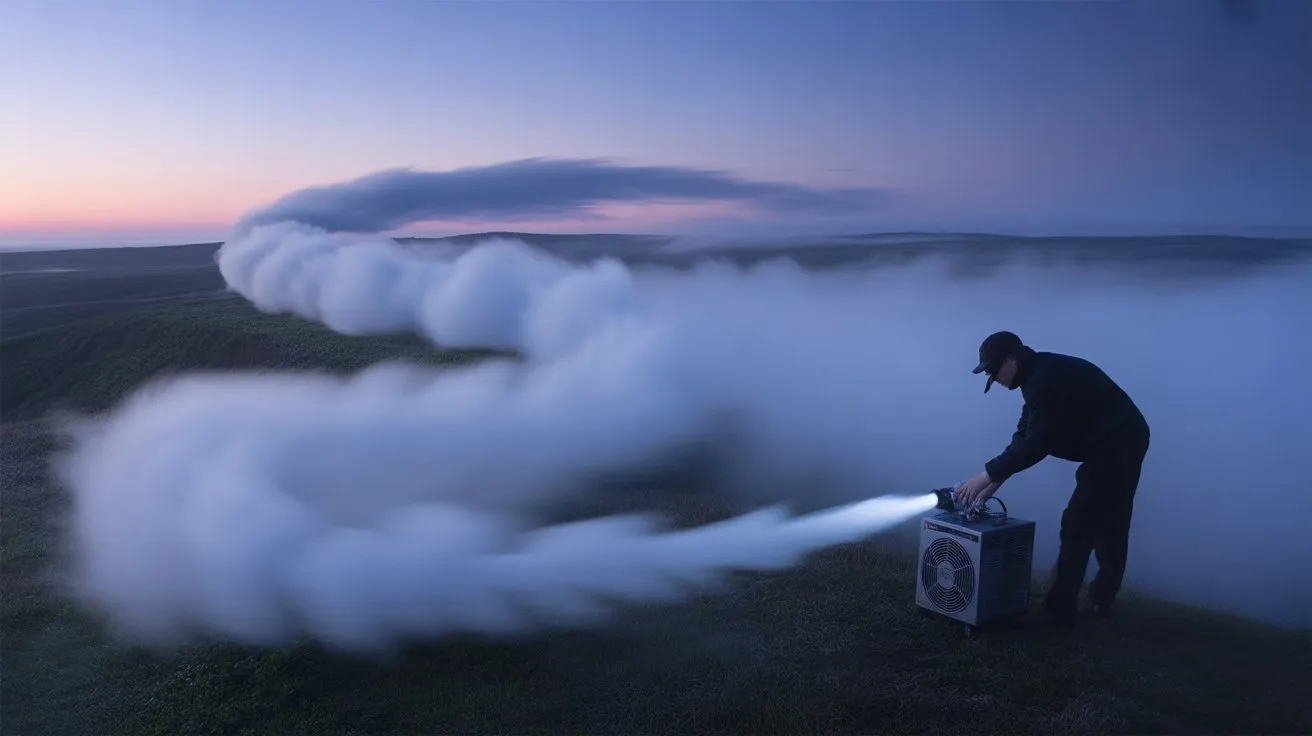
Landscape and Outdoor Fog Photography
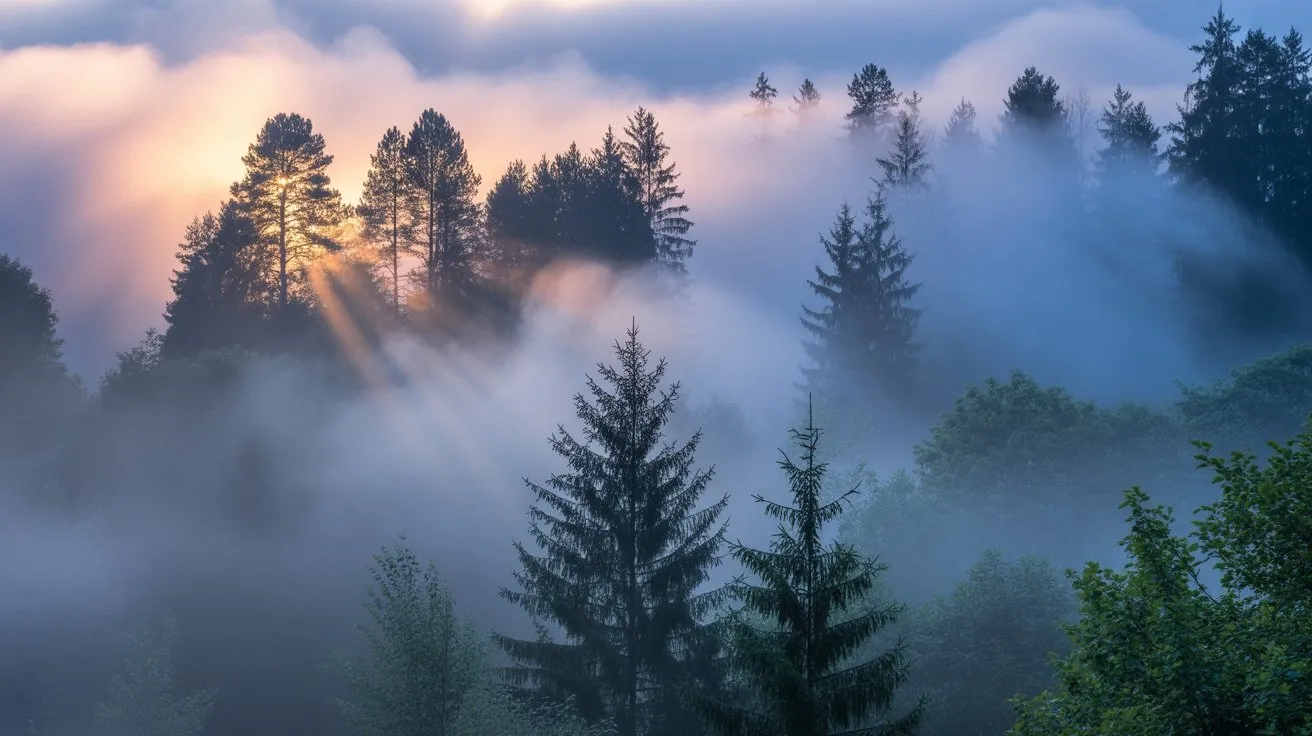
Moving beyond controlled studio environments, landscape and outdoor fog photography requires mastery of natural atmospheric conditions combined with artificial fog augmentation techniques.
You’ll need professional-grade haze machines with DMX control capabilities for precise output regulation across vast outdoor spaces. Wind patterns dictate fog dispersion, so monitor meteorological conditions using anemometers before deployment.
Position machines upwind from your subject, calculating drift trajectories for maximum coverage. Use wireless remote triggers to activate fog bursts during critical shooting moments. Heavy-duty extension cords and portable generators guarantee consistent power delivery in remote locations.
Consider chilled fog machines for ground-hugging effects that enhance foreground elements. Water-based fog fluid prevents residue on equipment while maintaining atmospheric authenticity throughout extended outdoor sessions.
Creative Conceptual and Artistic Applications
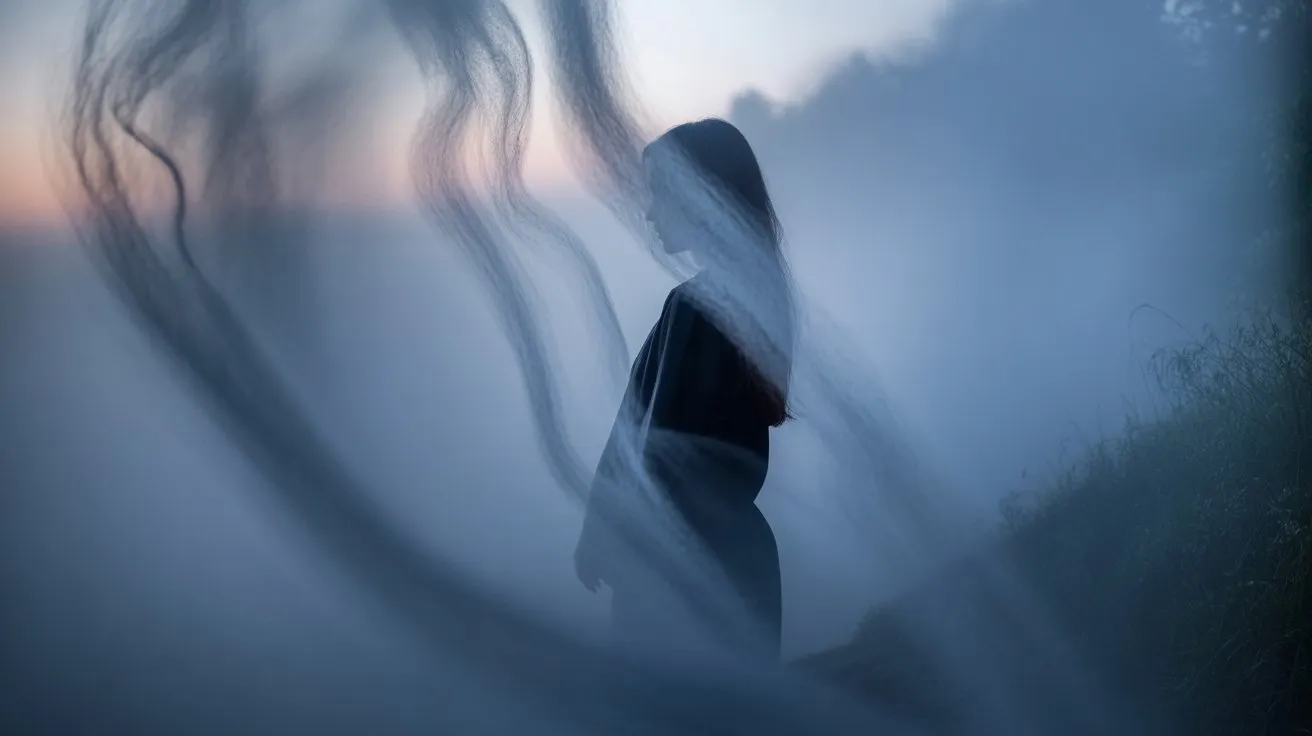
Seven distinct fog machine configurations release advanced conceptual photography techniques that transform ordinary subjects into ethereal artistic statements.
You’ll achieve dramatic silhouette isolation by positioning your 1500W hazer behind subjects, creating atmospheric separation between foreground and background elements.
Strategic placement of multiple 400W fog units enables layered depth control, while ground-level glycol-based machines produce supernatural floating effects.
Advanced Creative Applications:
- Volumetric Light Sculpting – Deploy fog machines perpendicular to your key light source, enabling precise beam visualization and three-dimensional light modeling through controlled atmospheric density.
- Temporal Narrative Enhancement – Utilize variable-output hazers to create mood shifts, manipulating fog concentration throughout your shoot for evolving emotional contexts.
- Abstract Form Generation – Position low-lying dry ice machines with controlled airflow to generate organic, unpredictable shapes that complement your compositional framework.
You’ll maximize artistic impact through synchronized timing and precise atmospheric control.
Troubleshooting Common Fog Machine Issues
Technical malfunctions during critical shooting moments can derail your fog effects, but understanding the root causes of common fog machine failures enables rapid field diagnosis and restoration.
| Issue | Solution |
|---|---|
| Insufficient fog output | Check fluid levels, verify heating element temperature, clean nozzle blockages |
| Intermittent operation | Inspect power connections, test thermostat functionality, examine fluid pump mechanisms |
| Excessive fluid consumption | Calibrate output settings, check for internal leaks, adjust duty cycle parameters |
| Uneven fog distribution | Clean fan assembly, inspect diffusion screen, verify fluid viscosity specifications |
Monitor your machine’s thermal cycles carefully—premature triggering indicates overheating issues requiring cooldown periods. DMX-controlled units often experience signal interference; verify cable integrity and termination resistance. Glycol-based fluids can crystallize in cold conditions, affecting pump performance. Always carry backup heating elements and spare fluid lines for professional shoots.
Frequently Asked Questions
How Long Does Fog Last Before Dissipating in Different Weather Conditions?
You’ll get 30-60 seconds in windy conditions, 2-5 minutes in still air, and 10-15 minutes in enclosed spaces. Humidity extends duration while temperature inversions and air currents accelerate dissipation rates considerably.
Can Fog Machines Damage Expensive Camera Equipment or Lenses?
Your expensive gear’s at risk… Glycol-based fog fluid can deposit residue on lens elements and sensor surfaces. You’ll need protective UV filters, lens hoods, and proper ventilation to prevent costly damage to your equipment.
What’s the Average Cost of Renting Versus Buying Fog Machines?
You’ll pay $50-150 daily for professional hazer rentals versus $200-800 for entry-level units, $1,000-3,000 for mid-range foggers. Calculate your shoot frequency: if you’re booking more than ten sessions annually, purchasing becomes cost-effective.
Do I Need Permits for Using Fog Machines in Public Spaces?
You’ll need permits for fog machine operation in most public venues. Contact local fire marshals and municipal authorities regarding special effects permits. Indoor locations require HVAC coordination and fire safety compliance. Outdoor shoots need environmental impact clearance.
How Much Fog Fluid Is Typically Consumed per Photography Session?
You’ll consume 0.5-2 ounces of fog fluid per hour depending on your machine’s output rate, ambient conditions, and desired density. Budget 4-8 ounces for typical 3-4 hour portrait sessions with intermittent use.
Conclusion
You’ve mastered the technical fundamentals of fog machine operation for professional photography. Your DMX-controlled hazer units, proper fluid selection, and precise camera settings will consistently deliver cinematic results. Remember to monitor your fog fluid viscosity and maintain ideal dispersal patterns through strategic ventilation control. Like a medieval alchemist perfecting their craft, you’ll transform ordinary scenes into atmospheric masterpieces. Keep your glycol-based fluids properly stored, your strobes synchronized, and you’ll achieve professional-grade fog photography every time.