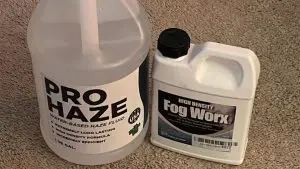
If your fog machine pump is not operating, it is likely that it is dirty, clogged, or that the pump itself has become worn out from corrosion. You can fix your fog machine with locally available parts and you do not need any technical knowledge.
Fog machines can break down easily especially when not properly maintained. In this post, we look at two ways you can fix common fog machine pump issues.
Fixing a Dirty and Clogged Fog Machine Pump
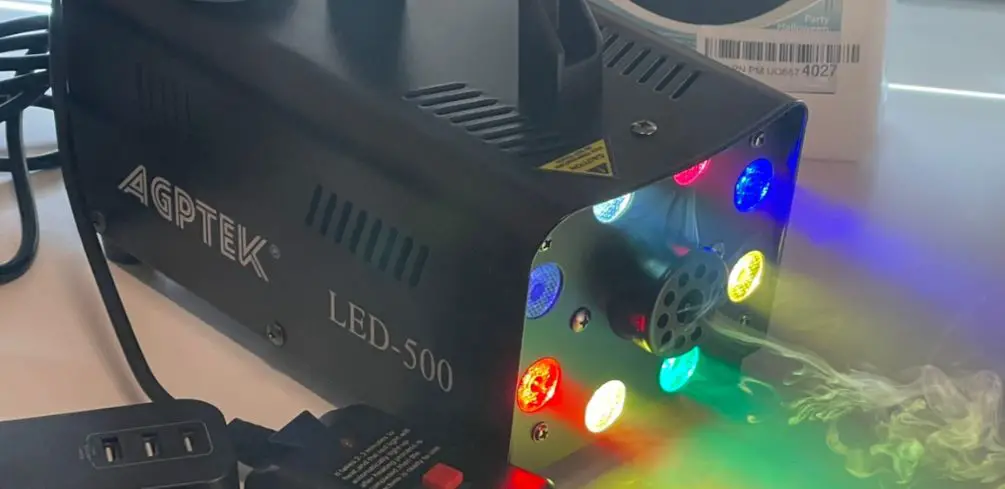
When you have a blocked pump, the problem is that when you press the button, it creates a humming sound, which means that you can hear the pump running but no fog is coming out of it.
Here are four easy steps to unclog and clean your fog machine Pump;
Step 1: Open and Remove the Cover of the Pump
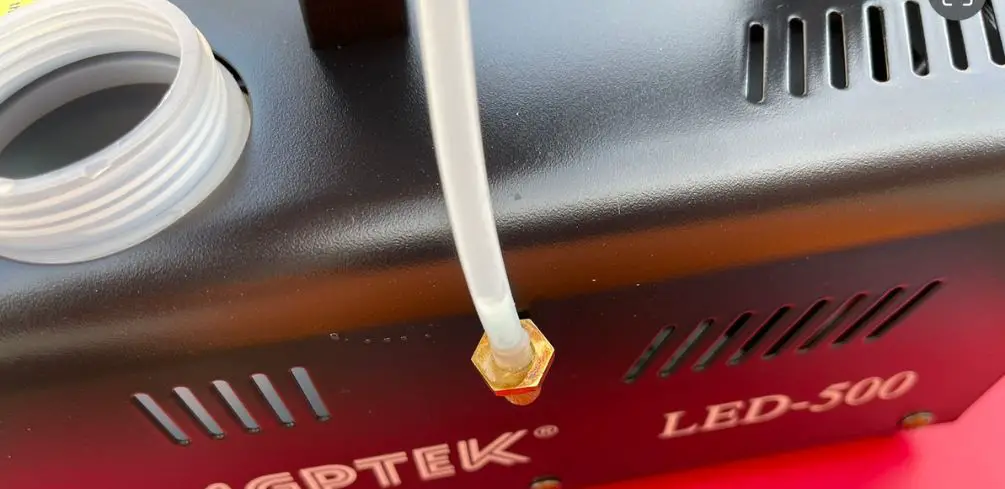
Unscrew the screws along the side of the case and lift the lid off. You must first unscrew the compression fitting on the top, which is where the real tube is inserted.
You will have access to the fog machine as soon as you remove the cover. Some things are going on in the machine that you can see.
There’s only one thing going on in there: the tube that comes down and goes into the pump, which then pumps out via a metal tube into the heater. There are also some sensors for the heater block to make sure the fog machine is at the right temperature. If the heater is not giving out the right amount of heat this will not produce smoke and will need a fix.
Step 2: Check the Nozzle and Unclog the Pinhole
So, in the case of a clogged machine, the first thing you should do is remove the rubber bracket that holds the fog machine together. This should be carried out with care.
A common problem with clogged pumps is that the nozzles of the pumps become clogged. That is the first and most important step.
So obtain a wrench and check to see if it’s loose, and then disassemble the device. There’s a pinhole in the wall there.
That’s what’s causing your fog pump assembly to become clogged.
To unclog it, poke it with a needle on both sides and immerse it in hot distilled water for a few minutes. After that, blow through it.
When you see a flow of air, you’ll know you’re in good shape.
Step 3: Open the Interior of the Pump
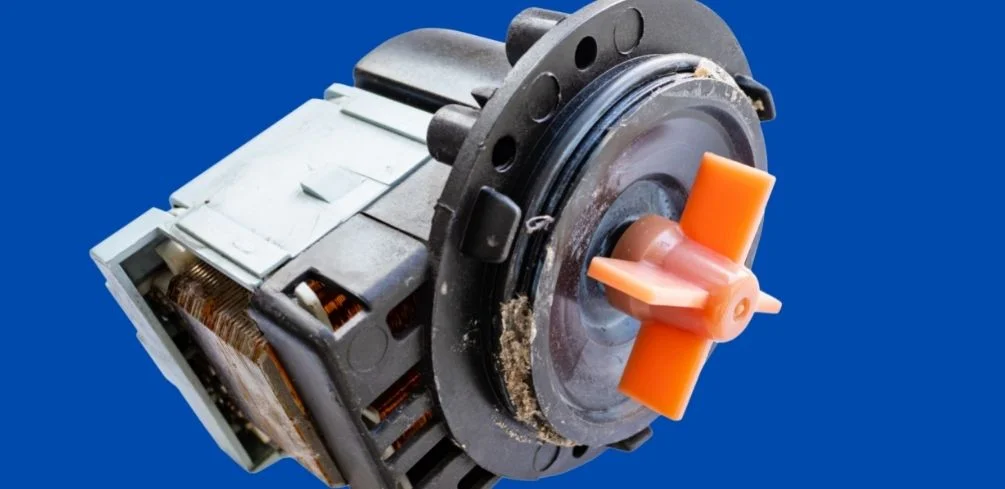
Because clogging can occur in a variety of locations if that does not resolve the problem, remove the two screws from the cylindrical pump assembly. You will notice a coil inside the pump that generates a magnetic field and that corresponds with a piece of metal that moves up and down once it is delivered.
The pump pushes the fog fluid through and out of the system. Check to see if there is anything wrong with the coil in question.
Remove the two screws from their positions and you’ll find a small key groove.
Push down into the keyed groove, then push and twist, and when you’ve done that, carefully pull the keyed groove apart, making sure that no loose bits or the glass ball are lost. If you lose these, the pump is no longer functional.
Step 4: Disassemble and Clean the Pumping System
The pump mechanism, which is the object that the magnet causes to slide up and down and back and forth, sucking the fog fluid through, will be seen once the seal has been removed.
It could be a good idea to disconnect the metal component and soak it in distilled water for a while. Once you’ve completed that, you may proceed to set the right side. It’s a little more difficult this time.
Carefully tap the screen to make that small ball fall out. Place the ball in a secure location.
Look closely and you will notice another portion of the ball rolling away from the ball. As a result, we remove it.
You will notice a little ring emerge from the hole. That thing can be pulled out and tapped, and there’s a spring inside of it.
Following the removal of the screwdriver from the hole, you’ll discover that there’s a plastic piece in there that’s threaded, allowing you to just insert your screwdriver and turn it. You’ll be able to get that piece out.
Once you’ve taken it out, you’ll notice that there’s another spring attached to a plunger-type component.
Consequently, now that your pump is entirely disassembled, you can soak all of the parts and thoroughly clean them before reinstalling them.
Of course, if you’re not hearing any buzzing at all, the coils and your pump have likely shorted out and become too hot to function properly, and it will no longer function well at all.
Fixing a Worn Out Pump in a Fog Pump Machine
A voltage pump is used in a fog machine, and it is responsible for pumping the loop liquid from the reservoir into the pump and subsequently into the heating element.
The following eight simple steps will help you fix a worn-out Pump.
Step 1: Dismantling the Worn Out Pump
So the first thing you’re going to do is remove the pump from the system. The next step is to remove all of the fog liquid from the reservoir and discard it.
Disconnect the back nut that is fastened into the output side of the pump with a crescent wrench and a ratchet. Because the pump is essentially useless on the input side, where the fluid would enter, the wires were cut on that side.
There is a plugin for the reservoir that can be removed by simply pulling it out. It’s barbed to ensure that it fits into the pump and suckers out the fluid whenever the pump is operating.
Step 2: Find Materials for Repairing The Pump
Let’s go through some of the things that you may purchase locally from your local hardware store or auto parts store before we get started. Hacking is about, you know, identifying items that aren’t normally used for their intended purpose, such as a pump for example.
For example, a windshield washer pump or any other motor might be considered.
The voltage difference between the fog machine and the windshield washer pump is the source of the problem, so you know the fog machine pump is volts alternating current. While a windshield washer pump will do the job in terms of pumping liquid in and out, because it operates on 12 volts of direct current, you will only have a few basic parts to correct the problem.
Step 3: Correct the Output Voltage Using a Transformer
A transformer is a device that converts 120-volt alternating current from your home to 12 volts. After that, you’ll feed it through a standard bridge rectifier, which will convert it to direct current.
If you have an issue with this item, you should look for a printed circuit board to replace it. It will be easier to solder the wires if you do this first.
Step 4: Modify the Pump
Since the hard pipe 3/16 compression tube on your pump is already converted to a barbed fitting, you’ll use some tube from there to press the pump onto the hard pipe 3/16 compression tube on your pump. Then there’s another barbed fitting that’s going to extend beyond the tube and connect the two pieces of tubing to the reservoir’s bottom.
In terms of bits and parts, that’s the general game idea, with part of the treasure hunt consisting of discovering or going to the hardware shop and having a little fun with a small project. First and foremost, you’ll need to drill a quarter-inch hole around your washer pump’s perimeter with a quarter-inch drill bit.
Step 5: Design an Adapter
Using a rubber mallet, gently tap it into the barbed fitting, and then adapt the plug to the barbed fitting to complete the process. Place the two bond tube barbs into the reservoir and close the reservoir.
Now, connect the adapter to the pipe that serves as the input to the heating element of the fog machine.
It is necessary to leave a knot in the tube because the compression fitting should be fastened in place. Tighten the new fitting onto the ferrule after it has been secured with the compression nut.
Make use of a crescent wrench to accomplish this, and then plug it in and turn it on with a little piece of pipe thread if necessary. Now that your adapter is complete, you should have a tube that will allow you to complete the tube connection process.
Step 6: Connect the Transformer to the Modified Pump
Create a tube connection between the old pump and the new pump. Begin with the input and then move on to the output, which will be the heating element.
It’s time to get to work on the electrical work, and your transformer is a normal alternating current transformer.
It includes primary coils and secondary coils, and the reason you need this is to hack the previous pump, which was 120 volts, and replace it with a new pump that is 12 volts, which is what this is for.
As a result, there are two primary leads on the transformer. You will be supplying 110 volts alternating current on the input side, and it will convert that voltage to 12 volts alternating current on the output side.
Standard transformers feature three leads on the secondary coils, which is standard practice. It has three taps since it is the center tap, which explains why.
You wouldn’t want to connect the black lead to the base or the hook-up leads since the output would be six points three volts, which is not what you want. You’re going to wire nut or cut the black lead off, which is exactly what you’ll be doing.
Then, use the two yellows to complete the design. When we combine the two yellows, we get a total of twelve point six volts of alternating current.
Connect the output to a small rectifier by connecting the two alternating current wires to a 50 amp alternating current rectifier. Once connected, this will reduce the voltage to 12 volts DC.
Step 7: Mount the Pump on the Fog Machine
Now, locate some empty spots within the fog machine where you may mount your electrical connection, in the same location where the present pump motor was previously connected. The primary side of the transformer should have connectors that are crimped on butt spliced together such that the voltage coming from the neutral side and the hot side is 110 volts and then goes into the transformer.
Connect your circuit board, diode, and everything else to your pump on the other side of the room. Install the transformer at the bottom of the wall.
Make use of a voltage meter to confirm that the right voltage is 12 or greater, and perform some preliminary troubleshooting to ensure that everything is in working condition before proceeding. Place the reservoir tank in its proper location and connect your pump.
Allow it to start and run the pump motor for you.
If this doesn’t resolve it for you, there is a chance the fog machine has a clogged heater. On the other hand, there is another procedure to do if the fog machine is leaking.
Conclusion
Fog machine issues can occur at any time, but often it is because of poor maintenance of the fog machines. This leads to dirt and grime build causing the pump to malfunction. The simple fix above details more options on how to take care of these issues.
Hopefully, the fixes discussed above will get your pump working correctly again. You will know quickly if the pump works when you see the smoke blowing out of the machine. A great way to avoid any of this happening is to make sure you clean your fog machine when it is time, not before.
Please be careful and use at your own risk
None of the authors, contributors, administrators, or anyone else connected with Wild Fog, in any way whatsoever, can be responsible for your use of the information contained in or linked from these web pages.